TikTok Video Size & Dimensions: The Complete Guide
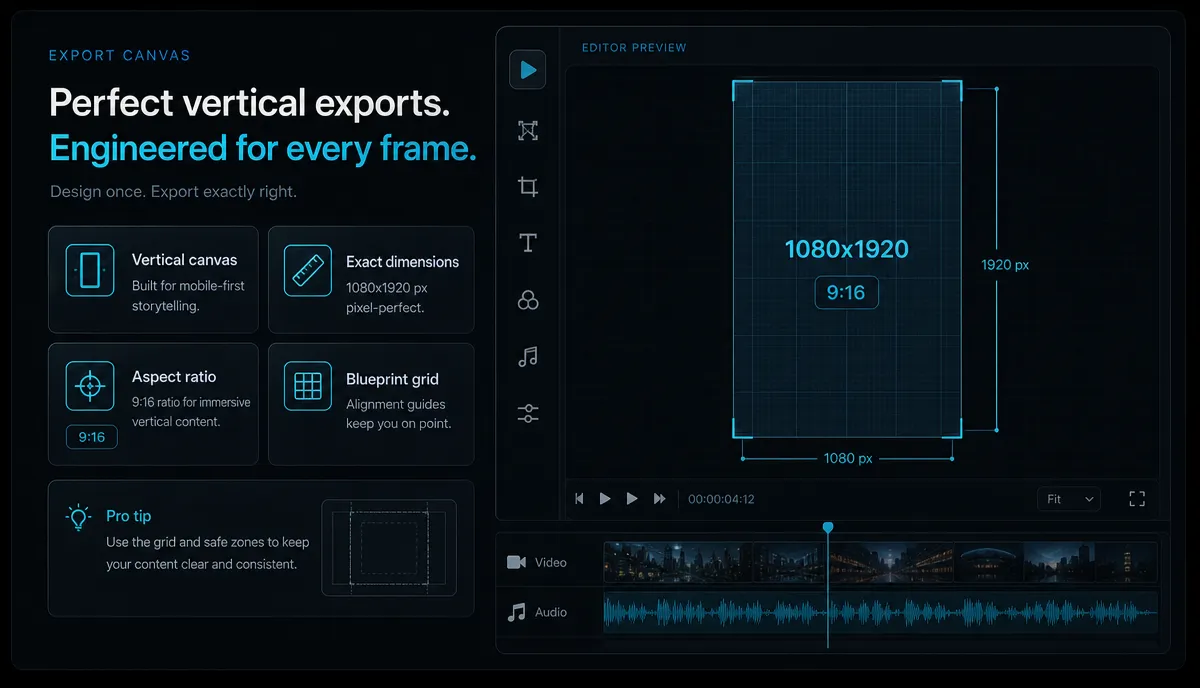
TikTok video size is 1080×1920 px in a 9:16 aspect ratio. Get exact export settings, safe-zone dimensions, and how to convert 16:9 footage to vertical.
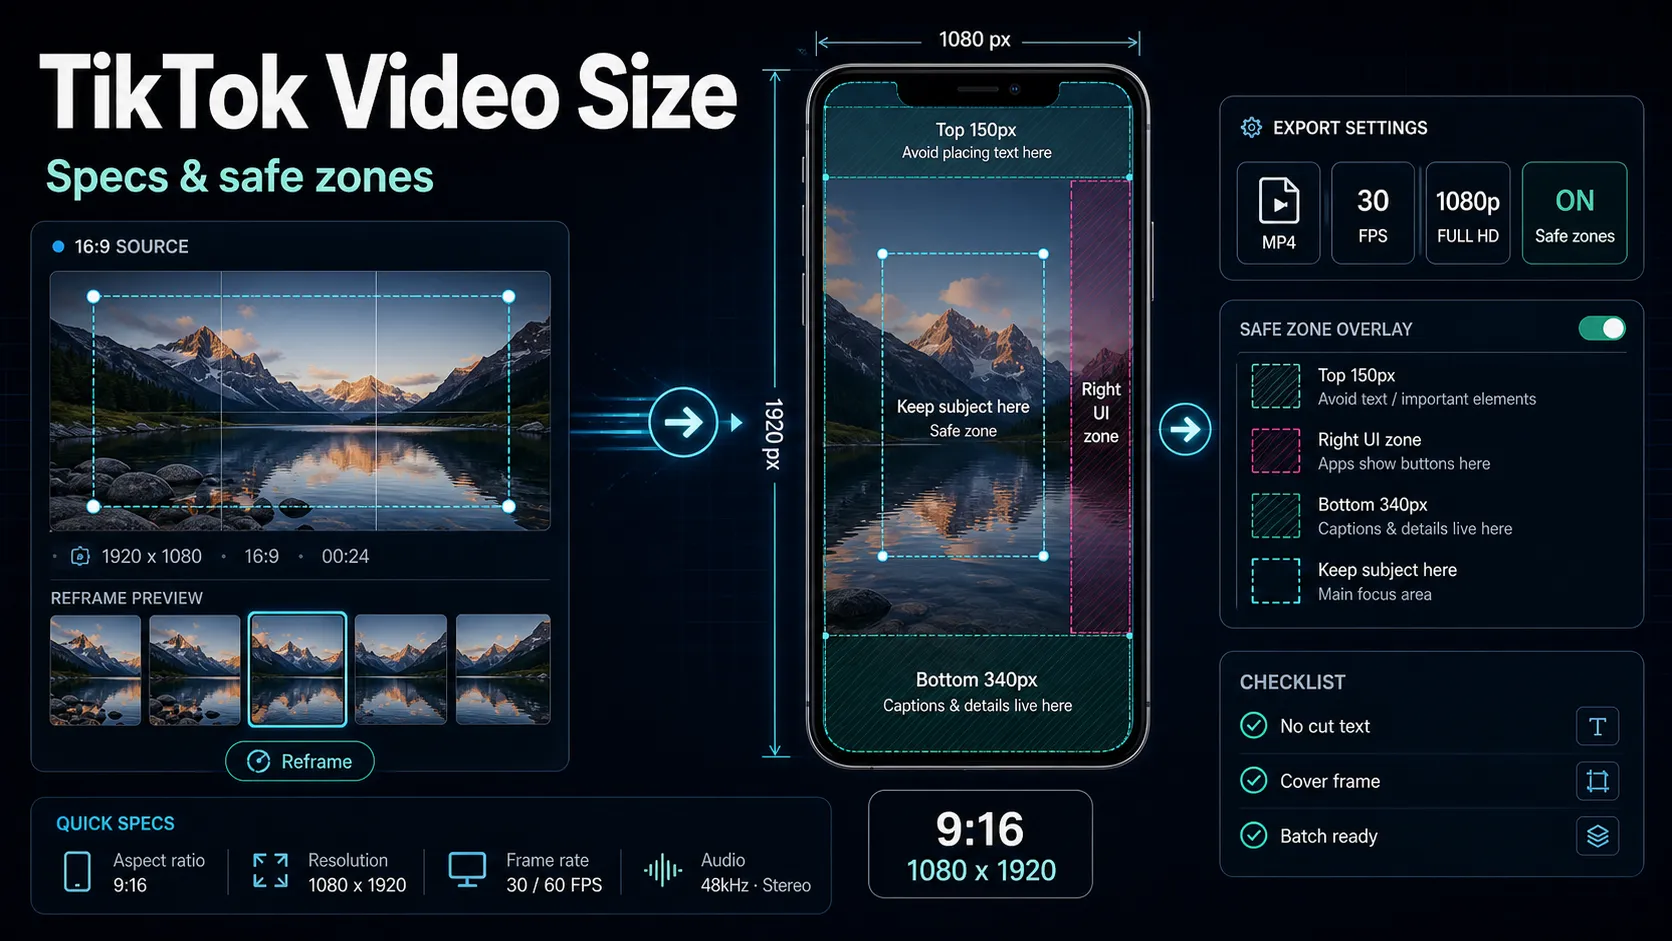
TikTok videos should be 1080 × 1920 pixels in a 9:16 vertical aspect ratio — that's the size that fills an entire phone screen with no black bars. If you remember only one thing about TikTok video size, remember those two numbers. But the spec sheet is the easy part. What actually separates a clean, professional upload from a soft, awkwardly cropped one is knowing where TikTok's on-screen buttons cover your frame, which export settings survive the platform's re-compression, and how to turn horizontal footage into vertical without slicing your subject in half.
This guide covers all of it: the core dimensions, exact safe-zone measurements, export settings, cover-frame rules, the five mistakes that quietly ruin uploads, and a repeatable workflow for converting 16:9 footage to 9:16. It's written for creators who cross-post to TikTok, YouTube Shorts, and Instagram Reels.
Key Takeaways
TikTok video size at a glance
Here's the short version in one table. If you match these settings, your video will fill the screen and look sharp.
| Resolution | 1080 × 1920 px | Native full-screen resolution; anything smaller gets upscaled and looks soft | Aspect ratio | 9:16 (vertical) | Fills the screen edge to edge with no bars | Container / format | MP4 (MOV also works) | The most reliable formats for a clean upload | Video codec | H.264 | Broadly compatible; encodes efficiently at high quality | Audio codec | AAC | Standard, well-supported audio | Frame rate | Match your source (24 / 30 / 60 fps) | Re-timing footage introduces stutter; keep the original | Orientation | Portrait / vertical | Horizontal clips get letterboxed or cropped in the feed |
Those are the numbers the top spec listicles all repeat. The rest of this guide is the stuff they leave out — the part that decides whether your careful edit actually reads on a phone.
TikTok aspect ratio: 9:16 and what else works
The TikTok aspect ratio is 9:16, which at full quality means 1080 pixels wide by 1920 pixels tall. Nine units wide for every sixteen units tall — a tall rectangle that matches how people hold their phones. This is the ratio the "For You" feed is built around, and it's the only one that fills the screen completely.
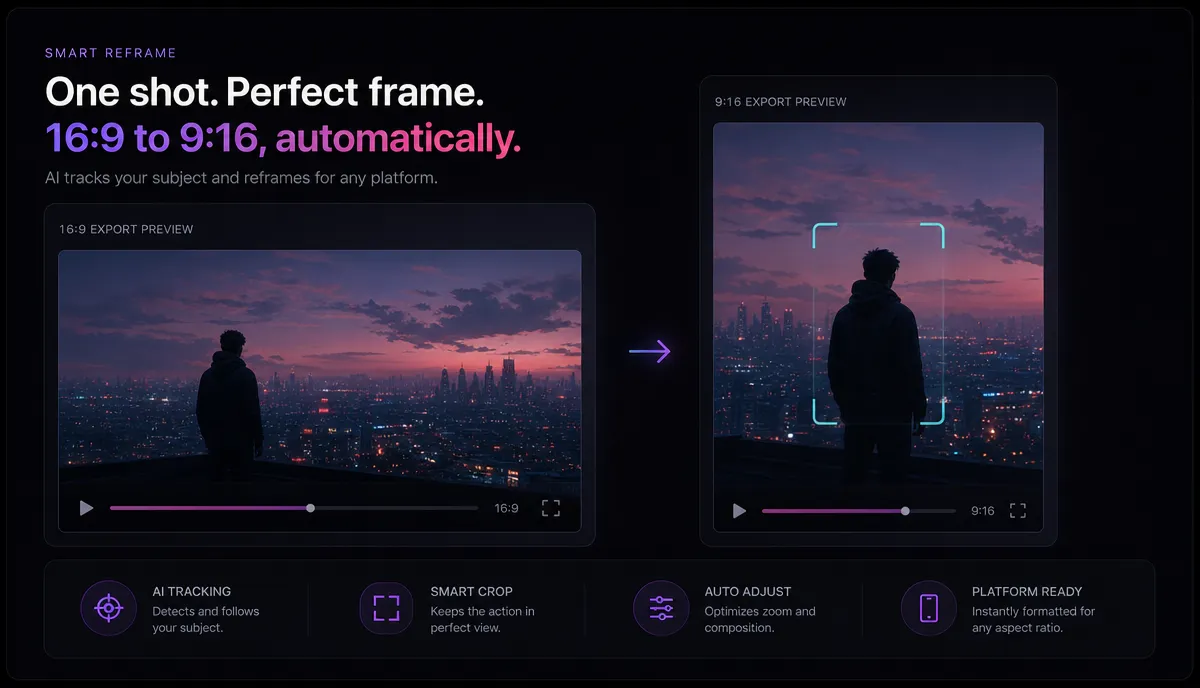
You can upload other ratios, but you trade away screen space:
The takeaway: design and export at 9:16 whenever you can. If your source footage is horizontal, reframe it first (covered below) rather than uploading it as-is and letting the feed crop it. And since YouTube Shorts and Instagram Reels share the same 9:16 / 1080 × 1920 target, one correctly sized export covers every vertical platform.
TikTok safe zones: where the UI hides your frame
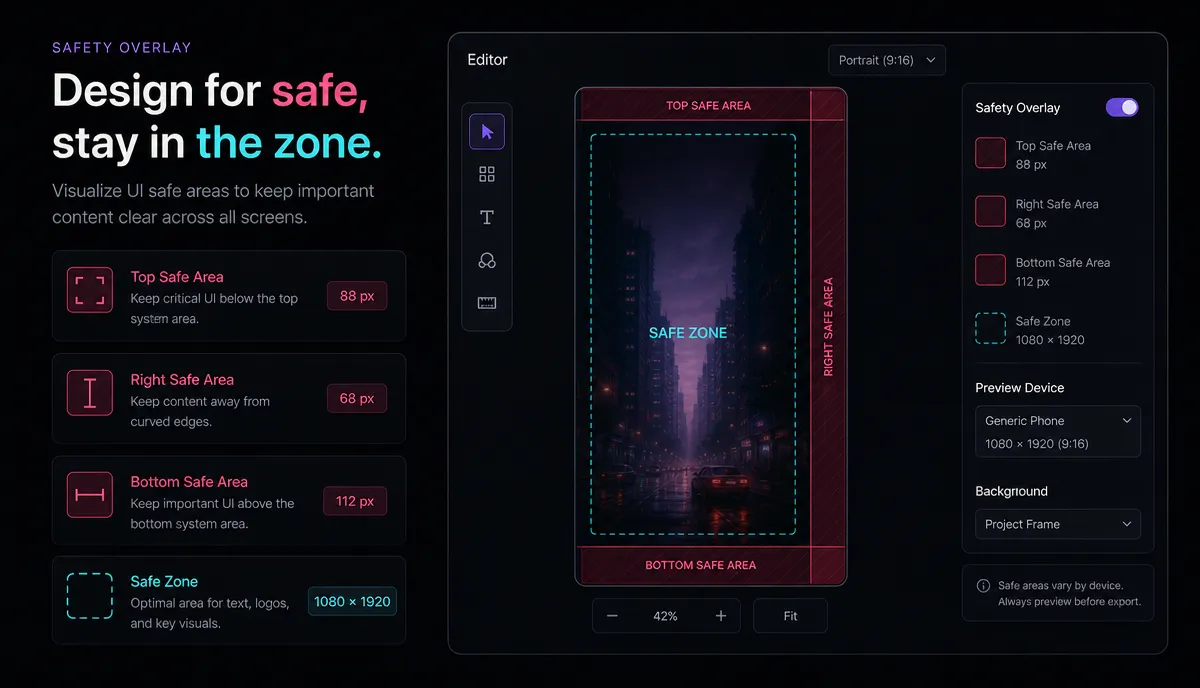
This is the section the copy-paste spec guides skip, and it's the one that matters most. Your video is 1080 × 1920, but TikTok layers its own interface on top of the lower and right portions of the frame — the like/comment/share buttons, your username, the caption, and the sound label. Anything you place under those elements gets partially covered, and on some screens fully hidden.
The TikTok safe zones — the margins you should keep clear of important content — look like this on a 1080 × 1920 canvas:
The reserved margins in numbers:
| Top | ~150 px | Search icon, "Following / For You" tabs | Right | ~150 px wide column | Profile, like, comment, bookmark, share, spinning sound disc | Bottom | ~340 px | Username, caption, music title, progress bar | Left | keep ~60 px breathing room | Mostly clear, but avoid hard-against-the-edge text |
That leaves a usable safe content area of roughly 870 × 1430 px, sitting a little left of center. Keep faces, burned-in captions, product shots, logos, and calls-to-action inside that box. The background can extend to all four edges — it should, so you never get bars — but nothing you actually need the viewer to read or see should live in the reserved margins. The bottom 340 px is the biggest trap: it's exactly where most editors default to placing subtitles.
Export settings that actually matter
Getting the resolution right is necessary but not sufficient. TikTok re-compresses every upload, so your job is to hand it a clean, high-quality source that survives that pass. These are the settings worth checking before you export:
| Resolution | 1080 × 1920 | Export at this size — don't render 720p and upscale | Format | MP4 (H.264 / AAC) | The most trouble-free combination for uploads | Frame rate | Same as source | 30 fps for most talking-head content; 60 fps for fast motion | Bitrate | High (visually lossless) | A higher source bitrate gives TikTok's compression more to work with | Color | Standard (Rec. 709 / sRGB) | Fancy color profiles can shift once TikTok re-encodes | File size | Compress only if the file is very large | Don't over-compress — that's what causes blocky, soft uploads |
Two practical notes. First, a bigger, higher-bitrate source file is your friend here: the platform will shrink it anyway, and starting from a clean master means the shrink has more detail to preserve. If your export is genuinely huge and slow to upload, compress it deliberately rather than letting the app do it for you — see our guide on how to compress a video for settings that reduce size without visibly wrecking quality. Second, if your footage came out of a camera or screen recorder as a MOV, MKV, or WebM file, convert it to MP4 first with a video format converter so the upload is predictable — odd containers are a common cause of failed or stuttering uploads.
Cover frame: the first thing anyone sees
Your cover (thumbnail) is a still frame plus optional title text, and it shows up in three different crops: full 9:16 in the feed, and a roughly centered square-ish crop on your profile grid and in search. Because the profile grid trims the top and bottom, cover text placed near the very top or bottom can get cut off in your grid even though it looks fine in the full frame.
Three rules that keep covers readable everywhere:
- Center your cover text vertically. Keep the headline in the middle band of the frame so it survives the profile-grid crop.
- Stay inside the safe area horizontally. Don't run cover text under the right button column or hard against the left edge.
- Pick a sharp, well-lit frame. Motion-blurred or dark frames read as low quality at grid-thumbnail size. If your best moment is blurry, choose a nearby clean frame and let the title text carry the hook.
Treat the cover as its own tiny design job, not an afterthought — it's doing the work of a headline in your profile grid.
Five common TikTok size mistakes (and the fix)
- Uploading a 16:9 landscape file and letting the feed bar it. Fix: reframe to 9:16 before you upload, don't rely on in-app cropping.
- Putting captions in the bottom 340 px. They collide with the username and caption row. Fix: raise subtitles into the safe content area, above the bottom margin.
- Exporting at 720p (or lower) and letting TikTok upscale. Results in a soft, mushy image. Fix: always export at 1080 × 1920.
- Baking a logo or CTA into the right button column. The like/share icons sit right on top of it. Fix: move persistent graphics to the upper-left safe zone.
- Over-compressing before upload. A tiny, heavily compressed file gets compressed again by TikTok, producing blocky artifacts. Fix: upload a clean high-bitrate MP4 and let the platform do the shrinking once.
Notice that four of these five are about placement and quality, not the headline resolution number. That's the whole point — matching 1080 × 1920 is table stakes; respecting the safe zones is what makes the video look intentional.
How to convert 16:9 footage to 9:16 without cropping your subject
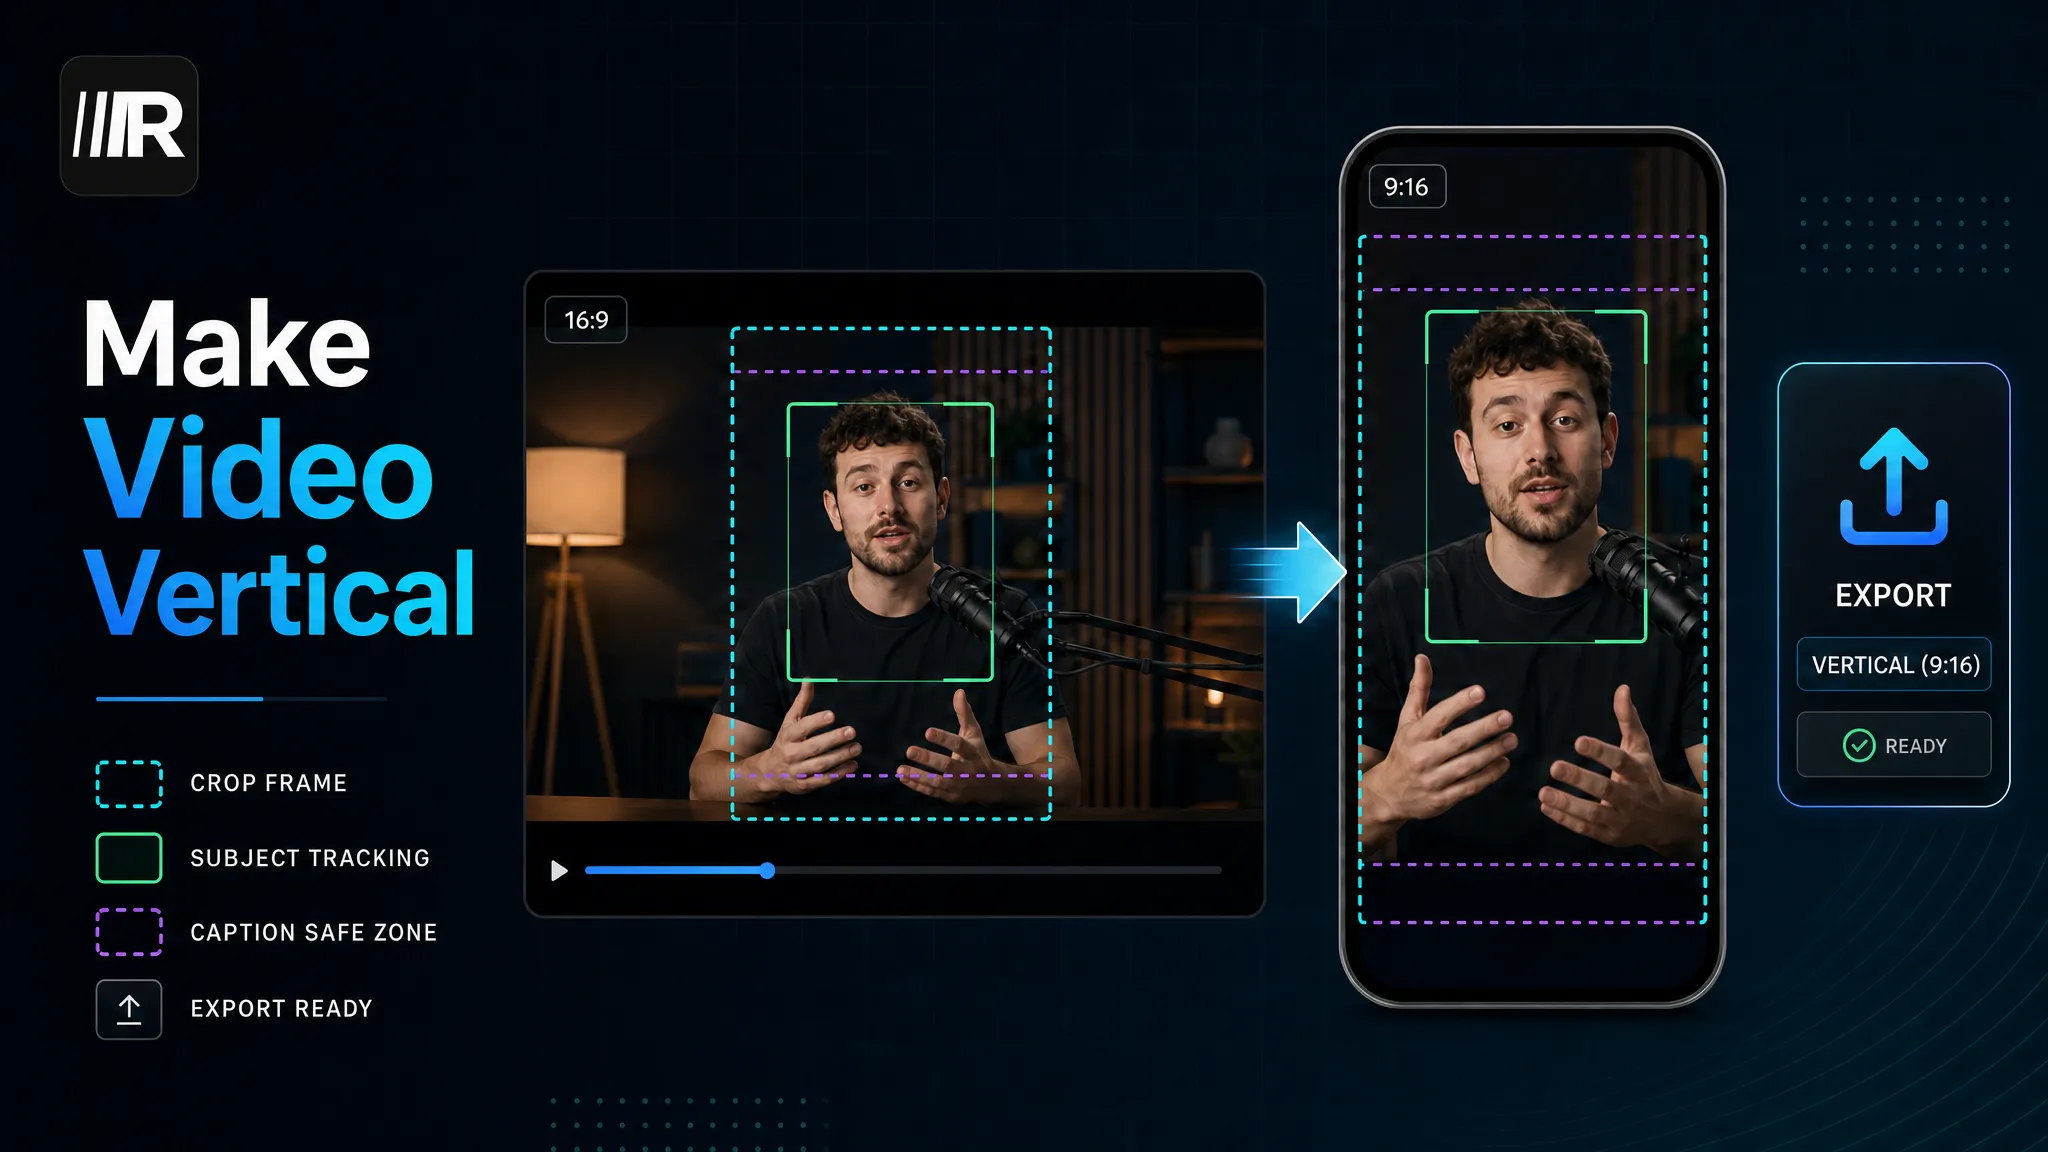
Most creators don't shoot vertical from scratch — they have horizontal YouTube footage, screen recordings, or interviews and need to repurpose them. The naive approach is to hard-crop the center of the frame, which lops the sides off and frequently cuts a person in half. Here's a cleaner workflow that keeps your subject intact. You can do the whole thing in the browser with Recapo, no install required.
- Start from your highest-resolution source. The more pixels you begin with, the more room you have to reframe without softening the image.
- Convert the container if needed. If your file is a MOV, MKV, or WebM, run it through the video format converter to get a clean MP4 first. Recapo accepts MP4, MOV, and other common formats, up to 6 GB per task.
- Set the canvas to 1080 × 1920. Open the TikTok video resizer and choose the 9:16 vertical preset so every export lands at the correct size.
- Pick a reframing strategy instead of a hard crop. You have three good options: (a) fit the full 16:9 frame into a blurred, zoomed copy of itself so the background fills the vertical space and nothing is cropped; (b) place the horizontal clip in the upper portion and use the lower band for captions; or (c) crop toward the subject but keep them fully inside the safe area rather than dead-center.
- Reposition the subject inside the safe zone. Nudge the framing so the face or product lands in that ~870 × 1430 box — left of the right button column, above the bottom caption bar.
- Add captions inside the safe area. Auto-transcribe and caption the clip, then check that the text sits above the bottom 340 px margin. For a deeper dive on going vertical cleanly, see how to make a video vertical.
- Export at 1080 × 1920, MP4. Confirm the aspect ratio reads 9:16 before you download.
- Preview on an actual phone. Send yourself the file and watch it full-screen with the real UI in mind — this catches placement problems no desktop preview will.
Batch-resizing and repurposing at scale
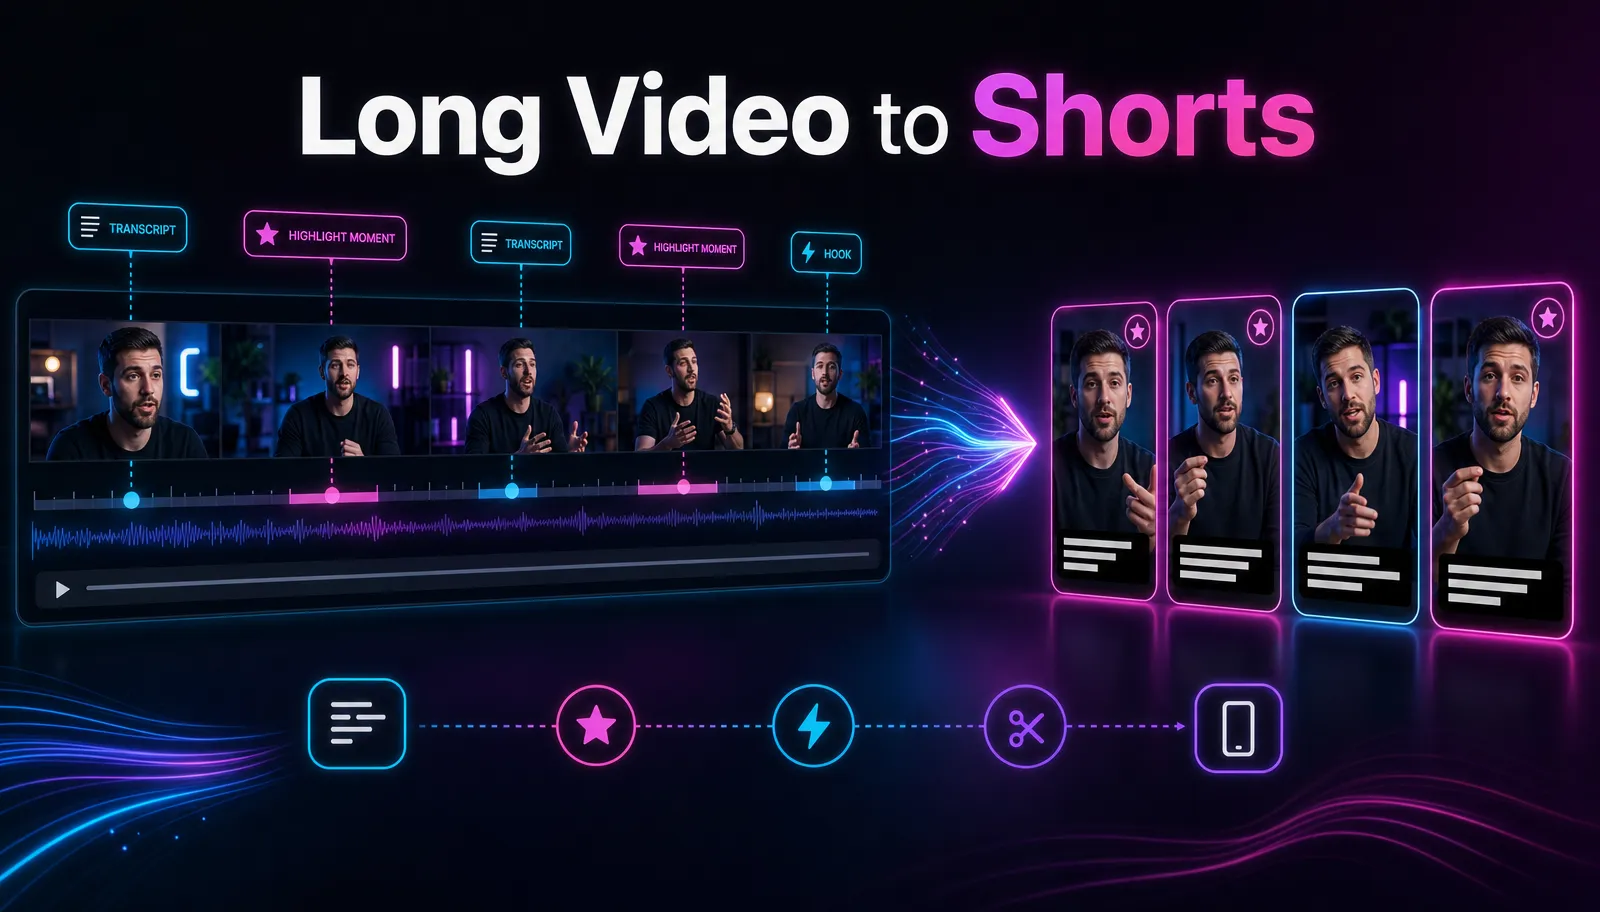
If you publish regularly, you're not resizing one clip — you're turning long videos into a steady stream of vertical shorts. The efficient pattern is: cut the long horizontal source into individual moments first, then resize each moment to 9:16 with the same preset so your whole library stays visually consistent. Working in one browser workspace means you can go long-video → clips → vertical → captions → export without shuffling files between apps, and the 6 GB-per-task ceiling comfortably fits full-length source recordings.
Two things that pay off when you batch:
FAQ
What is the ideal TikTok video size? 1080 × 1920 pixels in a 9:16 vertical aspect ratio. That resolution fills a phone screen edge to edge without black bars and gives TikTok's compression a sharp source to work from.
Can I post a 16:9 or square video on TikTok? Yes, TikTok will accept them, but they won't fill the screen. A 16:9 landscape clip shows with large black bars or gets cropped when expanded, and a 1:1 square leaves empty bands top and bottom. For full-screen playback, reframe to 9:16 before uploading.
What aspect ratio is TikTok? 9:16 — nine units wide for every sixteen tall, which at full quality is 1080 × 1920 pixels. It's the same target as YouTube Shorts and Instagram Reels, so one vertical export covers all three.
Where are the TikTok safe zones? Keep important content out of the top ~150 px, the right ~150 px button column, and the bottom ~340 px, where TikTok's interface sits. That leaves a usable safe area of roughly 870 × 1430 px, slightly left of center, for faces, captions, and logos.
Why do my TikTok videos look blurry? Usually one of three things: you exported below 1080 × 1920 and TikTok upscaled it, you over-compressed the file before uploading, or your source bitrate was too low. Export a clean 1080 × 1920 MP4 at a high bitrate and let the platform compress it just once.
Get your videos to the right size faster
TikTok video size comes down to one target — 1080 × 1920 in 9:16 — plus the discipline to keep your content inside the safe zones and export a clean, high-quality MP4. Recapo runs entirely in your browser, so you can convert formats, reframe horizontal footage to vertical, add captions inside the safe area, and export at the correct size without installing anything. Create a free account and turn your next long video into a screen-filling TikTok in a few minutes.