Audio Volume Normalizer
Normalize audio volume across clips online so speech stays consistent from cut to cut. Compare loudness, choose a target and export a balanced track in Recapo.
Click to upload or drop an audio or video file
Supports MP4, MOV, MKV, WebM, MPEG, MPG, 3GP, 3GPP, MP3, WAV, AAC, M4A, FLAC, OGG
Up to 2 GB per file
Source video up to 180 minutes
Processing continues in the background, even if you leave this page or switch languages.
Real result preview
Compare loudness in the same audio before and after processing for a more consistent level.
Why stitched clips jump in volume
Every recording device and source file makes its own decision about levels: phone mics auto-adjust gain, downloaded clips arrive already mastered, and screen recordings depend on whatever the system volume was that day. Cutting them together preserves each clip's history �?which is exactly the problem. Normalization erases that history by measuring perceived loudness, not just peak level, and aligning every segment to one target.
- 01
Add the uneven clips
Upload one file with volume swings, or the set of segments you plan to stitch together �?local files or link imports both work.
- 02
Level the loudness
Each clip's perceived loudness is analyzed and brought to a common target, lifting the quiet parts and reining in the loud ones without audible pumping.
- 03
Export or keep cutting
Download the leveled audio, or continue assembling the video �?captions, voiceover, and cropping all behave better on a consistent track.
Compilation and recap edits drawing from many source videos.
Voiceover recorded across multiple sessions at different mic distances.
Interview or reaction formats where two speakers were captured at different levels.
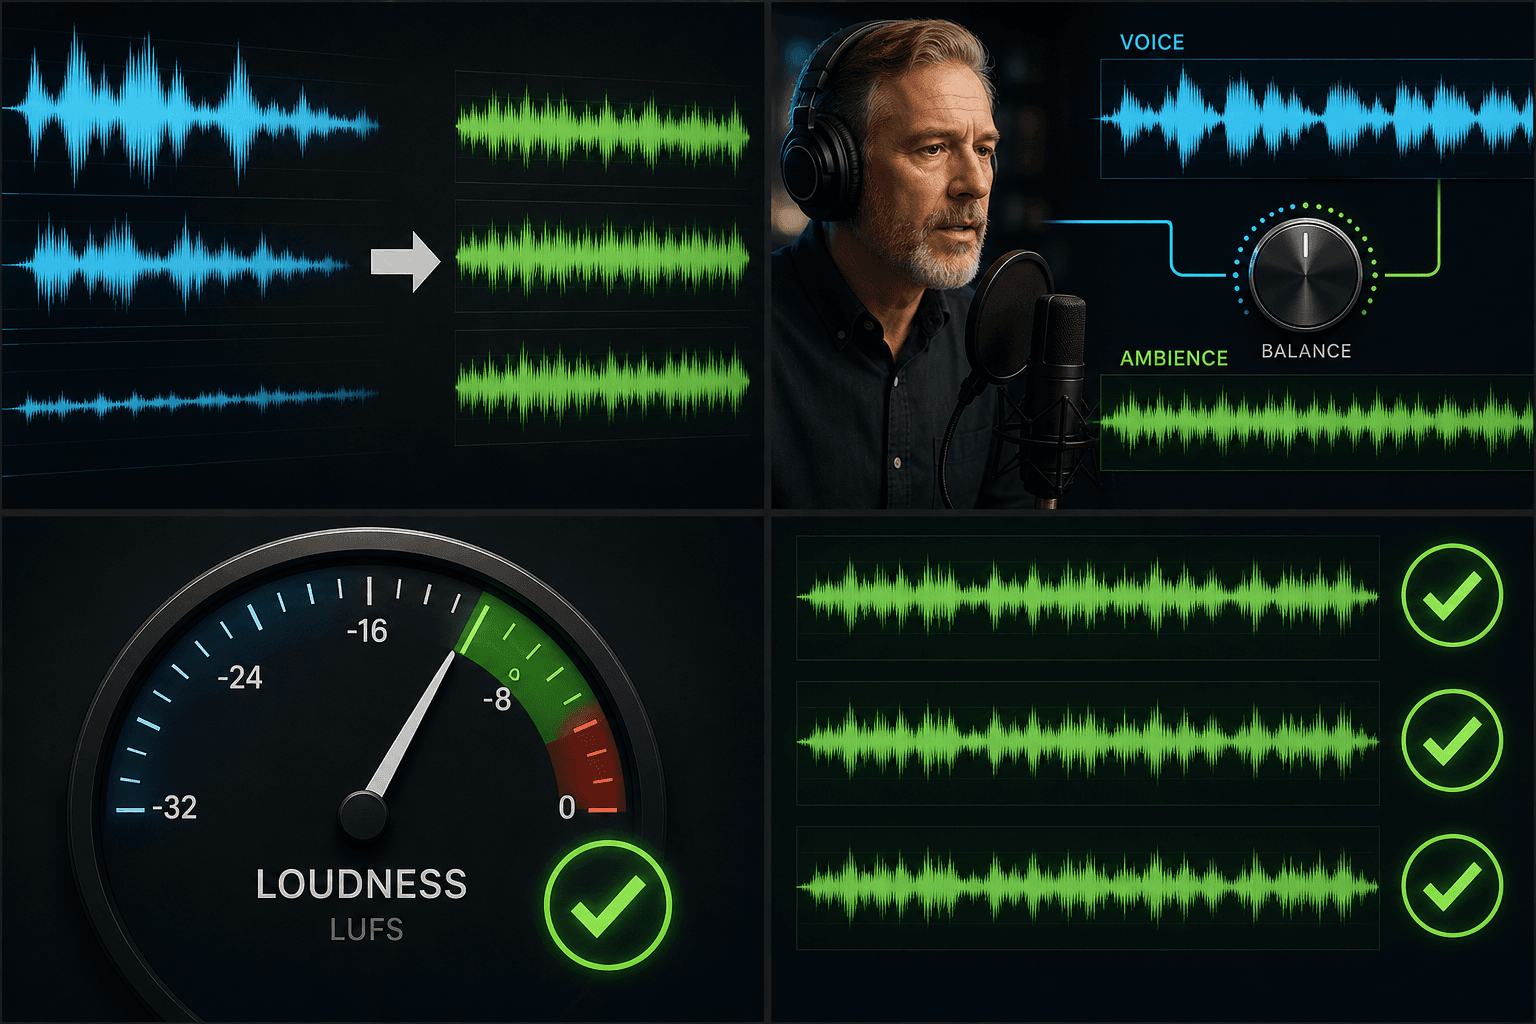
Loudness normalization and platform playback standards
Major platforms measure uploads in LUFS �?a model of perceived loudness �?and adjust playback toward their own reference level. Master your video far above the target and the platform simply turns it down, throwing away the headroom you fought for; leave sections far below and they stay quiet. Delivering an evenly normalized track means the platform's adjustment lands on the whole video uniformly, so it plays back the way you mixed it.
Built for these real workflows
Normalize episodes one at a time
Standardize one audio or video file
Calibrate loudness before publishing
Continue with the next step
Frequently asked questions
How is normalizing different from just turning the volume up?
A simple gain boost raises everything by the same amount, so loud parts get louder along with the quiet ones. Normalization measures each clip's perceived loudness first and applies different adjustments per segment, which is what actually fixes loud-quiet jumps.
Will normalization distort or clip my loud sections?
No �?loud segments are brought down toward the target rather than pushed past full scale, and quiet segments are raised within safe limits, so the result stays clean instead of crunchy.
Should I normalize before or after adding the AI voiceover?
Level the source clips first so the narration is mixed against a stable bed. If you later swap in new footage from another source, run normalization again on the final assembly before export.
What loudness level does it normalize to?
It levels your track toward a consistent loudness target suitable for spoken-word video, so narration stays at a steady volume instead of swinging between loud and quiet sections. This is part of the Recapo recap and commentary workflow and is still in development, so exact target settings may evolve.
Can I normalize the audio inside a video file, or only standalone audio?
You can bring in a video file and level its audio, or work with a standalone audio track. If you only want to touch the sound, you can pair it with Extract Audio from Video first.
Will normalizing make my background music drown out the voice?
Normalizing targets overall loudness rather than mixing levels between tracks, so it evens out volume swings without intentionally pushing music over narration. For best results, level a clean voice track and a music track separately.
Start using Volume Normalizer
Provide the input and essential settings above. Your result stays in the current tool workflow.
Back to tool