How to Reduce Video Size to Meet Upload Limits
Reduce video size to meet upload limits by checking the destination first, then adjusting duration, resolution, bitrate, or codec in that order.
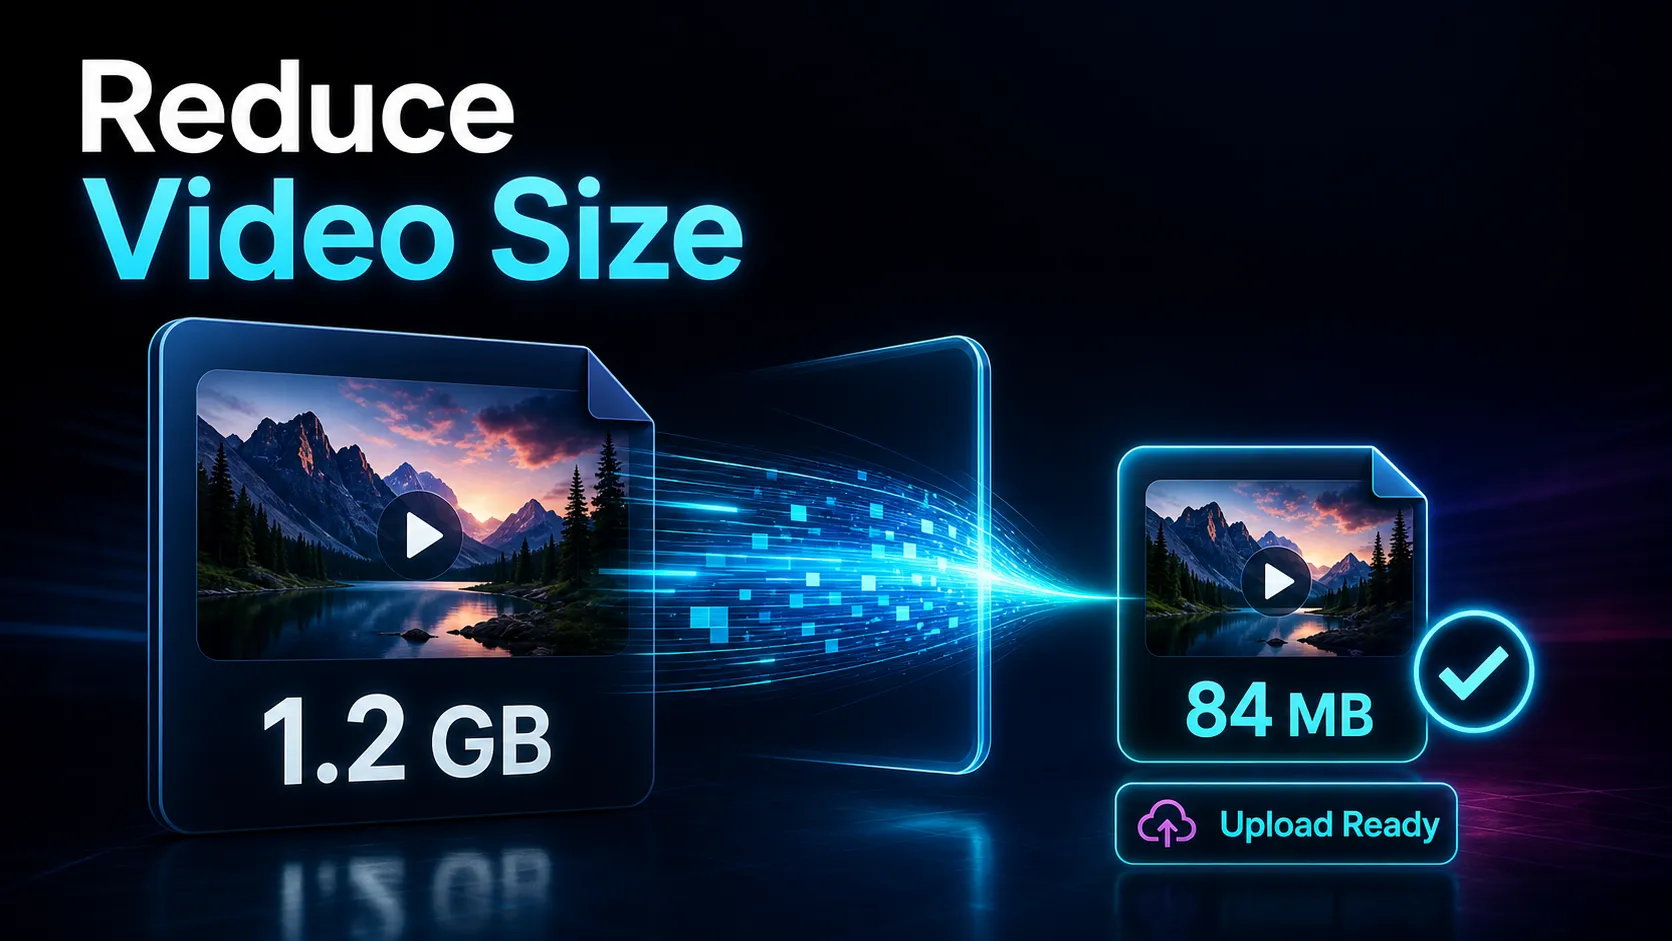
If your export just bounced back with a "file too large" error, you don't need a new camera or a faster connection — you need to know how to reduce video file size before the next upload attempt. This guide is built specifically around the thing that sent you here: upload limits. We'll cover what actually makes a video file heavy, the size and length walls each platform puts in front of you, the handful of levers that shrink an MP4 without wrecking how it looks, and how to do the whole thing in a browser tab. The honest headline first: a video is almost always "too big" for one of four reasons — resolution, bitrate, length, or codec — and you rarely have to touch all four to slip under the cap.
The phrase people search alongside this is "reduce video size without losing quality," and it deserves a straight answer. You can absolutely shrink a file a lot while keeping it looking clean on a phone screen — but "without losing quality" is a perceptual promise, not a mathematical one. The trick is spending your quality budget where nobody notices: dropping a bitrate that was overkill for social, or trimming forty seconds of dead air, instead of crushing the resolution your viewers actually see. Get the order of operations right and most "video too big to upload" problems disappear in a single export.
Fact-check note: Platform rules and product limits were checked against official sources on July 10, 2026. They can change, so verify the linked source before acting on a threshold or specification.
What actually makes a video "too big to upload"
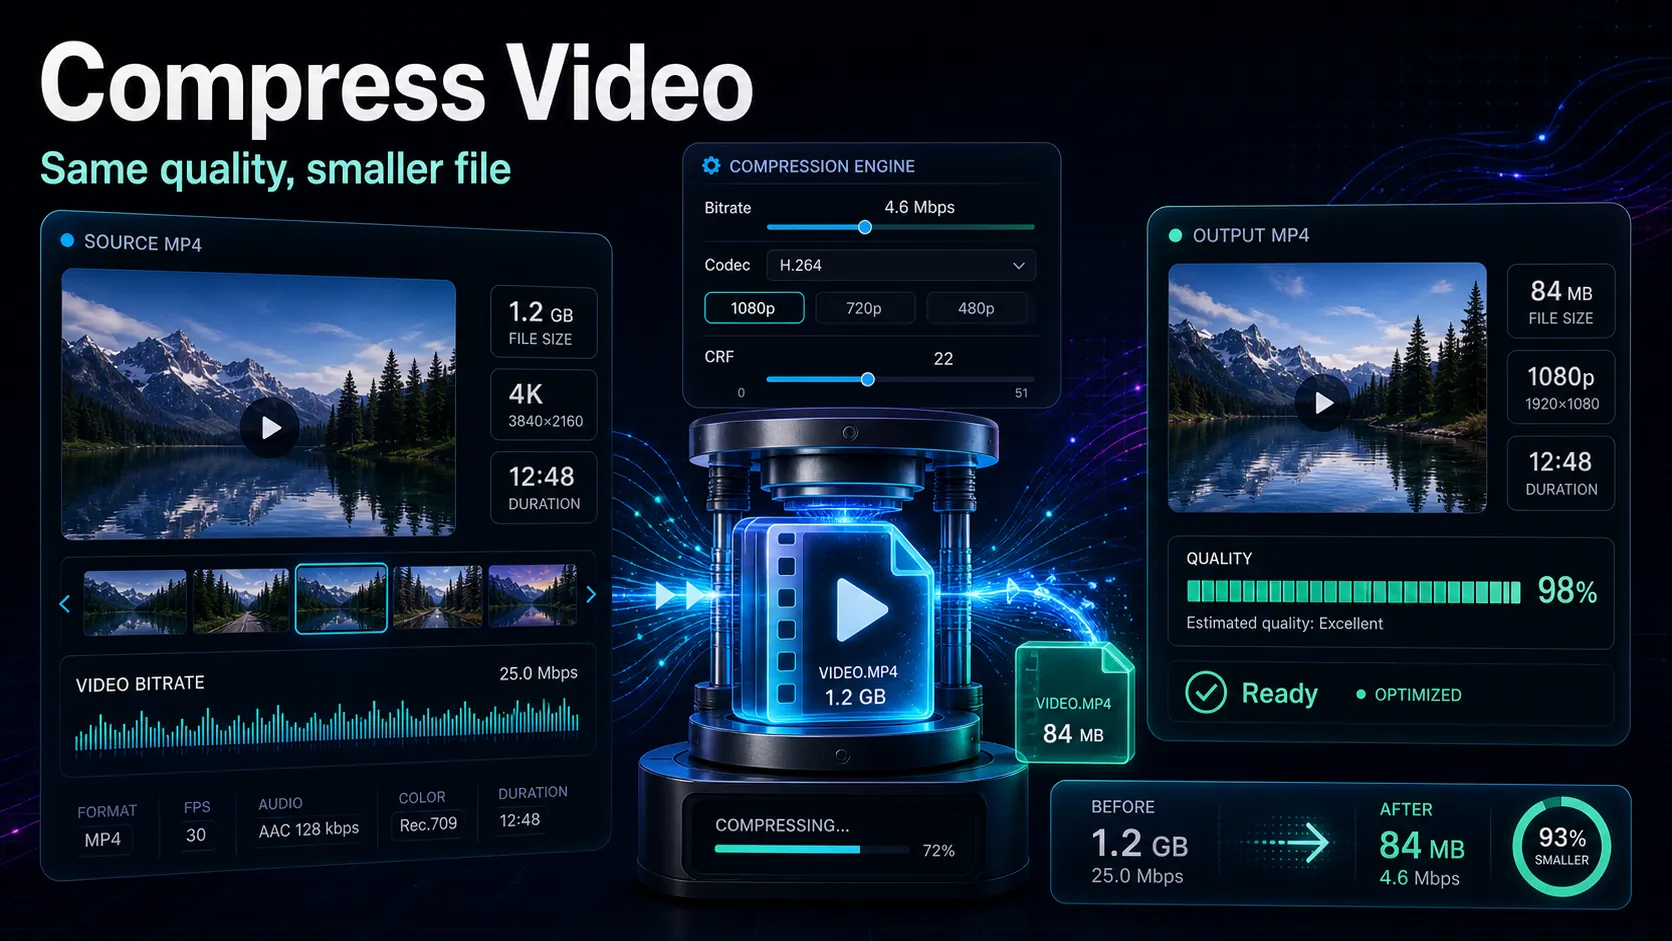
Roughly speaking, file size = bitrate × duration. Everything you can change to shrink a file is really changing one of those two things, and bitrate is where most of the fat lives. Four ingredients set it:
| Ingredient | What it controls | The shrink lever |
|---|---|---|
| Resolution | Pixel dimensions (4K, 1080p, 720p) | Export at the size the platform actually shows |
| Bitrate | Data spent per second of video | Lower it, or use a quality-based (CRF) export |
| Duration | How long the clip runs | Trim dead air; cut to the moment that matters |
| Codec | How efficiently pixels are stored | H.264 for compatibility, H.265 for size |
The most common mistake is uploading a file at the resolution and bitrate it was recorded at. A phone or screen recorder often captures at 4K and a high bitrate to give you editing headroom you'll never use once it's a 9:16 clip on someone's feed. That headroom is exactly what pushes you over the limit — and it's also the cheapest thing to give back.
Upload limits by destination: why the wall keeps moving
"Video too big to upload" doesn't mean one number. Every destination enforces a different mix of file-size cap, length cap, and resolution recommendation, and some even change the rules between their app and their website. Here's the map — treat the specifics as directional and confirm the current figure on each platform's own help pages, because these limits get revised often.
| Destination | The wall you usually hit | How to get under it |
|---|---|---|
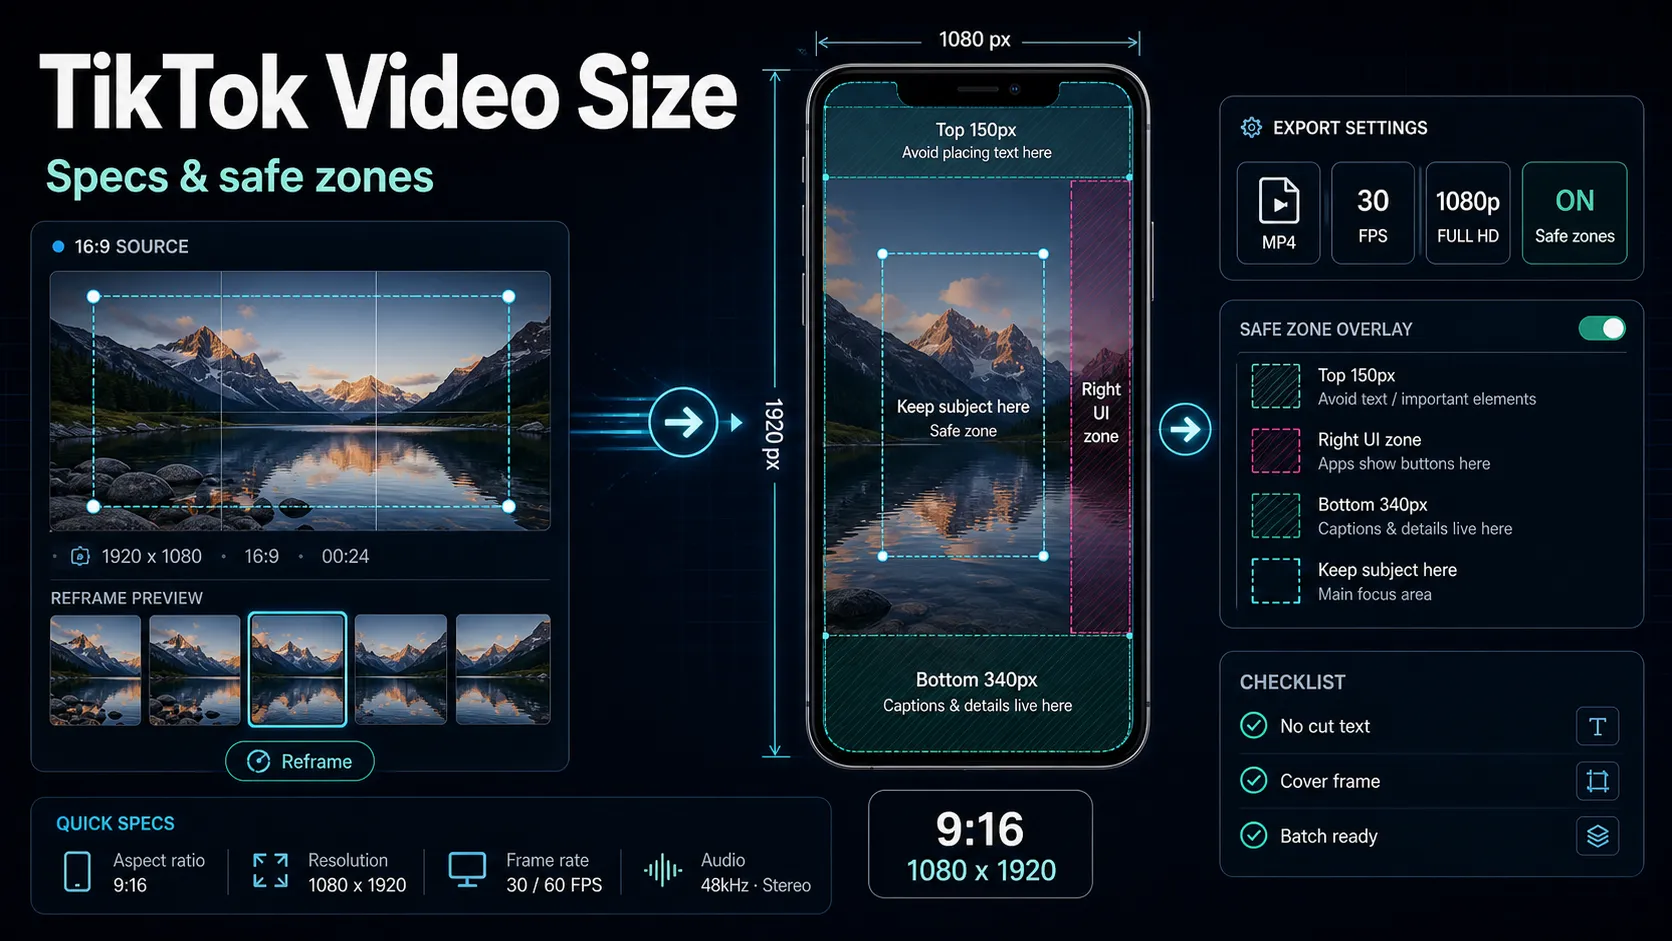
| TikTok | Larger files upload on the web than from the in-app camera | Upload via the website; export 1080p vertical, trimmed short |
| Instagram Reels / feed | Length caps and a 1080p recommendation, not raw file size | Keep it vertical, 1080p, within the current Reel length |
| YouTube | Length is gated until your account is verified; huge max file size after | Verify your account; otherwise trim under the default limit |
| Email (Gmail) | A hard attachment cap (Google lists 25 MB) | Send a link, or compress hard to squeeze under it |
| Discord / Slack | A small per-file cap on free tiers | Compress aggressively, or share a link instead |
Two things worth calling out. First, for TikTok the web uploader generally accepts bigger files than recording inside the app, so if you're stuck, try the website first and confirm the current size limit in TikTok's own upload guidance. Second, YouTube's real gate for most people isn't file size at all — it's the default upload-length limit that lifts once you verify your account, per YouTube's Help Center. Knowing which wall you've hit tells you exactly which lever to pull.
For a deeper walk-through of the mechanics with the exact export settings, our companion guide on how to compress a video goes lever by lever. If TikTok is your destination, the TikTok video size guide covers dimensions and specs in one place.
The four levers that shrink a file — and what each costs
Once you know your target, you pull one to four of these levers. They're listed by bang-for-buck: the top ones give the biggest size cut for the smallest visible cost.
- Resolution — the biggest single lever. Going from 4K to 1080p can cut file size dramatically because you're storing roughly a quarter of the pixels. On a phone-first feed, 1080p is plenty. Only keep 4K if your destination genuinely shows it and you genuinely need it.
- Bitrate (or CRF) — the quality dial. Bitrate is how much data you spend per second. Exporting with a quality-based setting (often labeled CRF in H.264/H.265 encoders) lets the encoder spend data only where the picture is complex. A moderate bitrate reduction is usually invisible on social; an aggressive one starts to show as blockiness in fast motion.
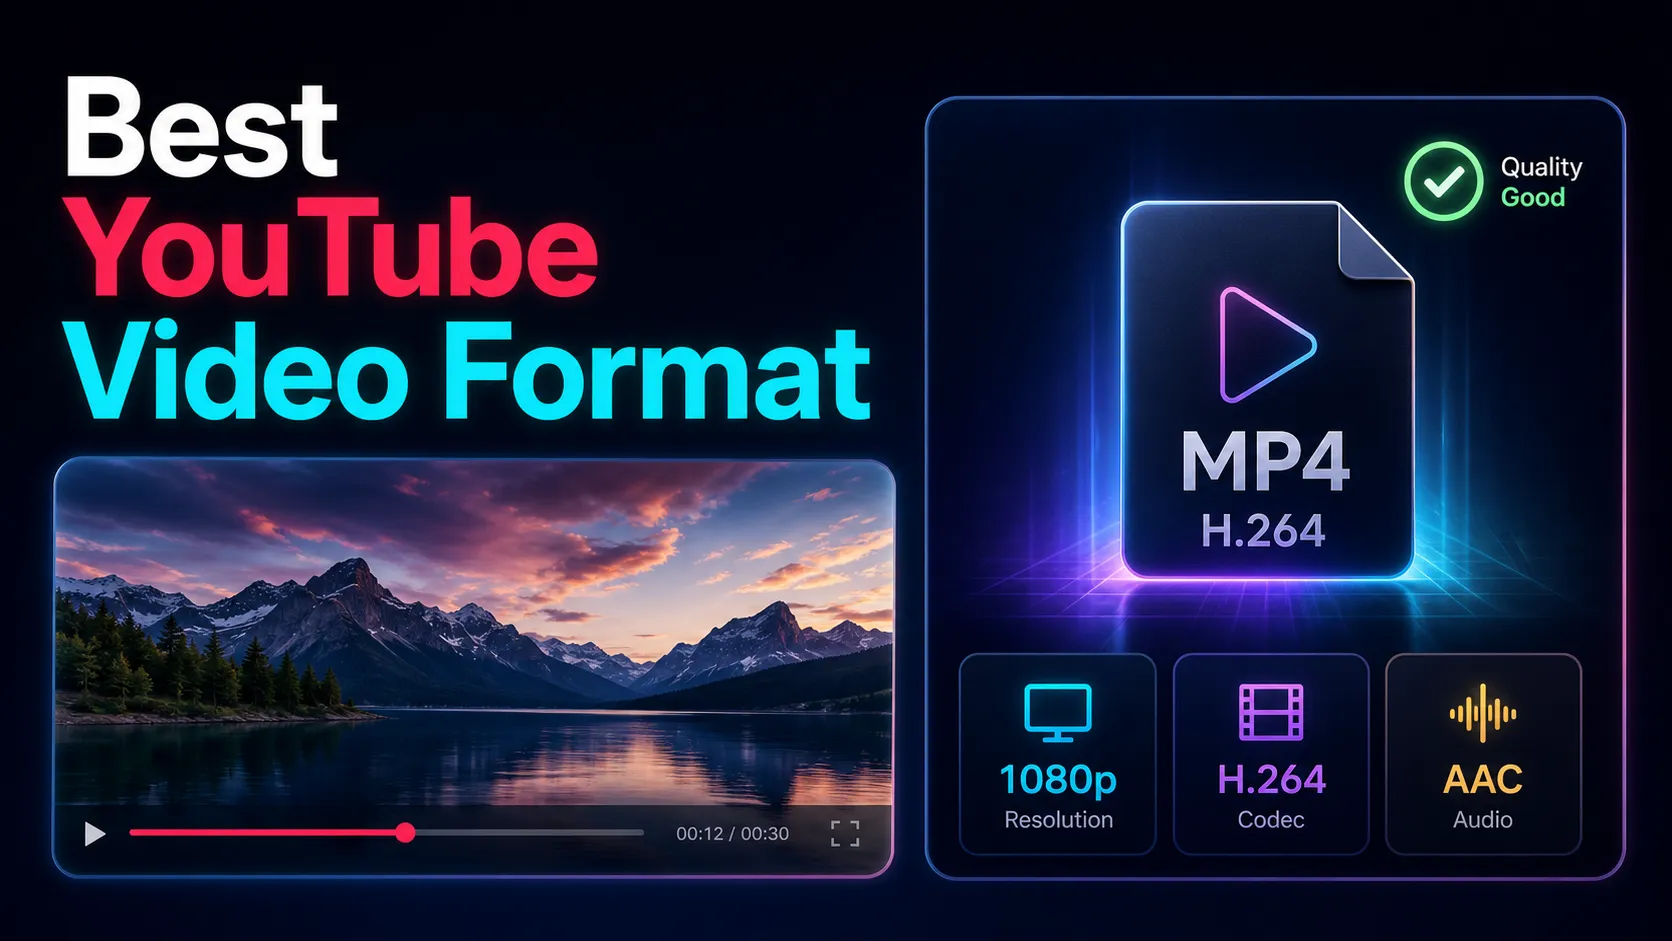
- Codec — same picture, smaller box. H.264 is the universal-compatibility choice and plays everywhere. H.265/HEVC stores the same visual quality in a noticeably smaller file, at the cost of slightly less universal support. If your destination accepts it, H.265 is a clean way to shrink an MP4 file size without touching resolution.
- Duration — the free win. Every second you cut removes its share of the file. Trimming intros, dead air, and rambling is the one lever that improves the video while shrinking it. For long recordings, cutting to the highlight is often the whole solution.
A useful rule: pull the levers in this order and stop the moment you're under the cap. Most creators get there on resolution and trimming alone, before they ever have to compromise on bitrate.
How to reduce video file size for upload, step by step
Here's the repeatable routine. It works the same whether you're on a laptop or a phone, and it maps directly to the levers above.
- Identify the actual wall. Is your file blocked by size, by length, or by a resolution recommendation? Check the destination's limit first so you're solving the right problem.
- Trim before you compress. Cut the clip down to what viewers actually need. This alone can drop a file under the cap, and it costs you zero quality.
- Match resolution to the destination. Export vertical clips at 1080p for TikTok, Reels, and Shorts. Don't ship 4K to a feed that displays a fraction of it.
- Set a sensible bitrate or CRF. Start moderate. If you're still over, nudge it down one step and re-export rather than crushing it in a single pass.
- Pick the right codec. H.264 MP4 for maximum compatibility; H.265 if the destination accepts it and you need a smaller file at the same quality.
- Export, then check the size and a few frames. Confirm you're under the limit and that motion still looks clean before you upload.
"Reduce video size without losing quality" — what that really means
This is the promise every compressor tool makes, so let's be precise. You cannot remove data from a file and keep it mathematically identical — that isn't how lossy video works. What you can do is remove data your audience will never perceive on the screen they're watching on. That's the honest version of reduce video size without losing quality, and it's very achievable:
- Spend your quality budget where eyes go. Keep resolution and clean motion; sacrifice a bloated bitrate that was only ever editing headroom.
- Encode once at the final settings. Re-compressing an already-compressed file stacks artifacts. Go from your master to the upload-ready file in a single export.
- Match the delivery, not the archive. Your archive copy can stay high-bitrate; the upload copy only needs to look right on a phone.
If a tool promises a tiny file and pristine quality and keeps your full 4K resolution, read the fine print — something usually gives, whether that's the codec, the bitrate, or a watermark.
Compressing for social media vs. for email and chat
The right amount of compression depends entirely on where the file is going, and the two cases pull in opposite directions.
To compress a video for social media, you're optimizing for the fact that a platform re-encodes your upload anyway. TikTok, Instagram, and YouTube all transcode what you send, so shipping a clean 1080p vertical file at a moderate bitrate gives their encoder good source material without wasting your upload time. Oversized 4K files just take longer to upload and get squeezed on the far end regardless.
To email or DM a file, you're fighting a hard, small cap (Gmail's 25 MB attachment limit, a modest per-file cap on chat apps). Here you compress aggressively — lower resolution, trim hard, accept some quality loss — or, honestly, just send a link to a hosted copy instead. For a ten-minute recording, a link almost always beats a mangled attachment.
Do it in the browser — without installing anything
You don't need desktop software to get under an upload limit. Because the heaviest files are usually long recordings exported at oversized resolutions, the two levers that fix most cases — trimming and resizing — are exactly what a browser editor handles well.
Recapo's AI video editor runs in a tab with no install, accepts common formats like MP4 and MOV, and handles up to 6GB total per task — so even a large source file can go in, get trimmed to the segment you need, and come out as a lean, upload-ready export. If your destination is vertical, the TikTok video resizer and Instagram Reels resizer reframe a horizontal file to 9:16 at platform-standard dimensions — and by dropping the frame to the size the app actually shows, they naturally trim the file down at the same time. Recapo isn't a single-purpose compressor; it's built for repurposing, and the practical limitation is that trimming to the highlight and exporting at the right size solves the "too big" problem for the majority of long uploads without you ever opening an encoder's advanced panel.
FAQ
Why is my video too big to upload? Almost always because it's exported at a higher resolution and bitrate than the destination needs — often 4K with editing headroom — or because it's simply too long for the platform's length cap. Check whether you've hit a file-size wall or a length wall first, then trim and lower resolution to match.
How do I reduce video file size without losing quality? Cut length first (free, no quality cost), then export at the resolution your platform actually displays (usually 1080p for vertical social), and only then lower the bitrate. "Without losing quality" means removing data viewers won't notice on a phone — keep resolution and clean motion, give back the bitrate overkill.
What's the best format to shrink an MP4? Keep it as an MP4 but choose the codec by need: H.264 to play everywhere, or H.265/HEVC to store the same quality in a smaller file where the destination supports it. Switching codec can shrink the file without touching resolution.
Does lowering resolution always reduce file size? Yes — fewer pixels means less data per frame, so dropping 4K to 1080p is usually the single biggest size cut. It only hurts if the destination genuinely displays the higher resolution, which most vertical social feeds do not.
Can I compress a video for upload in the browser? Yes. A browser-based editor lets you trim and resize a large file into a lean, upload-ready export with no install. Since long, oversized recordings cause most "too big" errors, trimming to the highlight and exporting at platform resolution fixes the majority of cases.
Next time an upload bounces, don't grab a random one-click compressor and start from scratch. Open Recapo's AI video editor in your browser, trim your recording down to the part that matters, reframe it vertical with the TikTok or Instagram Reels resizer, and export a clean file that clears the cap on the first try. Create your free Recapo account to save your workspace and turn one oversized recording into a batch of upload-ready clips.
References and official sources
- YouTube: Recommended upload encoding settings
- FFmpeg documentation
- YouTube Help: Edit video settings
- Recapo.ai: Product overview and current upload limits
- Recapo.ai: AI Video Editor
- FFmpeg: Official documentation