How to Summarize a Long Video (and Get Clips From It)
Learn how to summarize a video the creator way: transcribe, generate an AI video summary, build chapters, and reverse-lookup the best highlight clips.
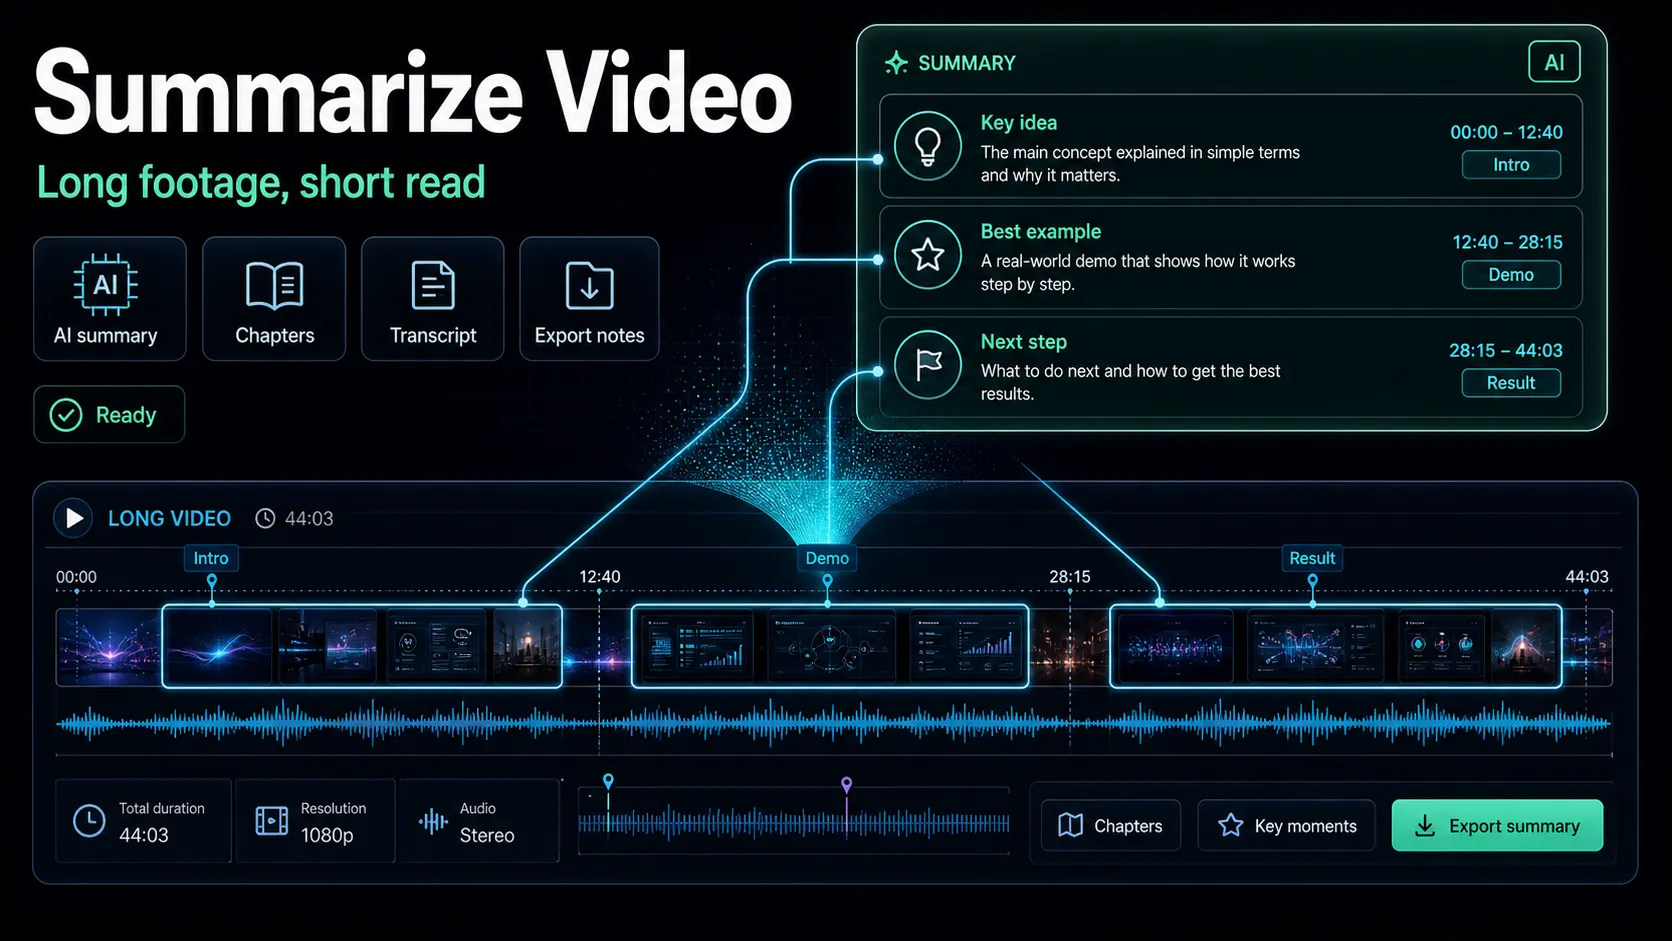
If you have a 45-minute webinar, tutorial, or podcast recording and you need the key points fast, here is the short answer for how to summarize a video: transcribe it automatically, then run an AI summary over the transcript to pull out the main ideas, chapter markers, and quotable moments. That turns an hour of rewatching into a few minutes of reading, and it works whether the video is yours or someone else's.
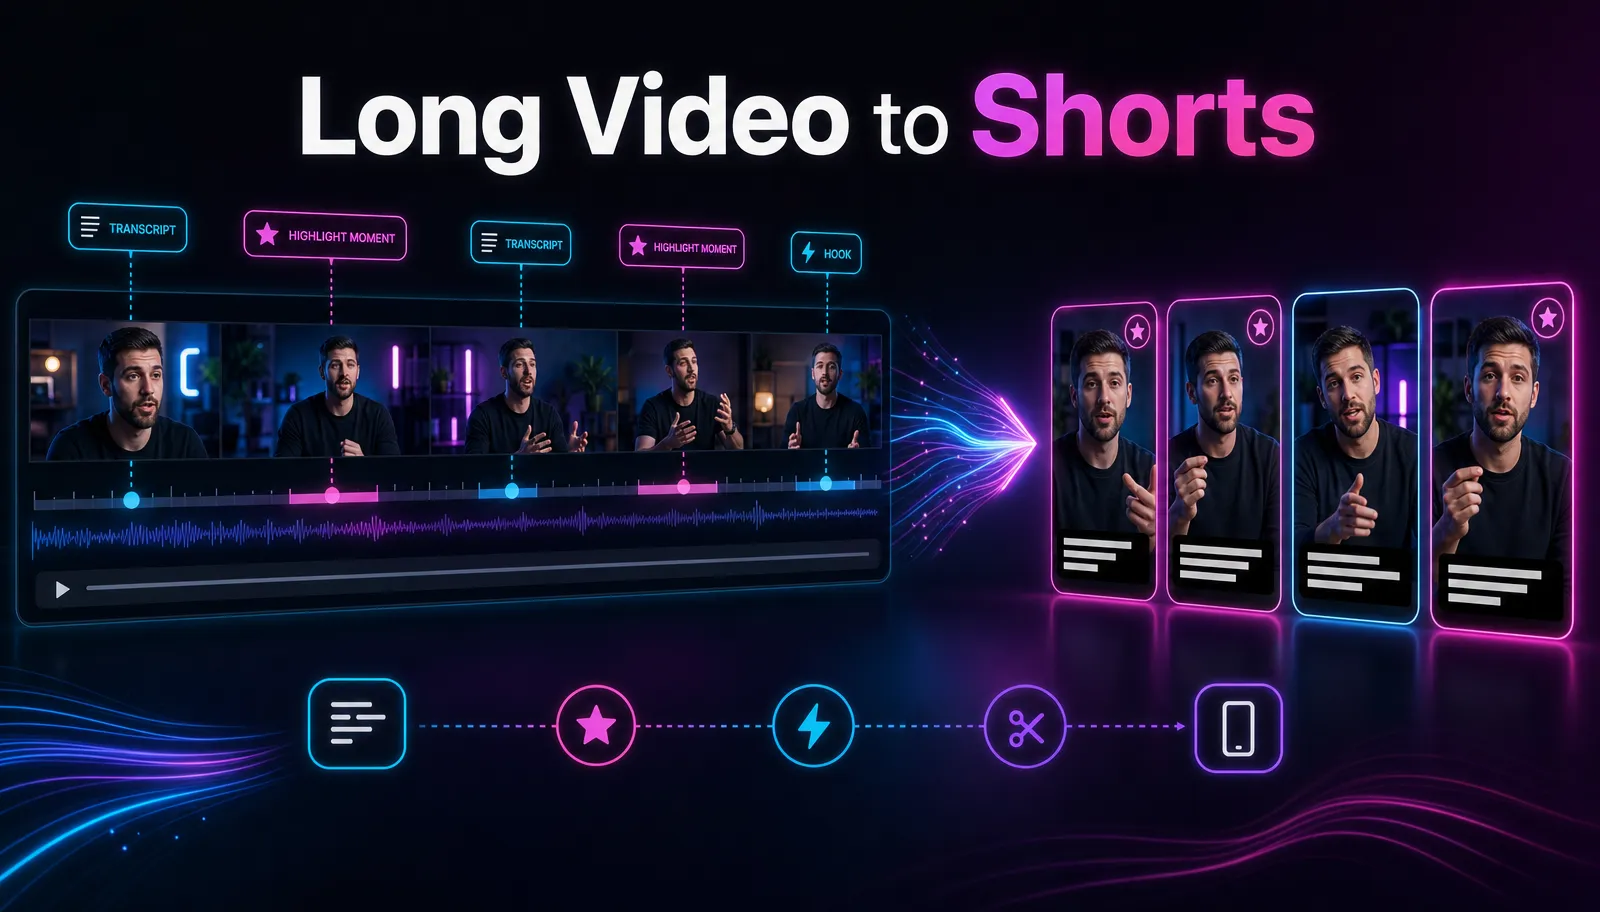
But most "how to summarize a video" guides stop at the viewer's job — paste a YouTube link, get bullet points, move on. This one is written for creators. The bigger payoff is learning to summarize your own long video and convert that summary into chapters, a description, and a set of highlight clips you can actually publish on YouTube, TikTok, Shorts, and Reels. Same transcript, two outcomes: faster understanding and more content from one recording.
Key Takeaways
Why summarize your own video, not just other people's
The tools ranking for "ai video summarizer" are built for students and busy viewers who want to skip the watching. That is a valid job. But if you record long-form content, a summary is raw material, not just a shortcut.
Here is the difference in plain terms:
| Viewer's summary | Creator's summary |
|---|---|
| Goal: understand faster | Goal: repurpose and publish |
| Output: bullet points | Output: chapters, description, clip list |
| Used once, then discarded | Feeds Shorts, Reels, blog posts, newsletters |
| Cares about accuracy of ideas | Cares about exact timestamps too |
When you summarize a video you made, you are really doing three jobs at once: writing the description and chapter list, deciding which moments deserve a standalone clip, and drafting the hooks for those clips. A good summary workflow does all three from a single transcription pass, which is why it is worth setting up properly instead of copy-pasting a generic blurb. The viewer throws the summary away after reading it; you keep working from it for a week.
What a complete video summary actually contains
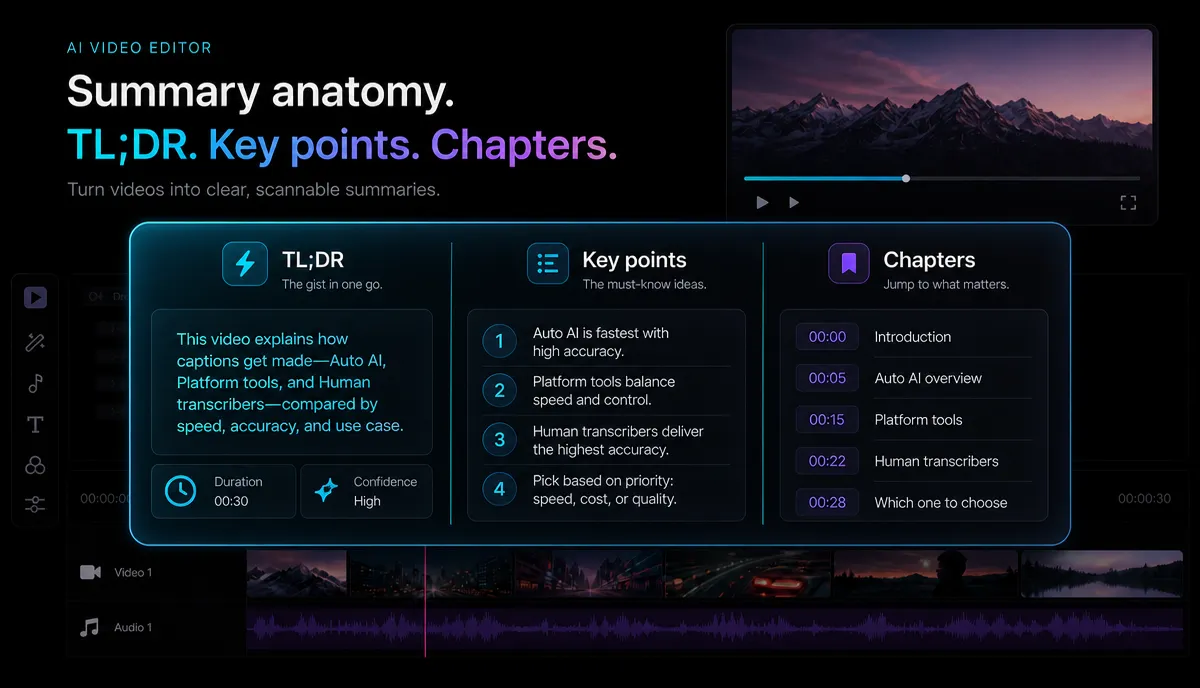
A one-paragraph blurb is not enough to repurpose from. Aim for a structured summary with these parts:
- A one-sentence premise — what the whole video is about, in plain language.
- 3–7 key points — the load-bearing ideas, in the order they appear.
- Chapter markers — a timestamp and short label for each section.
- Quotable moments — the two or three lines that would work as a hook or caption.
- A short description — 2–4 sentences you can paste into the YouTube description box.
The first two parts help a viewer. The last three are what make the summary useful to you as a creator. If your summarizing tool only gives you parts one and two, you will still be doing the repurposing work by hand — which defeats the point of automating the read.
Step by step: from a long video to a usable summary
Here is the workflow I use for any recording over ten minutes. In Recapo, it runs entirely in the browser, so there is nothing to install and no local rendering: upload, transcribe, summarize, break scenes down, cut clips, caption, and export in one workspace.
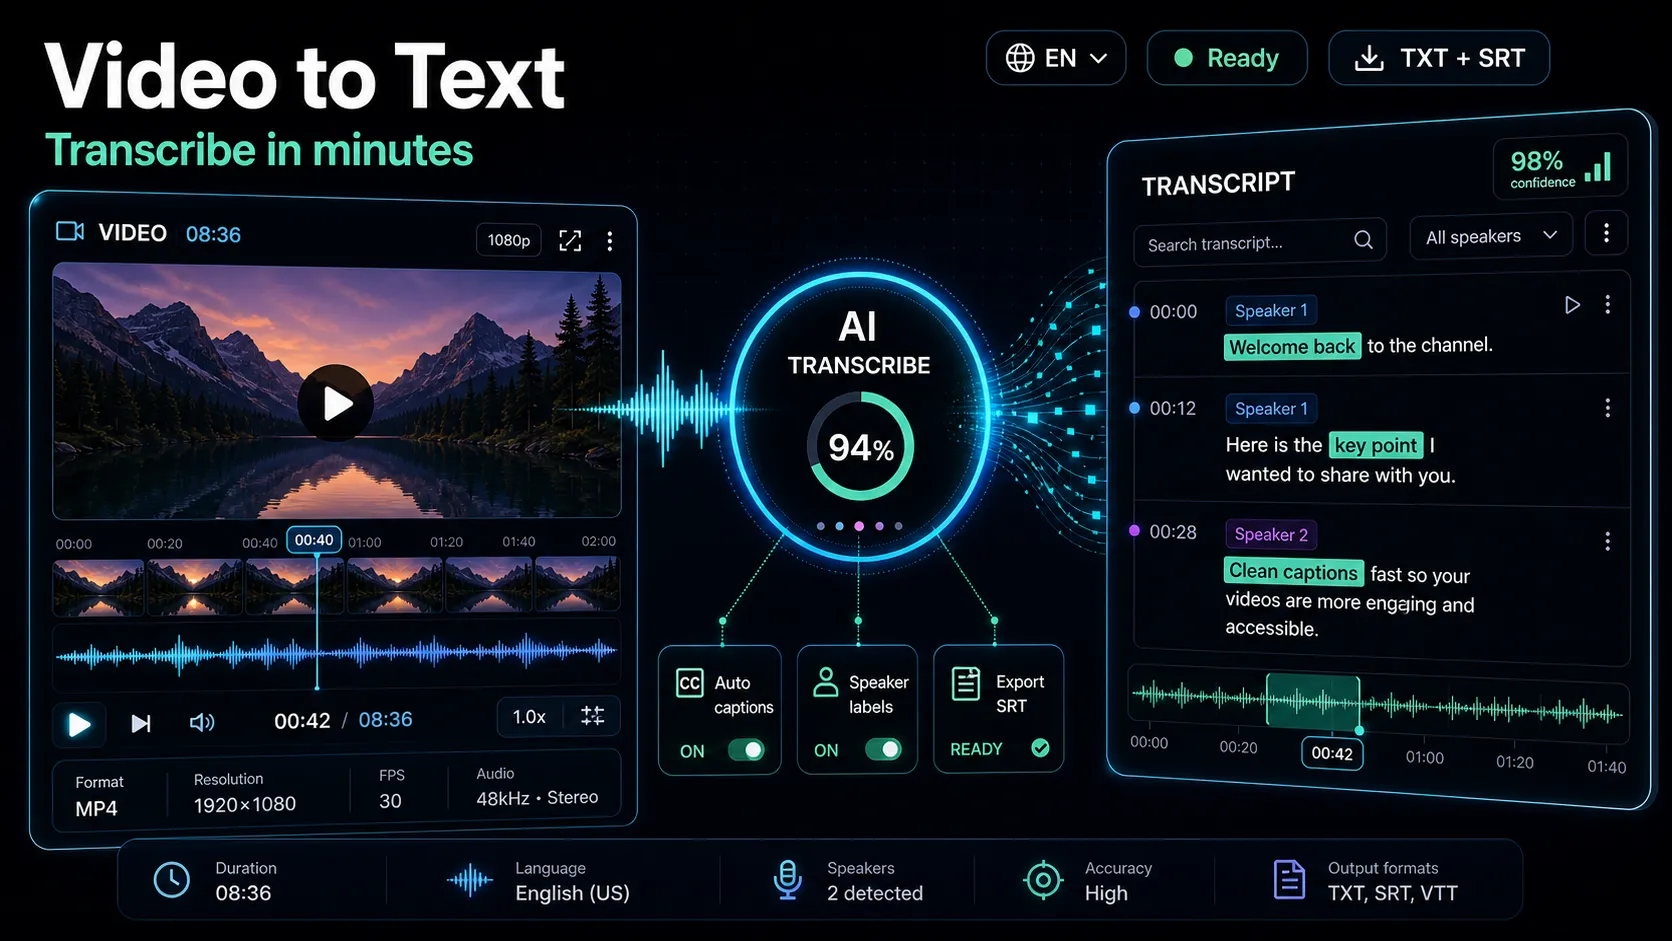
Step 1 — Get a clean transcript. Everything downstream depends on accurate text. Upload your MP4 or MOV (common formats work, up to 6GB per task) and generate a transcript with speech-to-text. Skim it once for proper nouns and jargon the model may have misheard — names, product terms, acronyms. Fixing those now saves you from propagating errors into every clip and caption later. If you want the mechanics of getting accurate text, see how to transcribe a video.
Step 2 — Generate the summary. Feed the transcript into the video summarizer to produce the premise, key points, and description. Read the key points against your memory of the recording. AI summaries are strong at compression but occasionally over-weight a tangent or drop a point you considered central — nudge it by naming the audience and purpose, for example "summary for a YouTube description aimed at beginners."
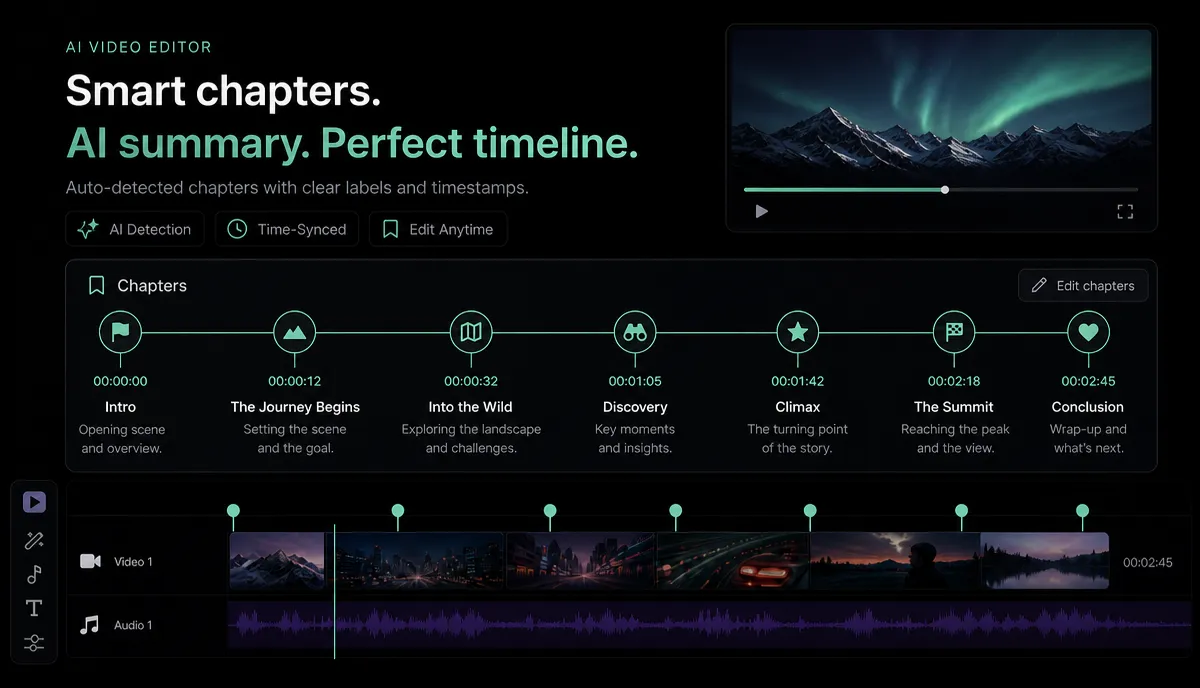
Step 3 — Build chapter markers. Assemble a list of timestamped section labels. These become your YouTube chapters and your internal map for clipping. Keep labels short and concrete ("Setting up the project," not "Introduction and overview").
Step 4 — Mark the clippable moments. Go back through the summary and flag every key point that has a clear start and end on the timeline. Those are your clip candidates. A scene breakdown helps here by segmenting the video into distinct visual sections, so you can line up "this idea" with "this stretch of footage."
Step 5 — Cut, caption, and reframe. Pull each flagged moment into a short clip, add captions, and reframe it vertical for Shorts, Reels, and TikTok. The full long-to-short process is covered in how to make YouTube Shorts from long videos.
Turning the summary into chapter timestamps
Chapters are the highest-leverage, lowest-effort output of a summary. They improve watch-through on the original video and give you a ready-made outline for everything else.
A reliable format for a YouTube description looks like this:
Two rules keep chapters honest:
Because these timestamps come straight from your summary's chapter markers, you are not scrubbing the timeline by hand. The transcript already told you where each idea starts, so building the list is a copy-and-tidy job rather than a rewatch.
From summary to clips: the reverse-lookup trick
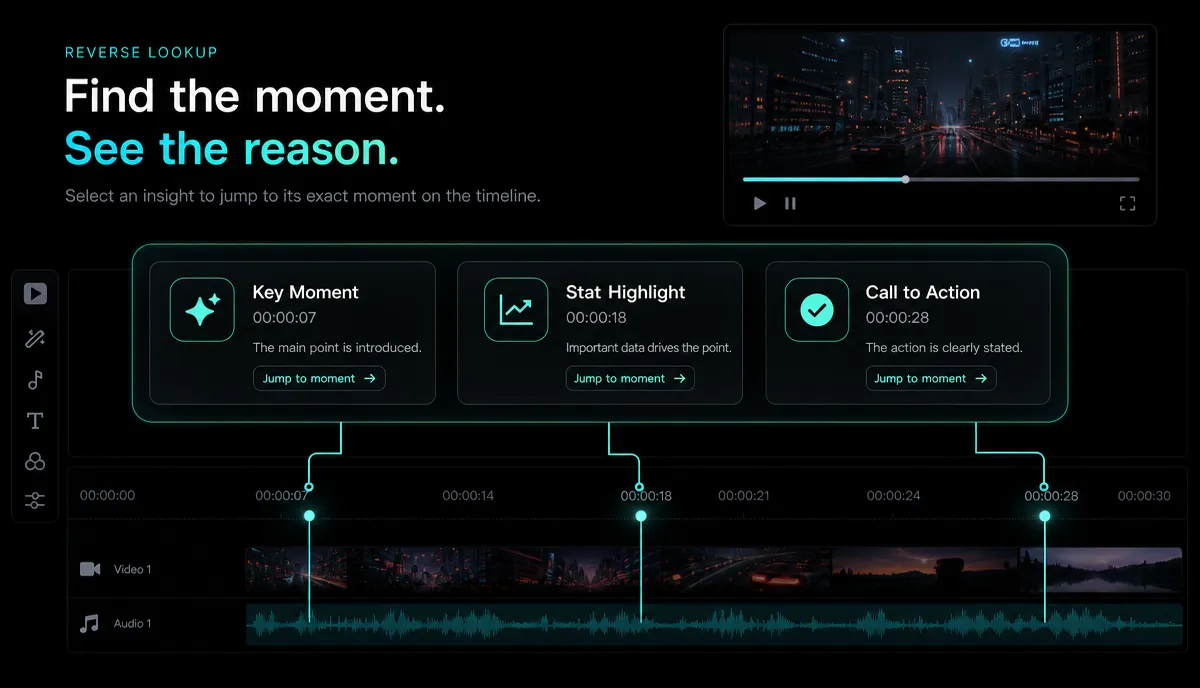
This is the move the viewer-focused tools never teach. Instead of watching your whole video hunting for good clips, you work backward from the summary.
The logic: every strong key point in your summary is, by definition, a moment where you said something worth remembering. That is exactly what makes a good short. So:
- Take your list of key points and quotable lines.
- For each one, find the matching timestamp in the transcript — search the phrase, which is far faster than scrubbing.
- Expand the selection to a natural start and end — usually the sentence before the point and the beat after it.
- Check that the clip stands alone. If it needs context from earlier in the video, either add a one-line intro or pick a different moment.
Say your summary flags the line "the biggest mistake beginners make is batching too early." You search that phrase, land on 14:12, back up to the setup sentence at 14:04, and end on the payoff at 14:38. That 34-second window is a finished short — a clear claim, a reason, and a takeaway — without watching a single other minute of the source.
A quick way to grade each candidate before you cut:
| Test | Good clip | Skip it |
|---|---|---|
| Does it make sense with no setup? | Yes | Needs 30s of context |
| Is there a clear hook in the first 3 seconds? | Yes | Slow build-up |
| Would someone screenshot or quote this? | Yes | Purely transitional |
| Can it end on a complete thought? | Yes | Trails off mid-idea |
Anything that passes three of four tests is worth cutting. For writing the opening line that earns the view, see how to write video hooks.
Two ways to use the same summary: learning vs. content
The exact same summarizing workflow serves two very different goals, and it helps to be clear about which one you are in.
Learning mode. You want to absorb a long tutorial, lecture, or interview without watching all of it. Here you care about the premise and key points, and maybe the chapter list so you can jump to the one section you actually need. Accuracy of ideas matters; timestamps are a nice-to-have. This is the "summarize a YouTube video I did not make" case.
Content mode. You made the video and want more out of it. Now the description, chapter markers, quotable lines, and clip candidates are the whole point. Accuracy of timestamps matters as much as accuracy of ideas, because you are going to cut on them.
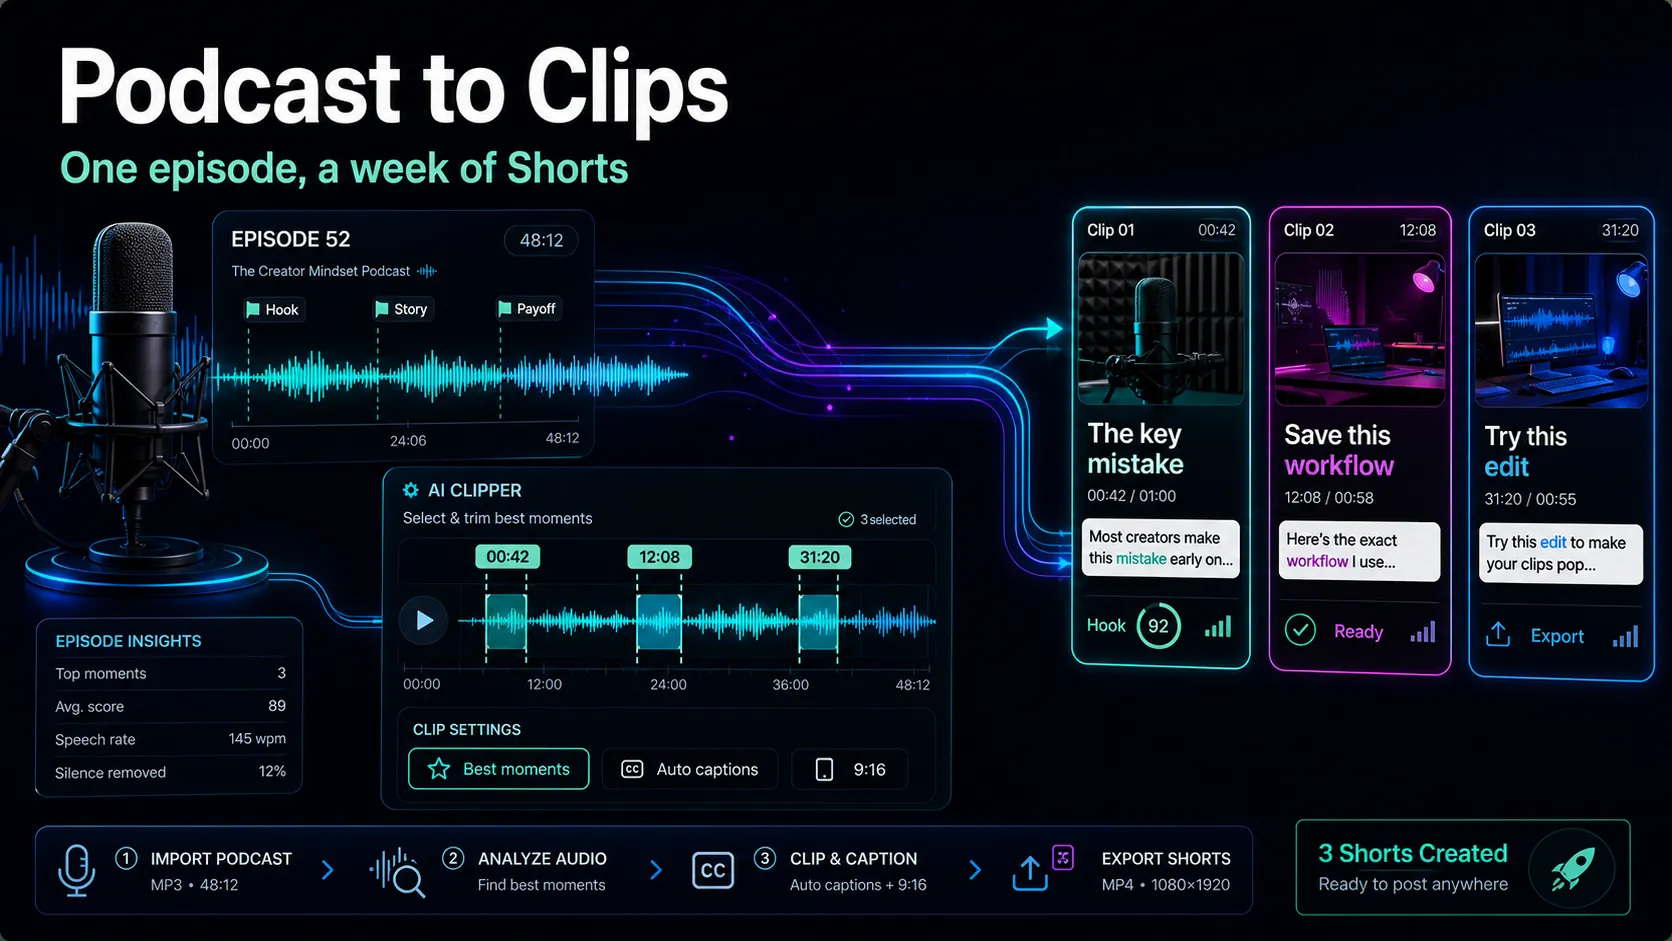
Most creators need both at different times — learning mode when researching a topic, content mode when repurposing their own recording. The workflow does not change; only which outputs you keep does. If your source is an audio recording rather than a talking-head video, the same idea applies — see how to turn a podcast into clips for the audio-first version.
Manual summarizing vs. an AI video summary generator
You can summarize a video by hand: watch at 1.5x, take notes, write it up. For a five-minute clip that is fine. For anything long, it stops being worth it. Here is an honest comparison:
| By hand | AI video summarizer | |
|---|---|---|
| Time on a 45-min video | 60–90 min | A few minutes |
| Timestamp accuracy | Depends on your notes | Tied to the transcript |
| Consistency across videos | Varies with focus | Repeatable format |
| Best for | Very short clips | Long recordings, batches |
| Weak spot | Slow, tedious | Needs a review pass |
The AI route is not hands-off — you still verify the key points and fix transcription slips. But it turns a tedious hour into a short review, and it produces the structured output (chapters, clip list) that manual notes rarely capture cleanly. If you want to compare summarizer tools yourself, upload one representative 20–30 minute video to each, and judge three things: did it get your proper nouns right, are the timestamps actually accurate when you click them, and is the output structured enough to paste into a description without a rewrite. Those three tests tell you more than any feature list.
Common mistakes when summarizing long videos
FAQ
How do I summarize a video I did not record, like a YouTube video? Transcribe it first, then summarize the transcript. If you have the file, upload it and run speech-to-text; if you only have a link, you still need the spoken content as text before any summary is reliable. Note that summarizing someone else's video for private study is different from republishing their clips — only repurpose footage you have the rights to.
How long should a video summary be? For understanding, aim for a premise sentence plus 3–7 key points — roughly a short paragraph to half a page, regardless of the video's length. For a YouTube description, keep it to 2–4 sentences plus your chapter list. If your summary approaches the length of a full transcript, it is not doing its job.
Can an AI summarizer create chapter timestamps automatically? Yes, when it works from a transcript that carries timing. The summary identifies where each section begins, and you paste those timestamps into your description. Always spot-check a few against the video, since a mistimed marker sends viewers to the wrong spot.
What is the difference between a video summary and clips? A summary is the text — premise, key points, description. Clips are the short video segments you cut from the moments the summary flags. The summary is the map; the clips are the destinations. One transcription pass feeds both.
Do I need to download software to summarize a video? No. The whole workflow — transcribe, summarize, break down scenes, cut, caption, reframe, and export — runs in the browser. Pricing details for higher-volume use live on the pricing page.
Get more out of every long video
Summarizing is the fastest way to make one recording do the work of five. Transcribe once, summarize once, and you walk away with chapters for the original, a clean description, and a shortlist of moments ready to become Shorts and Reels. The learning and the repurposing come from the same few minutes of work. Ready to try it on your next long video? Create a free account and run your first summary and clip set today.