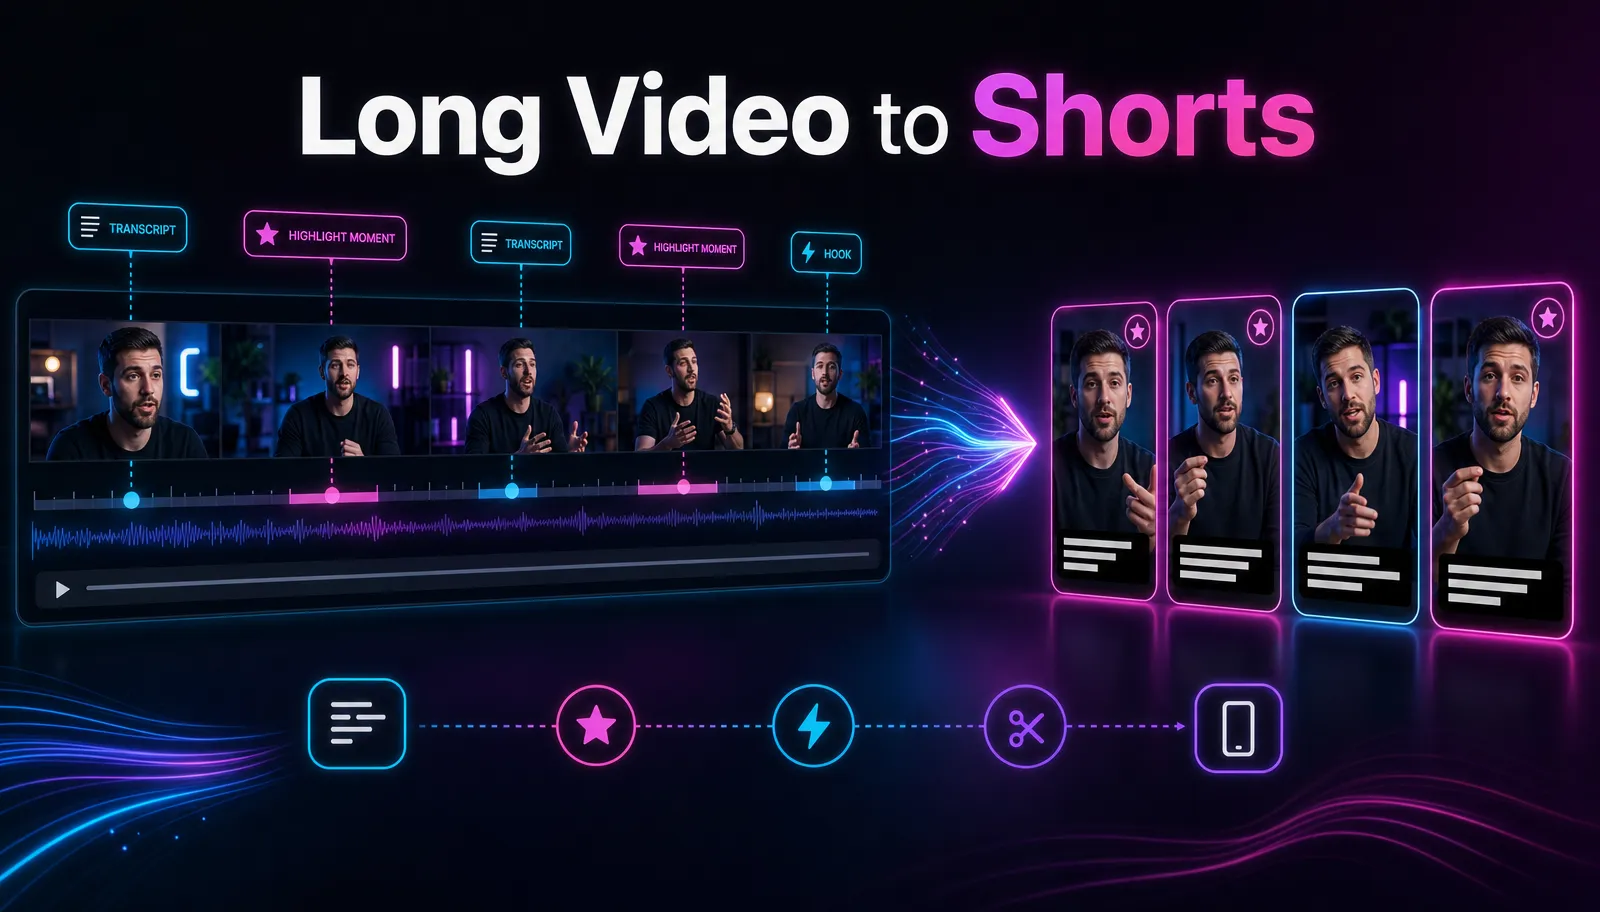
How to Turn a Podcast Into Short Video Clips
Learn how to turn a podcast into clips: pick clip-worthy moments, add visuals to audio-only shows, format 9:16 with captions, and ship 5–7 shorts per episode.
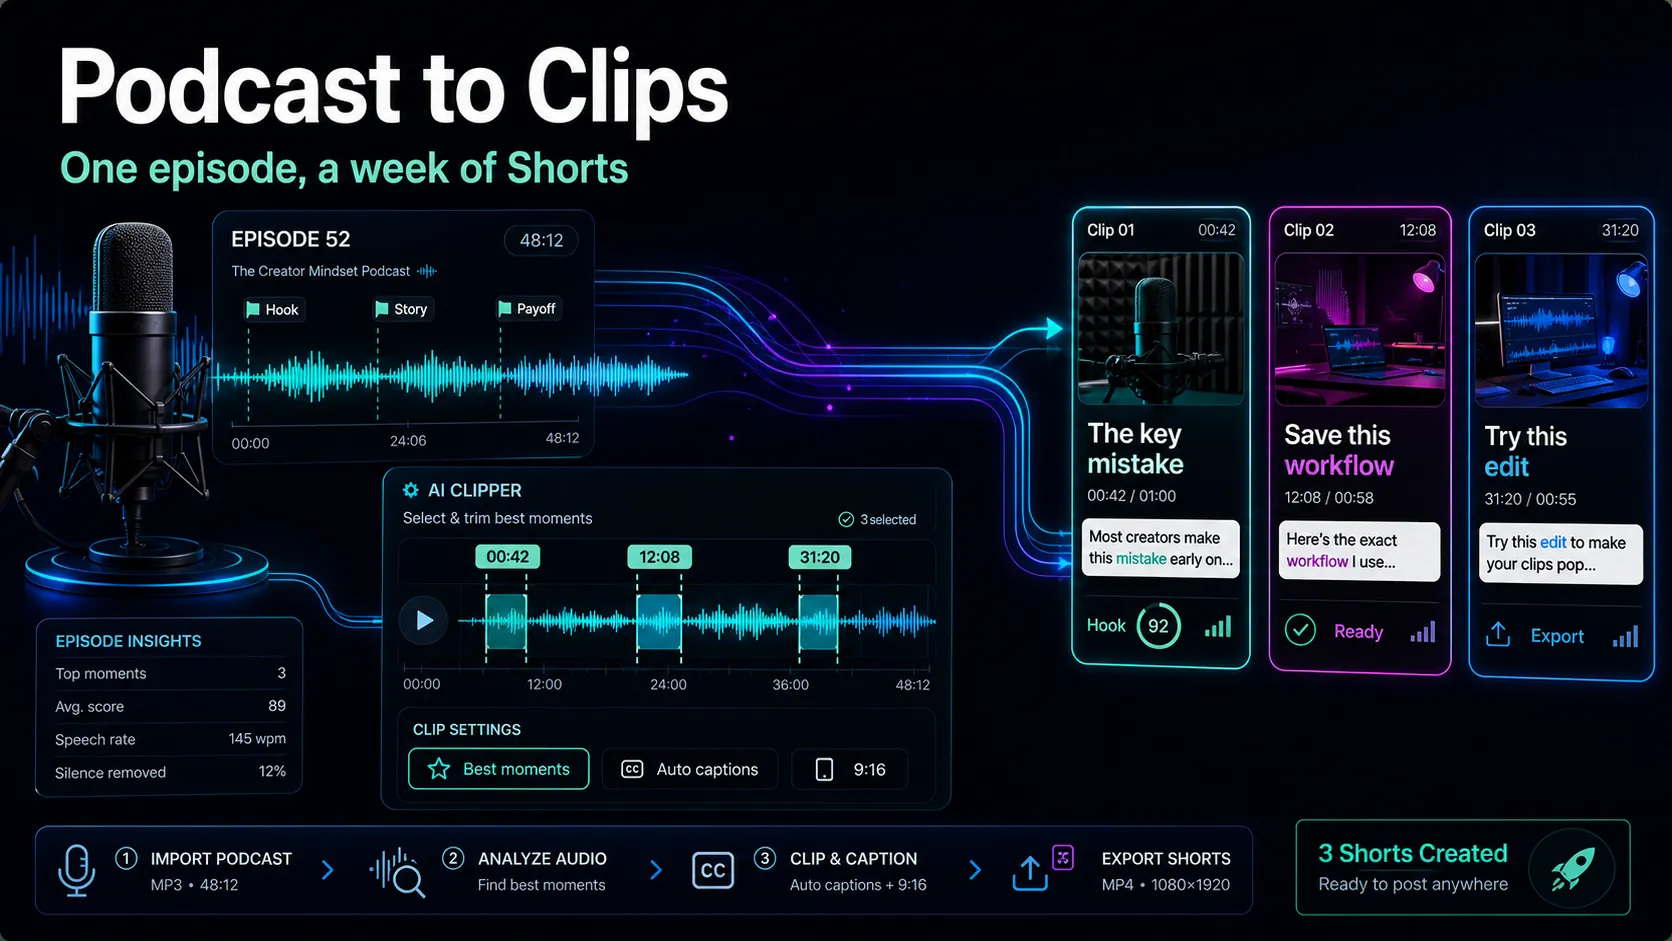
To turn a podcast into clips, you pull the handful of strongest standalone moments out of a full episode, cut each into a 20-to-60-second vertical video, add captions, and — if the show is audio-only — give viewers something to watch. That is the entire job. The tool you pick matters far less than knowing which moments deserve a clip and how to frame them for YouTube Shorts, TikTok, and Instagram Reels.
This guide walks the workflow end to end: how to spot a clip-worthy moment, how audio-only and filmed podcasts differ, the exact steps to cut and caption a clip, how to fill a silent frame, and a realistic cadence so you don't burn out chasing twenty clips from one recording. There's no "just upload and let AI do it" hand-waving here — the editorial calls are what move views, and no clip maker makes them for you.
Key Takeaways
Why a podcast is unusually good clip material
A podcast is dense with quotable moments and light on visual information — which is both its strength and its problem. Long-form conversation naturally produces hooks: a hot take, a surprising number, a vulnerable confession, a clean one-line explanation. Those are exactly the atoms short-form platforms reward. The catch: a talking voice, or two static webcam feeds, gives the eye almost nothing to hold onto.
So repurposing a podcast into shorts is really two tasks bolted together: find the words worth clipping, then build a frame worth watching. Keep that in mind below — every decision (which segment, which format, which captions) compensates for the same trade-off: great audio, thin visuals.
What makes a podcast moment clip-worthy
Before you open any editor, learn to recognize the moment. A clip that travels almost always does one thing in its first two seconds: it makes a promise. Here is a practical taxonomy of moments worth cutting.
| Moment type | What it sounds like | Why it clips |
|---|---|---|
| Hot take / contrarian claim | "Everyone tells you to do X. That's backwards." | Provokes agreement or argument in the comments |
| Concrete number or result | "We went from zero to forty thousand in six weeks." | Specificity feels credible and screenshot-worthy |
| Story with a turn | A short anecdote that lands on a surprise | Narrative tension keeps a thumb from scrolling |
| Clean explainer | A jargon-free answer to a question people actually ask | Gets saved and shared as a reference |
| Emotional beat | A candid, unguarded admission | Human connection tends to travel further than information |
A simple test: read the segment's first sentence out loud with no context. If a stranger would want to know what comes next, you have a clip; if it only makes sense after four minutes of setup, it doesn't. Most episodes hold five to eight such moments — your job is to find them, not invent more.
Two more selection rules save hours later:
- Favor self-contained thoughts. A clip that references "what we said earlier" forces you to either add context or cut it. Prefer moments that stand alone.
- Cut on the idea, not the clock. Don't force every clip to 30 seconds — let the thought end where it ends; some land in 18 seconds, some need 55. Length should serve the point, not a template.
Audio-only vs. filmed podcasts: two different paths
The biggest fork in this workflow is whether your show has usable video. Treat these as two distinct pipelines.
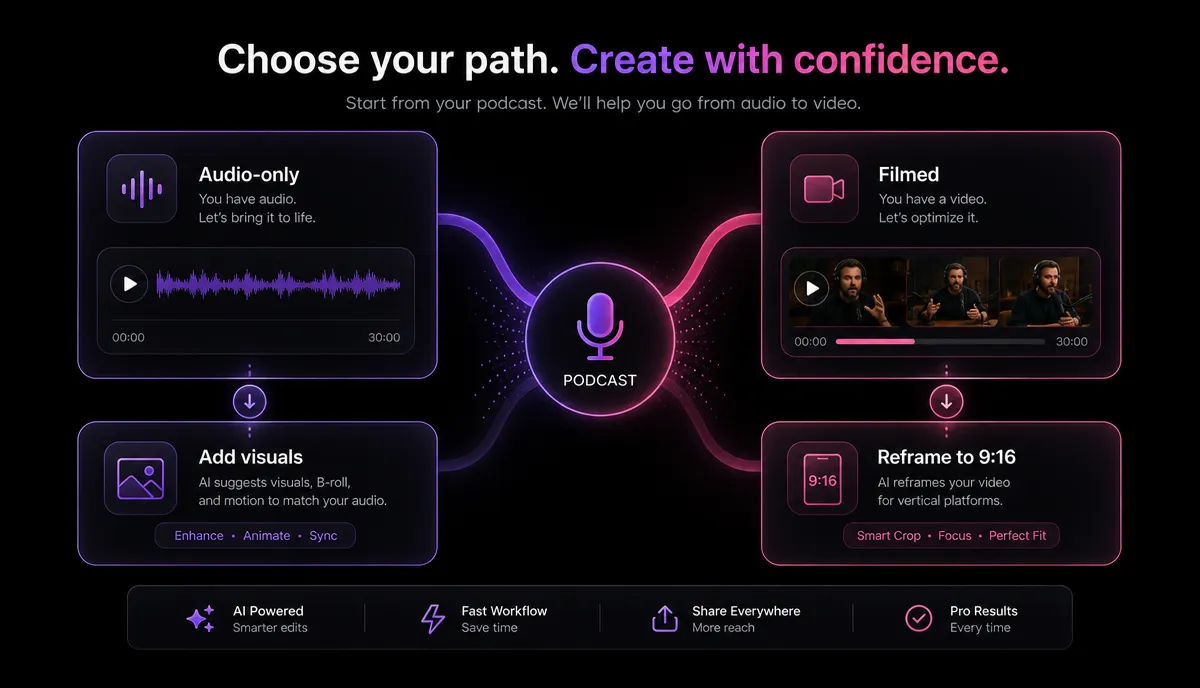
| Audio-only podcast | Filmed / video podcast | |
|---|---|---|
| Starting material | Audio file + transcript | Multi-cam or single-cam video |
| Main challenge | Nothing to look at | Framing and speaker switching |
| Visual solution | Waveform, caption cards, or b-roll over audio | Crop/reframe to the active speaker |
| Captions | Essential (they are the visual) | Essential (most watch on mute) |
| Effort per clip | Higher (you build the visual) | Lower (footage already exists) |
If you record audio only, budget extra time for the visual layer — it decides whether the clip looks like a real short or a captioned static image. If you film, the footage already exists; your work is choosing the crop and keeping the active speaker in frame. Either way, captions are non-negotiable, since so much short-form viewing happens with the sound off.
The end-to-end workflow: from episode to clips
Here is the sequence that scales. It works in a browser-based workspace like Recapo — no install, transcribe-cut-caption-export in one place — but the steps apply to any toolkit.
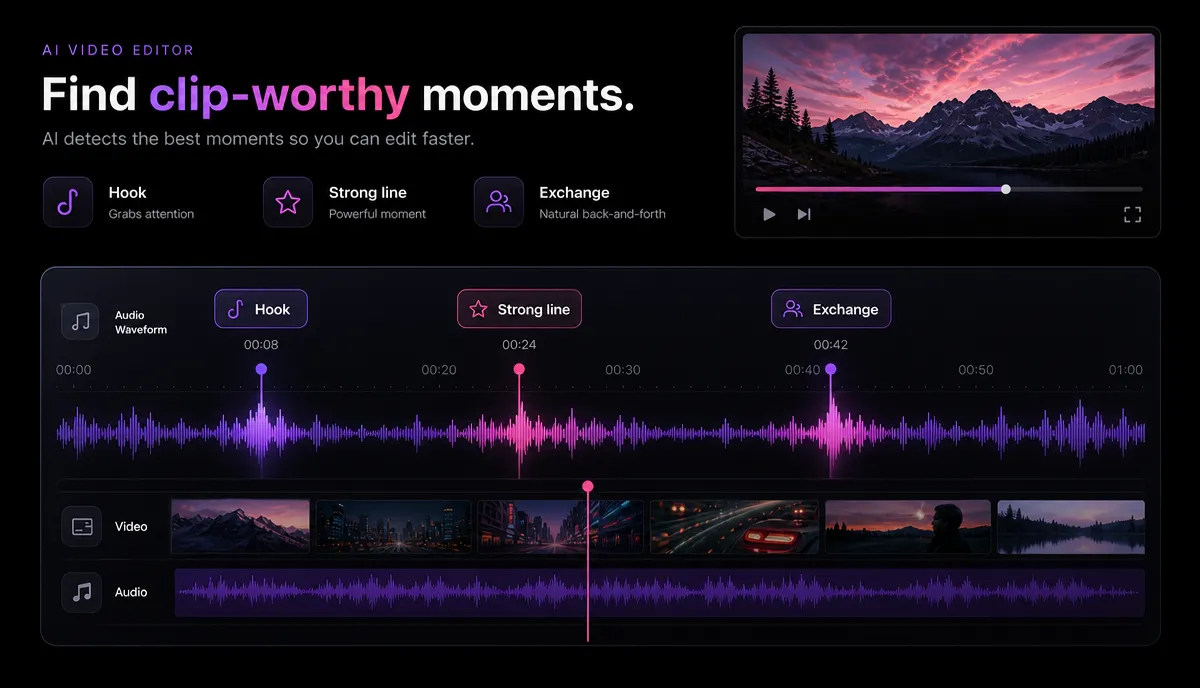
- Transcribe the episode first. Before you cut anything, get a full transcript — reading is faster than scrubbing, and you can skim a 45-minute episode in a couple of minutes and mark the moments from the taxonomy above. Run the file through auto-captions to get a timed, searchable transcript.
- Mark your candidates. Highlight five to eight standalone moments, noting the in and out points where the thought begins and ends, not where a round number falls.
- Let an AI clip generator surface a first pass. If you'd rather not read the whole thing cold, drop the recording into an AI clip generator to auto-detect high-signal segments, then treat its suggestions as candidates — accept the good ones, discard the rest, re-cut boundaries by hand. The machine is a fast first reader, not the final editor.
- Trim each clip to the idea. Open the strongest candidates and tighten head and tail. Kill the "so, um, yeah" lead-in — a clip should start on the first interesting word, because the first two seconds carry the whole thing.
- Reframe to 9:16. Convert each clip to vertical: for a filmed show, crop to the person speaking; for audio-only, set up your visual layer (next section). A browser workspace can resize and reframe without rebuilding the timeline per platform.
- Burn in captions. Add captions and style them for legibility — large, high-contrast, clear of the platform's UI. On an audio-only clip they're the main visual, so give them room.
- Add a cover and export. Choose a frame or title card as the cover, then export. Common formats like MP4 and MOV upload cleanly everywhere, and one export can feed Shorts, TikTok, and Reels.
For more on cutting long footage into publishable shorts, see how to make YouTube Shorts from long videos.
Giving audio-only clips something to watch
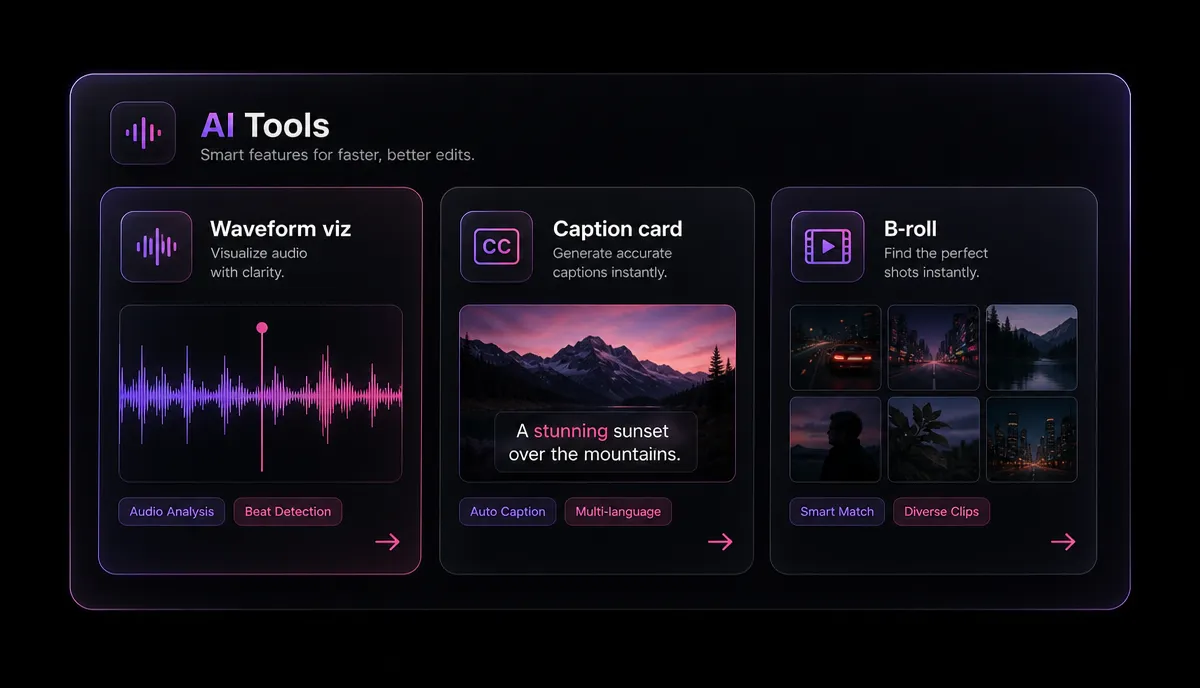
This is where most podcast clips fail. A caption over a black screen reads as low-effort, and the plain truth is that motion holds attention. You have three reliable options, roughly in order of effort:
A practical hierarchy: waveform for volume, caption cards for consistency, b-roll for hero clips. You don't need b-roll on every clip, and pretending you do is how creators stall. Even with a video feed you can borrow these — a waveform strip or caption card over talking-head footage adds energy raw webcam video lacks.
Formatting for 9:16 and captions
Short-form is vertical, and podcast footage almost never is. Two format decisions do most of the work.
Frame at 9:16, subject-safe. Reframe every clip to a 1080×1920 vertical canvas and keep the speaker's face (or your caption block) in the middle third, clear of the top and bottom zones where platform buttons and usernames sit. If you're filming, crop tight enough that the face reads on a phone at arm's length; keep the subject and any on-screen text inside that safe band and the clip reads correctly on every vertical feed.
Caption for mute-first viewing. Assume the sound is off until proven otherwise: large font, strong contrast, one or two lines at a time, synced to speech, with word- or phrase-level animation to keep the eye moving. Accuracy matters — a garbled caption on a punchy line kills the joke — so proofread hero clips before you burn captions in.
One caption pass serves all three destinations — you're not re-captioning per platform, just exporting the same well-captioned vertical clip to Shorts, TikTok, and Reels and letting each audience find it.
Pacing, hooks, and a realistic cadence
Two things separate watched clips from skipped ones: how they open and how they move.
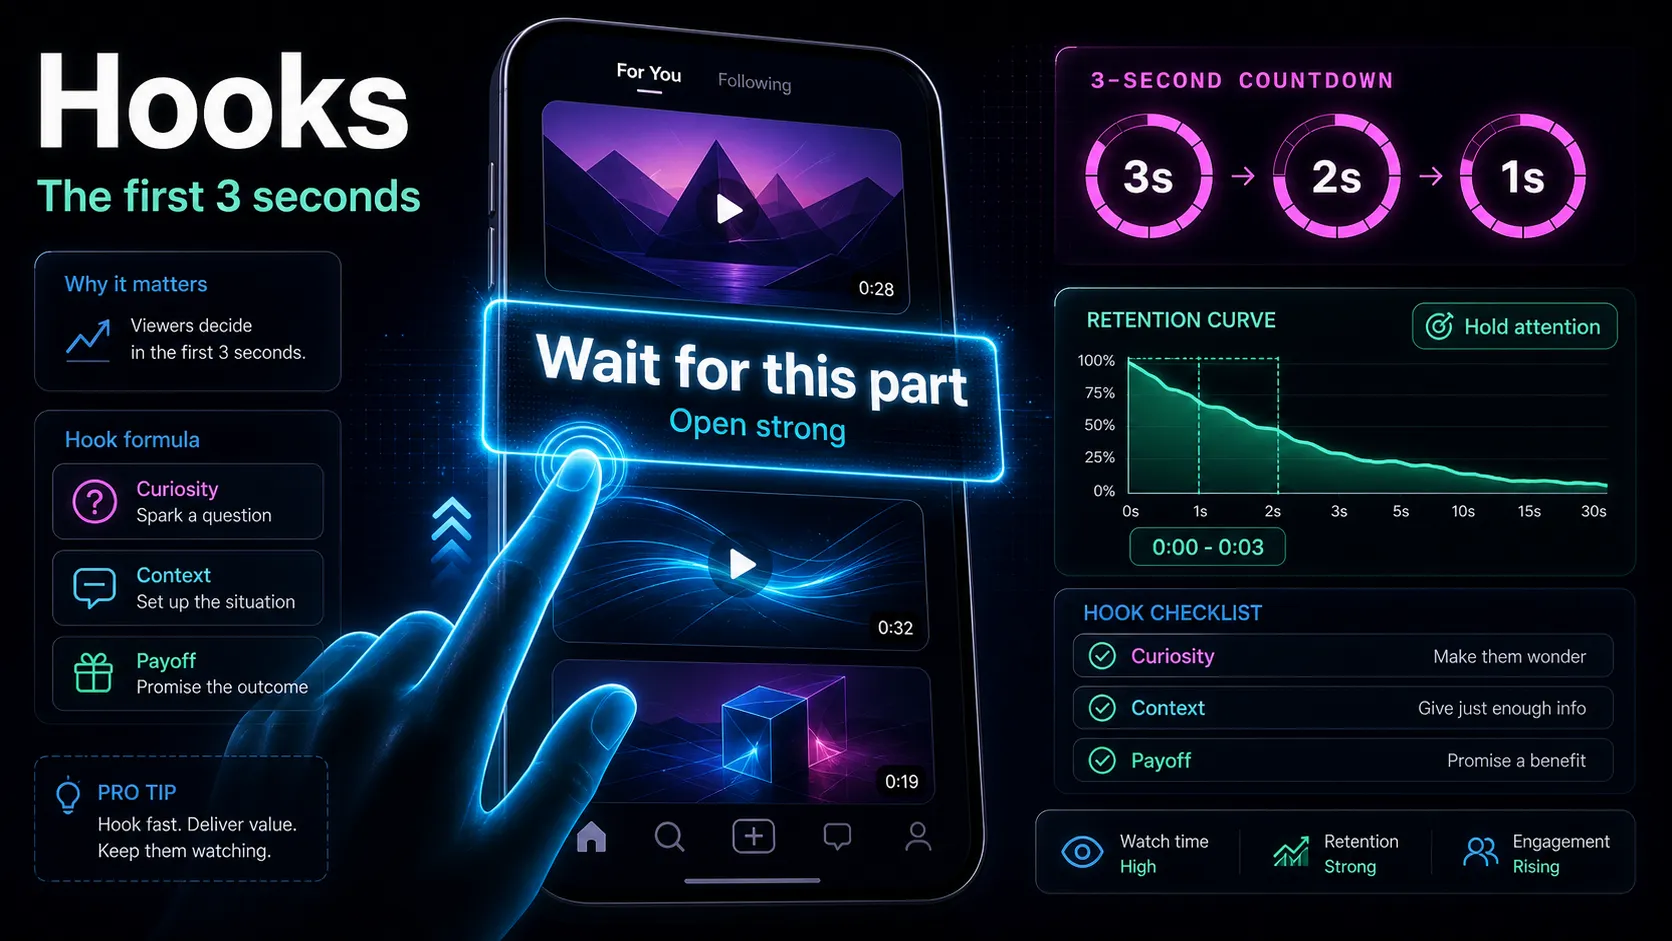
Open on the promise. The first two seconds should tell the viewer why to stay. Lead with the hottest line, the number, or the question — never "welcome back to the show" or a slow wind-up. If your strongest sentence is 40 seconds in, cut those 40 seconds or open on it and let context follow. A strong hook is just a promise the rest of the clip keeps.
Keep it moving. Remove dead air, long pauses, and filler — a short that breathes too much loses the scroll. Tighten until every second earns its place, then stop: over-cutting into a jump-cut-every-word rhythm is its own failure mode.
Now the honest part: aim for five to seven clips per episode, not twenty. The temptation with a rich conversation is to slice it into a dozen shorts, but the back half is usually weaker, and posting mediocre clips trains both the algorithm and your audience to expect mediocre clips. A realistic weekly rhythm from one episode:
| Day | Task | Output |
|---|---|---|
| Record day | Record + auto-transcribe | Full transcript ready |
| +1 | Mark 5–7 moments, cut and reframe | Rough clips |
| +2 | Captions, covers, export | Finished clips |
| +3 onward | Schedule 1 clip per day across platforms | A week of posts |
That cadence turns one recording into a week of consistent output without you living in the editor. Consistency beats volume — five strong clips a week outperform twenty rushed ones posted in a burst.
A quick self-test for any podcast clip maker
The clipping space is crowded with tools that all promise the same thing, so evaluate them yourself, not their feature lists. Upload one real episode — your own, with its actual audio and cross-talk — and measure four things:
- Selection quality. Do the auto-detected moments match the ones you'd have picked by hand? Count how many you keep versus discard.
- Caption accuracy. On a segment with names, jargon, or numbers, how much do you have to fix?
- Reframe quality. Does the vertical crop keep the speaker centered, or does it drift off the active talker?
- Time to first exported clip. From upload to a finished 9:16 captioned clip, how many minutes and how many manual fixes?
Run that same test on any tool you're considering — it tells you more in fifteen minutes than any comparison chart. Recapo is a browser-based fit for this exact chain — transcribe, clip, caption, reframe, export — but let the test decide, not the pitch.
FAQ
How many clips should I make from one podcast episode? Five to seven is a realistic, sustainable target. A rich conversation might yield more, but quality drops off fast after the strongest moments, and posting a few strong clips consistently beats flooding your feed with weak ones.
How do I turn an audio-only podcast into video clips? Add a visual layer on top of the audio — an animated waveform, kinetic caption cards, or b-roll — then combine it with burned-in captions and a 9:16 vertical frame. The captions and motion are what make an audio segment feel like a real short rather than a static image.
What length should podcast clips be? Let the idea decide, roughly 20–60 seconds for Shorts, TikTok, and Reels. Cut where the thought ends, not at a round number — a tight 18-second clip beats a padded 45-second one. See our guide on the best clip length for Shorts, Reels, and TikTok for platform specifics.
Do I need captions if the audio is clear? Yes. A large share of short-form viewing happens with the sound off, so captions get the clip understood on the first scroll, and on audio-only clips they double as the primary visual. Proofread your best clips — a wrong word on the punchline undoes it.
Can one clip be posted to YouTube Shorts, TikTok, and Instagram Reels? Yes. A single 9:16, captioned MP4 uploads cleanly to all three. Keep your key visuals and captions in the middle third so platform buttons and usernames don't cover them, and reuse the same export everywhere.
Start clipping your episodes
The workflow is simple once you separate the two jobs: choose the moments that earn a clip, then build a frame worth watching. Everything else — transcription, cutting, vertical reframing, captions, export — is mechanical, and a browser-based workspace carries that chain from one recording to a week of shorts, no install needed. Create a free Recapo account and turn your next episode into a batch of publish-ready clips.