Best Video Format and Export Settings for YouTube
The best video format for YouTube is MP4 with H.264 and AAC-LC. Get a copy-ready export cheat-sheet with resolution, bitrate, frame rate, and a 9:16 Shorts row.
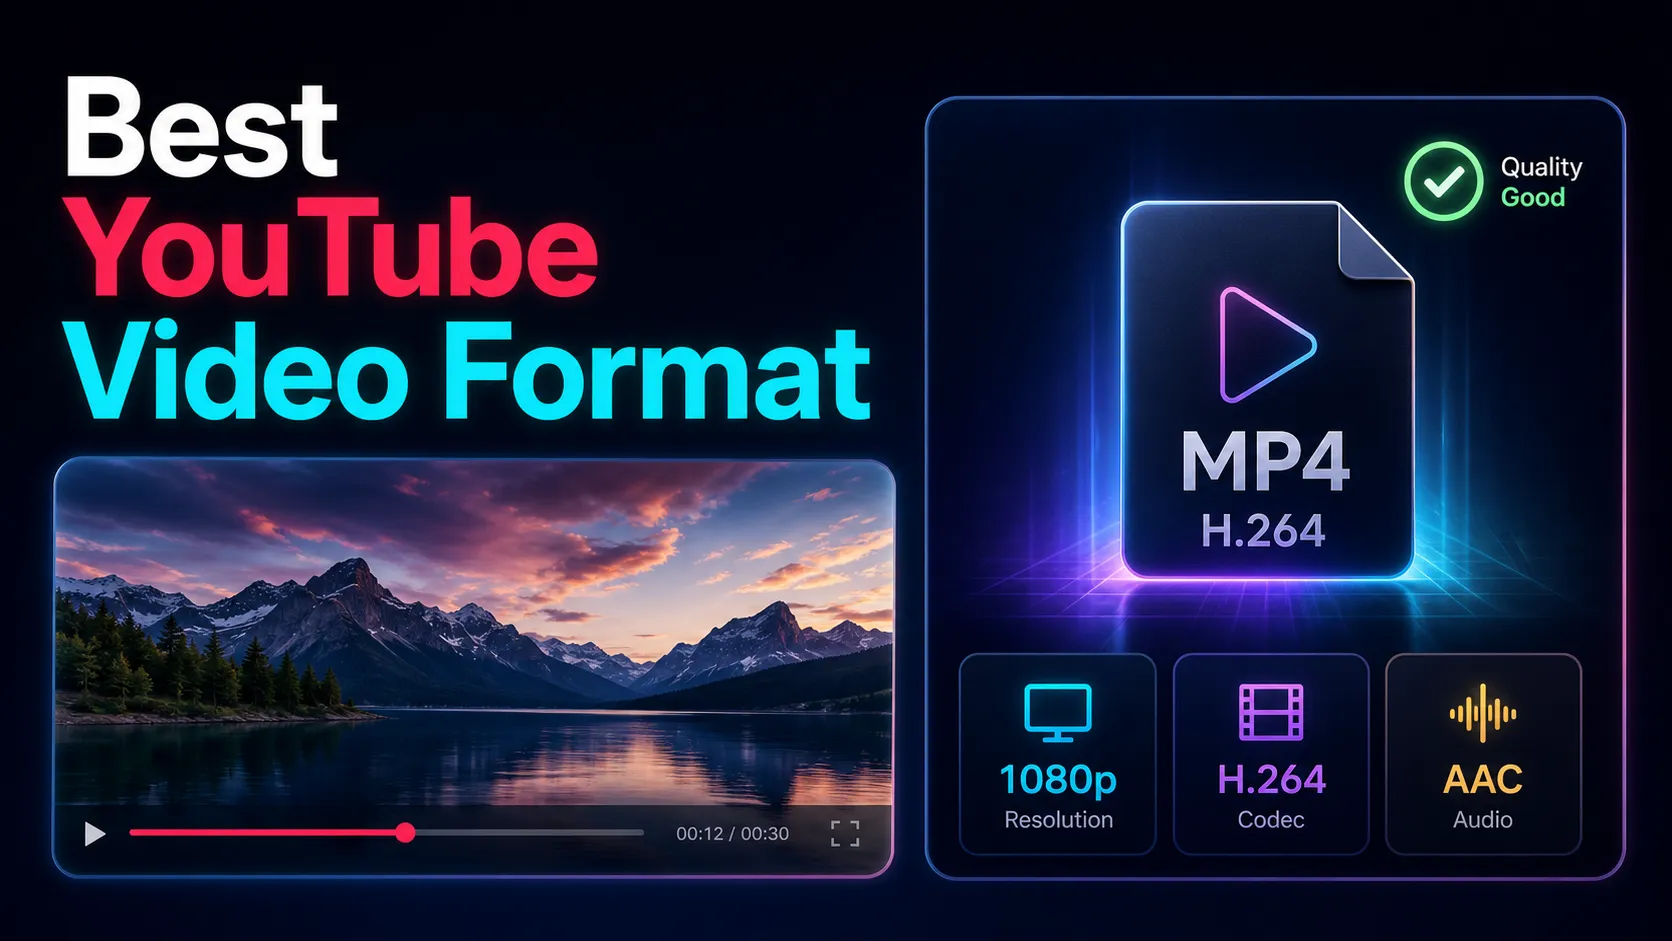
The best video format for YouTube is MP4 with the H.264 video codec and AAC-LC audio — that's the container-and-codec combination YouTube's own encoding guidelines recommend, and it's the safe default whether you're uploading a 4K tutorial or a 9:16 Short. This guide exists because YouTube's specs are scattered across several help pages, so I've pulled them into one creator-facing cheat-sheet you can copy straight into your export dialog: resolution, frame rate, bitrate, aspect ratio, and a separate row just for Shorts. No guesswork, no invented numbers — every setting here comes from YouTube's public recommendations.
Here's the part most spec guides bury: hitting the right container and codec is only step one. The settings that actually decide whether your upload looks crisp or mushy are resolution, frame rate, and bitrate — and the most common quality killers are upscaling footage that was never that sharp, changing the frame rate away from your source, or exporting at a bitrate lower than YouTube expects. Get MP4/H.264 right, then get those three right, and you've done 95% of the job.
Fact-check note: Platform rules and product limits were checked against official sources on July 10, 2026. They can change, so verify the linked source before acting on a threshold or specification.
The best video format for YouTube, in one line
If you want the answer and nothing else: MP4 container, H.264 video, AAC-LC audio, at your source resolution and frame rate, in 16:9 (or 9:16 for Shorts). That single recipe covers the overwhelming majority of uploads. Everything below is the detail that turns "it plays" into "it looks the way you intended."
MP4 wins not because it's magic but because it's the format YouTube processes most reliably. YouTube does accept other containers (MOV, AVI, WMV, and more), but if your file isn't already MP4/H.264, converting to it before upload removes a whole class of "why did processing fail" and "why is my audio out of sync" problems. When in doubt, normalize to MP4.
The copy-ready YouTube export cheat-sheet
These are YouTube's recommended upload encoding settings, condensed into the fields you'll actually see in an export dialog. Copy the right-hand column.
| Setting | YouTube's recommendation |
|---|---|
| Container | MP4 |
| Video codec | H.264 |
| Audio codec | AAC-LC |
| Resolution | 1080p (1920×1080) or 4K (3840×2160); YouTube supports up to 8K |
| Aspect ratio | 16:9 for standard video |
| Frame rate | Match your source — common rates are 24, 25, 30, 48, 50, 60 fps |
| Scan type | Progressive (no interlacing) |
| Audio sample rate | 48 kHz or 96 kHz |
| Audio channels | Stereo (5.1 also supported) |
| Encoding profile | High Profile, 2 consecutive B-frames, closed GOP, CABAC |
| Chroma subsampling | 4:2:0 |
Most creators never need to touch the bottom four rows — a decent "YouTube," "high quality," or "web" export preset sets them for you. The rows that matter for how your video looks are container, codec, resolution, and frame rate. If your editor exposes a one-click YouTube preset, use it and confirm those four match this table.
Recommended video bitrate by resolution
Bitrate is the quiet variable that decides whether fast motion, gradients, and detailed backgrounds hold up or fall apart into blocky mush. YouTube publishes recommended video bitrates for standard-dynamic-range (SDR) uploads; here are the ones creators hit most often.
| Resolution | Standard frame rate (24–30 fps) | High frame rate (48–60 fps) |
|---|---|---|
| 2160p (4K) | 35–45 Mbps | 53–68 Mbps |
| 1440p (2K) | 16 Mbps | 24 Mbps |
| 1080p | 8 Mbps | 12 Mbps |
| 720p | 5 Mbps | 7.5 Mbps |
| 480p | 2.5 Mbps | 4 Mbps |
For audio, YouTube's recommended bitrates are 128 kbps for mono, 384 kbps for stereo, and 512 kbps for 5.1. Treat all of these as targets, not ceilings — going a little above YouTube's recommended figure rarely hurts and can help preserve quality through YouTube's re-encode. Going below them is where banding and blockiness creep in, especially in gaming, sports, and anything with a lot of movement.
One practical takeaway: high-frame-rate footage (48–60 fps) needs roughly double the bitrate of 24–30 fps footage at the same resolution. If you shoot 60 fps and export at a 30 fps bitrate, you're starving the file. Match the bitrate to both the resolution and the frame rate.
Shorts are a different recipe (9:16)
A YouTube Short isn't a different codec — it's the same MP4/H.264/AAC-LC file in a vertical frame. What makes a video a Short is the shape and the length, not a special export format.
| Setting | Shorts recommendation |
|---|---|
| Aspect ratio | 9:16 vertical (square also works) |
| Resolution | 1080×1920 |
| Container / codec / audio | Same as standard: MP4 / H.264 / AAC-LC |
| Length | Vertical or square within YouTube's current Shorts length limit |
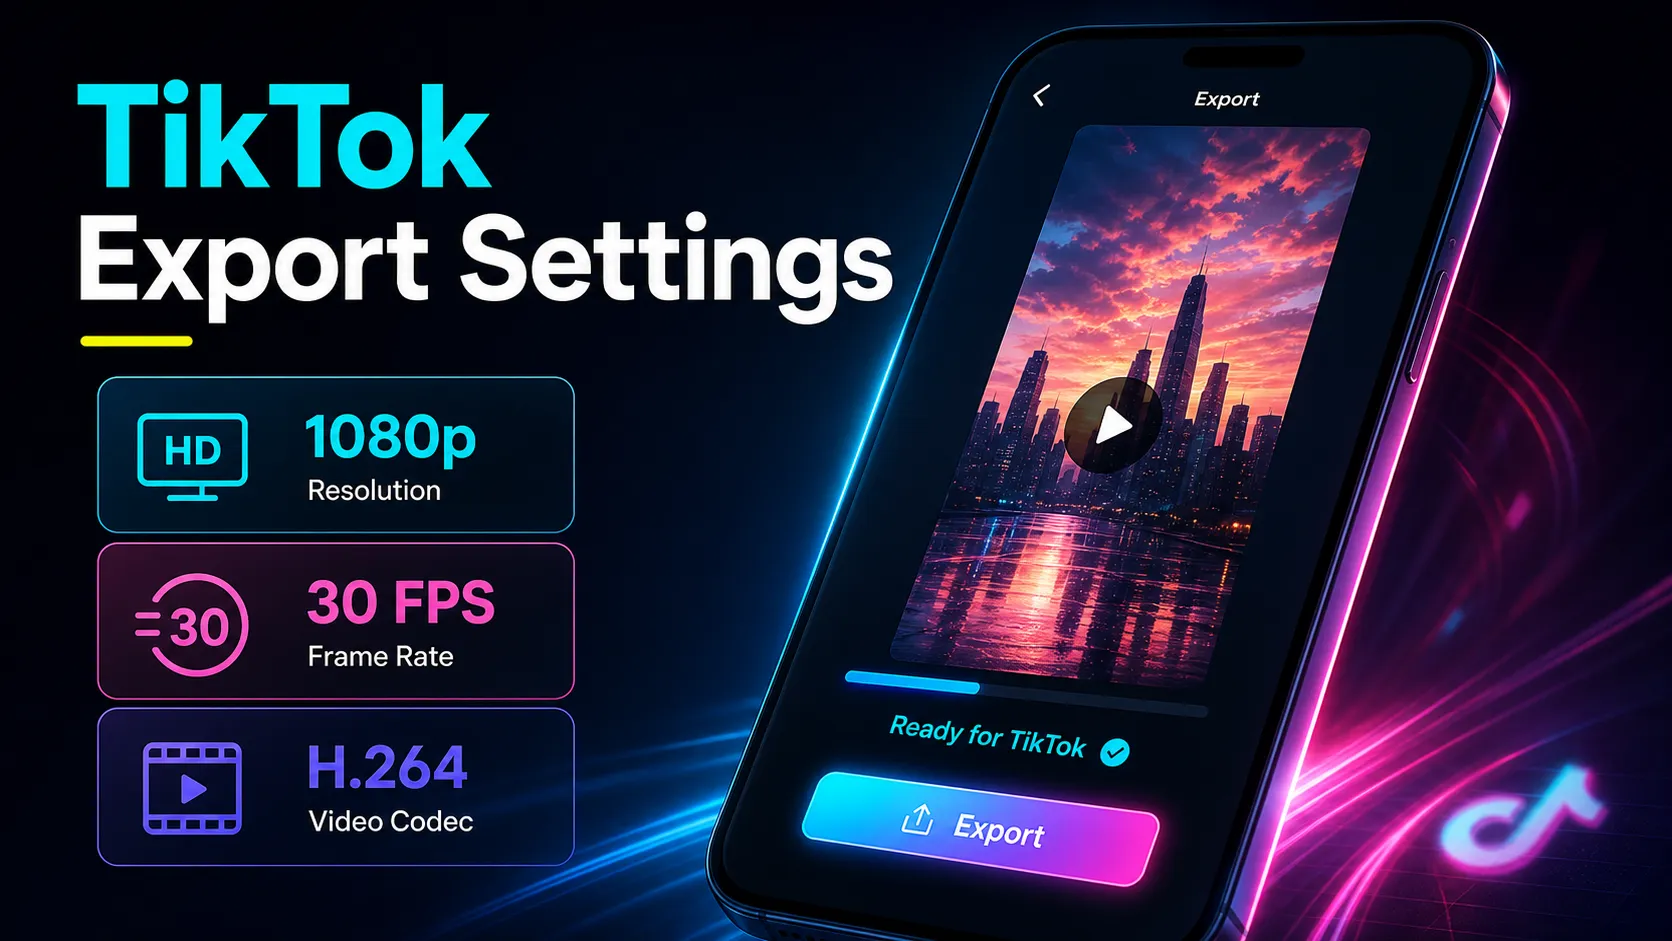
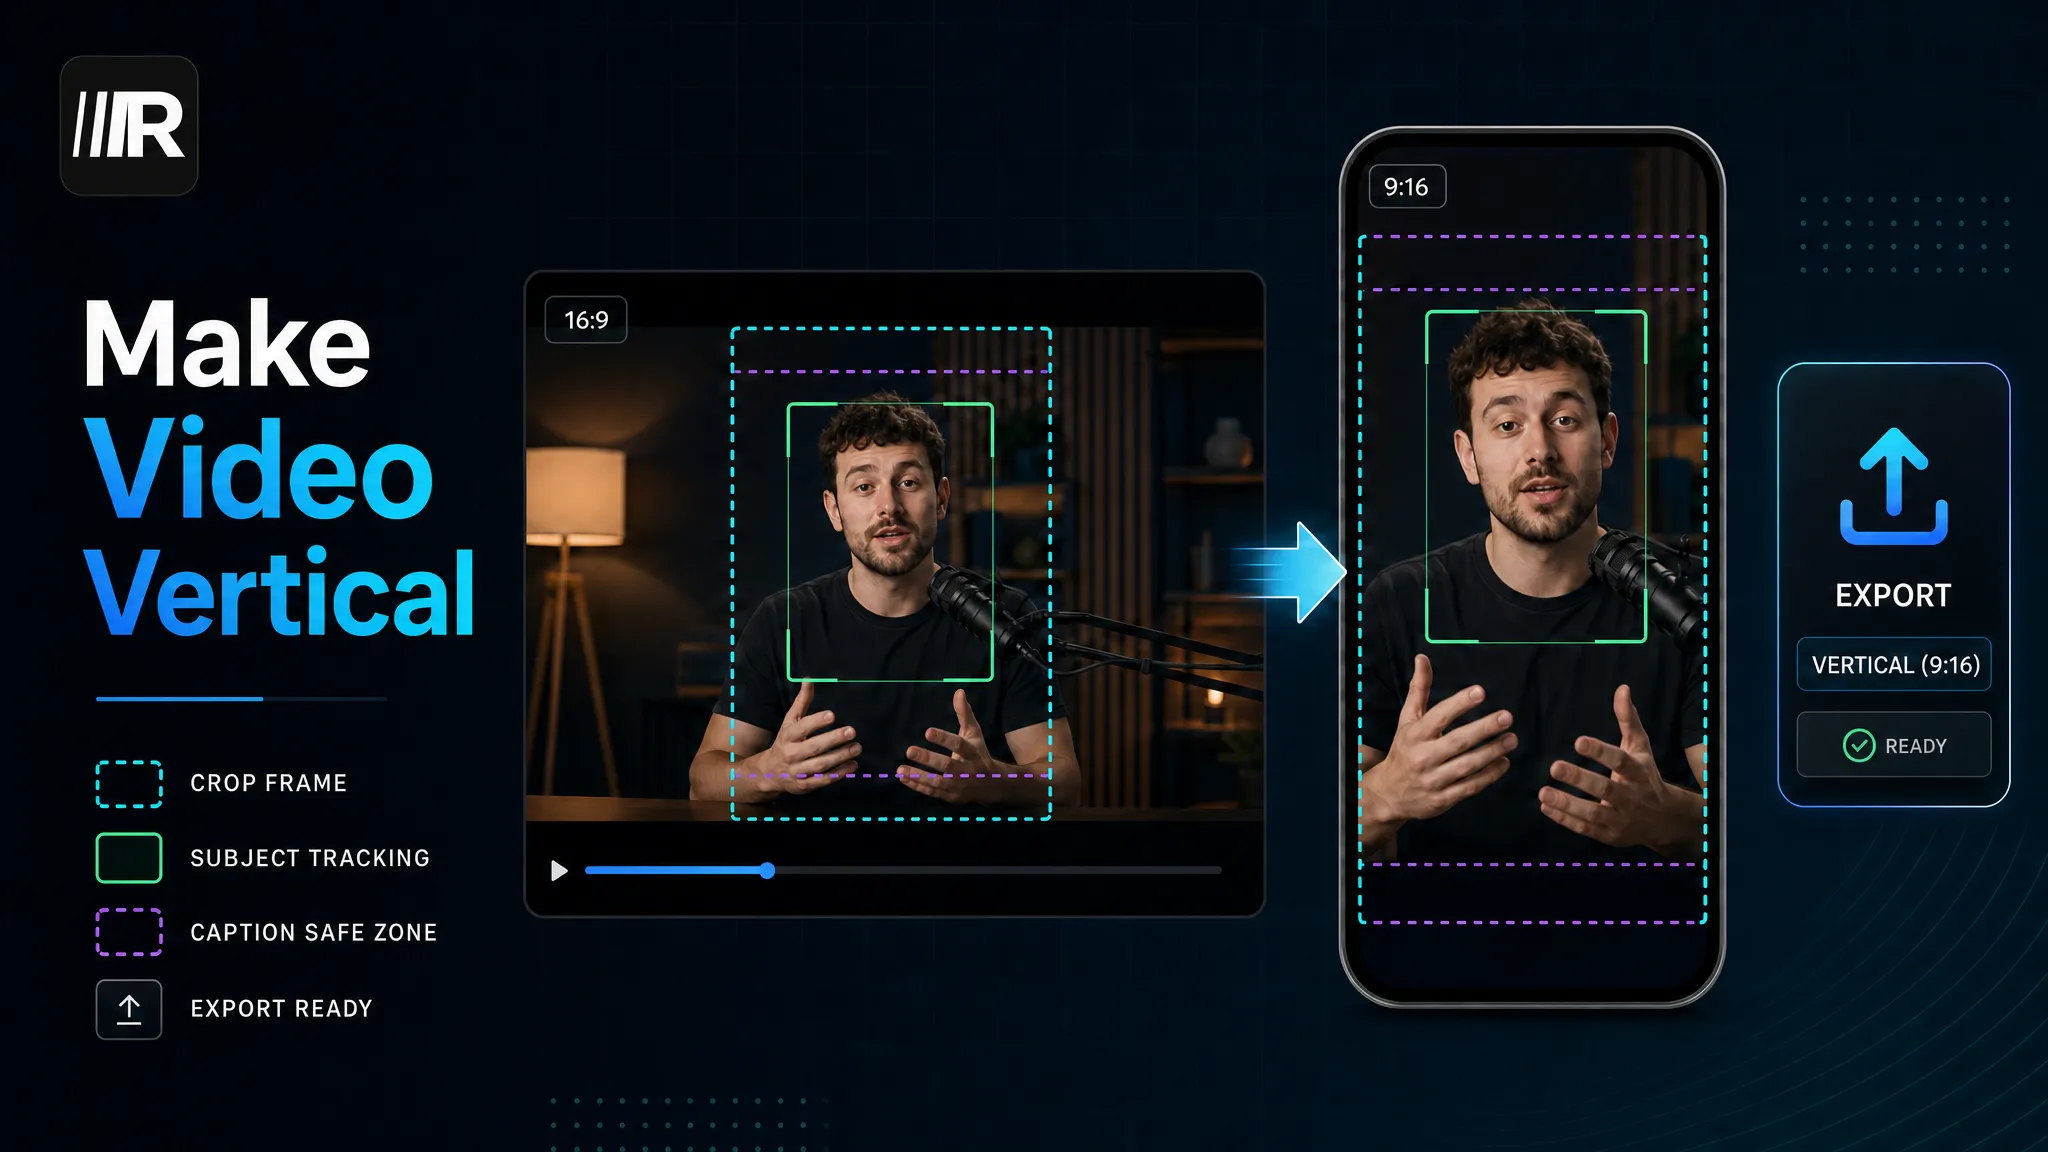
Two honest notes. First, YouTube has raised the maximum Shorts length over time, so rather than trust a number that may be stale by the time you read this, confirm the current limit on YouTube's Shorts help page. Second, the real work in Shorts isn't the format — it's the reframe. A 16:9 landscape recording cropped naively to 9:16 will slice heads off and push your subject out of frame, so the job is reframing (keeping the subject centered), not just resizing to add black bars. If you're moving between formats a lot, how to make a video vertical walks through reframing versus letterboxing in detail, and if you also post to TikTok, the best video format and settings for TikTok covers where those specs overlap and where they don't.
How to export a YouTube-ready file (any editor)
The exact menu names differ between apps, but the sequence is the same everywhere. Run through this before every publish and you'll never guess again.
- Choose MP4 as the export format or container.
- Set the video codec to H.264 (sometimes labeled AVC).
- Leave audio as AAC: with an MP4 container this is usually automatic.
- Match resolution and frame rate to your source. If you filmed 1080p/30, export 1080p/30. Don't upscale to 4K hoping it looks sharper; it won't, and it just bloats the file.
- Set the bitrate to at least YouTube's target for your resolution and frame rate from the table above, or pick a "high quality" / "YouTube" preset that does it for you.
- Keep the aspect ratio native: 16:9 for standard, 9:16 for Shorts. Reframe rather than pad with black bars.
- Export and upload the file directly. No need to zip it, and no need to pre-compress unless you're over YouTube's file-size limit.
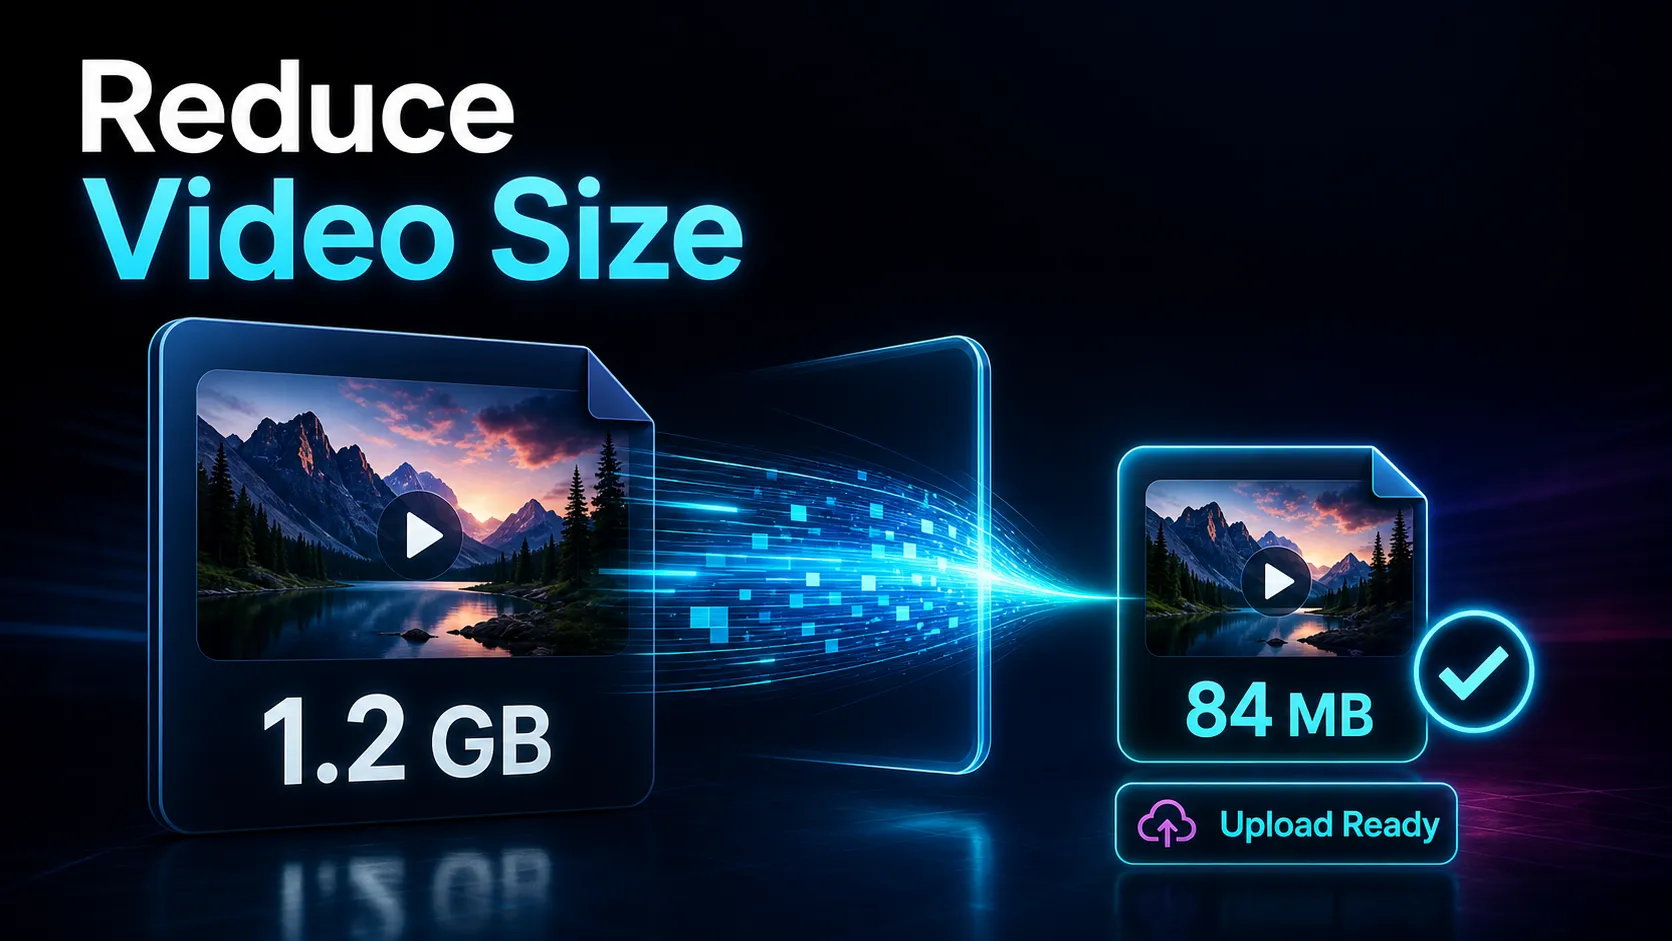
If your file is huge — long 4K exports get there fast — don't drop the bitrate below YouTube's recommendation just to shrink it. Compress smartly instead; how to reduce video file size for upload covers the moves that cut size without gutting quality.
Aspect ratio, frame rate, and the mistakes that quietly cost you quality
The format is the easy part. These are the traps that make a technically-correct upload still look off.
- Upscaling. Exporting 1080p footage as 4K doesn't add detail — it invents pixels and inflates your file. Export at the resolution you actually shot, or higher only if the source genuinely supports it.
- Frame-rate switching. Converting 24 fps to 60 fps (or vice versa) introduces judder and duplicated frames. Match the source. The one exception is deliberate slow-motion work, which is its own workflow.
- Interlaced source. Old or broadcast footage is sometimes interlaced (1080i). Deinterlace to progressive (1080p) before upload — YouTube expects progressive scan and interlaced files can look combed on motion.
- Under-bitrating. The single most common quality complaint. If your export bitrate is below YouTube's recommendation, YouTube's own re-encode starts from an already-degraded file and the result looks soft or blocky.
- Black bars instead of reframing. Padding a landscape video with bars to fit 9:16 wastes half the screen. Reframe to the vertical safe zone so your subject fills the frame. The social media video aspect ratio guide maps which shape each surface actually wants.
- Should you upload 1080p or 4K? Uploading at 1440p or 4K gives YouTube a higher bitrate allowance and often a more efficient codec, which is why many creators export above 1080p even when most of their audience watches in 1080p — the 1080p stream YouTube serves from a 4K master can look cleaner than one served from a 1080p master. Just never upscale to get there; it only helps if your source has the real detail.
Where the export loop actually breaks (and how to skip it)
Here's the friction the spec tables don't mention. Knowing the right settings is easy; the tax is the round-trips. You edit in one app, export a landscape MP4, then realize you also need a 9:16 Short — so you open a second tool to reframe, re-caption, and re-export. Every hop is another download, another re-encode, another chance for the audio to drift or the quality to drop a notch. The settings were never the bottleneck. The loop is.
That's the specific problem a browser workspace like Recapo is built to shrink — not by being a deeper editor than a desktop suite, but by keeping clip, caption, reframe, and export in one tab so you're not shuttling files between apps to hit two aspect ratios. Recapo's AI video editor exports standard MP4/H.264, and because clipping and reframing live in the same place, you can turn one long recording into a 16:9 upload and a 9:16 Short without downloading and re-encoding in between. If your input is a long video, long-video-to-short-video-ai and the AI YouTube Shorts generator handle the clip-and-reframe step so the vertical export is already framed correctly, not just black-barred.
Honest limits, because you'll want them: Recapo supports up to 6GB total per task, which covers most long 1080p and shorter 4K exports but not an unlimited raw archive; whether the plan tier fits your volume is a question for the pricing page, not this article. If all you ever do is upload one landscape MP4 a week, you don't need any of this — your editor's YouTube preset is enough, and you should just use it. This section is for the creator who publishes one recording as both a long video and a Short, over and over, and is tired of the export-reframe-re-export loop.
FAQ
What is the best video format for YouTube? MP4 with the H.264 video codec and AAC-LC audio. That's the container-and-codec combination YouTube's recommended upload encoding settings call for, and it's the most reliably processed format on the platform. YouTube accepts other containers like MOV and AVI, but converting to MP4/H.264 before uploading avoids most processing and sync issues.
What are the best export settings for YouTube? MP4/H.264/AAC-LC, at your source resolution (1080p or 4K), 16:9 aspect ratio, progressive scan, and a frame rate that matches your source (commonly 24, 25, 30, 48, 50, or 60 fps). Set the video bitrate to at least YouTube's recommended target for your resolution and frame rate — roughly 8 Mbps for 1080p/30 and 35–45 Mbps for 4K/30 per YouTube's guidance. A "high quality" or "YouTube" export preset usually sets all of this for you.
Should I upload in 1080p or 4K? Either works, but uploading at 1440p or 4K gives YouTube a higher bitrate allowance and often a more efficient codec, so the 1080p stream YouTube serves from a higher-resolution master can look cleaner than one from a 1080p master. The catch: only upload 4K if you actually shot or edited at that resolution. Upscaling 1080p to 4K adds no real detail and just inflates the file.
What format should YouTube Shorts be? The same MP4/H.264/AAC-LC file, just vertical — 9:16 aspect ratio at 1080×1920 (square also qualifies). There's no special "Shorts codec." A video is treated as a Short when it's vertical or square and within YouTube's current Shorts length limit, which YouTube has expanded over time, so confirm the current number on YouTube's Shorts help page. The real work is reframing your subject into the vertical frame, not just adding black bars.
Why does my video look worse after uploading to YouTube? YouTube re-encodes every upload, so if your source is already soft — low bitrate, upscaled, or a mismatched frame rate — YouTube's compression starts from degraded footage and the result looks worse. Fixes: export at or above YouTube's recommended bitrate, match your source resolution and frame rate, and consider uploading at 4K so YouTube allocates a higher-quality stream even to 1080p viewers.
Export once, publish everywhere
The recipe is genuinely simple: MP4, H.264, AAC-LC, at your source resolution and frame rate, 16:9 for standard and 9:16 for Shorts, at YouTube's recommended bitrate. Copy the cheat-sheet, set your export preset once, and you're done second-guessing the format. But if your actual friction is that one recording has to become both a landscape upload and a vertical Short — and you're tired of downloading, reframing, and re-encoding between apps — try doing it in one place. Run a long video through Recapo's AI video editor and AI YouTube Shorts generator, export a YouTube-ready MP4 and a 9:16 Short from the same source, and count how many download-and-re-encode round-trips you just skipped. Create a free account and see whether keeping the export loop in one tab is worth it for how you publish.
References and official sources
- YouTube: Recommended upload encoding settings
- FFmpeg documentation
- YouTube Help: Edit video settings
- Recapo.ai: Product overview and current upload limits
- Recapo.ai: AI Video Editor
- FFmpeg: Official documentation