How to Repurpose a Webinar Into Short Clips
How to repurpose a webinar into clips in one browser pass: auto-transcribe, let AI surface quotable moments, reframe to vertical with burned captions.
By the Recapo.ai Editorial Team · Fact-checked July 10, 2026
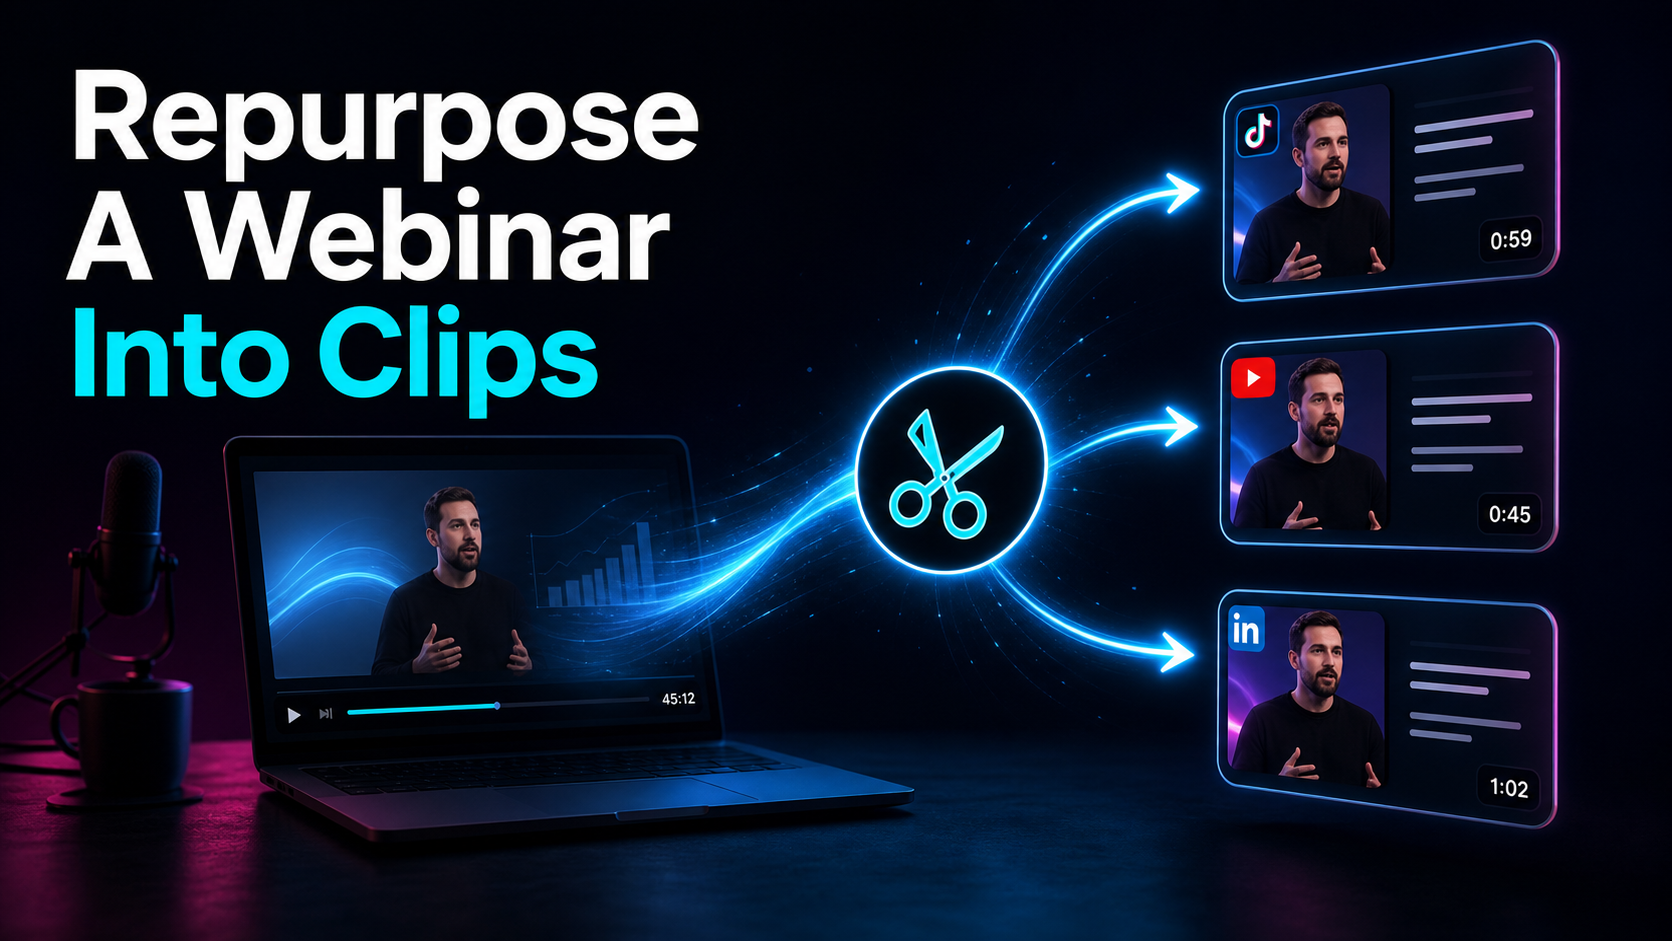
Repurposing a webinar into clips is the highest-leverage move a recurring event program can make: you already produced 45 to 60 minutes of expert talk, and buried inside it are a handful of short, quotable moments your audience will actually stop to watch. This guide shows you how to repurpose a webinar into clips in a single browser pass — auto-transcribe the recording, let AI surface the quotable moments, reframe to vertical with burned-in captions, and export a version sized for each platform, with no desktop editor to install. The angle here is deliberately narrow: not a generic "repurpose everything" overview, but the specific webinar-to-short-clips pipeline a host can run in the hour after every event.
Webinars are unusually good raw material because the hard part — booking an expert, structuring an argument, saying something worth quoting — is already done. What most teams miss is the second harvest: the ten-second answer that lands, the objection your guest dismantled cleanly, the one stat that made everyone lean in. Those are shorts waiting to happen. Below is the workflow to extract them without turning your webinar program into a full-time editing job.
Key Takeaways
Why a webinar is a goldmine of short clips
A live webinar is one of the densest content formats you can record. Unlike a scripted promo, it's full of spontaneous, high-signal moments: a guest expert answering an unscripted question, a sharp rebuttal to a common objection, a number that reframes the whole conversation. That density is exactly what short-form video is hungry for. Turning a webinar to short clips isn't padding out a content calendar — it's surfacing the best 90 seconds that would otherwise be locked inside an hour nobody rewatches.
Consider what a single 60-minute session actually contains. There's the framing hook in the opening minutes, three or four core teaching points in the body, at least a couple of quotable one-liners, a live Q&A packed with real audience questions, and often a demo or worked example. Each of those is a candidate clip with a different job on social — the hook drives reach, the teaching points build authority, the Q&A answers real search intent.
| Webinar segment | What it becomes as a clip | Job on social |
|---|---|---|
| Opening hook / big promise | 15–30s teaser | Reach and curiosity |
| A single teaching point | 30–60s explainer | Authority and saves |
| Quotable one-liner from a guest | 10–20s quote clip | Shares and reposts |
| A specific Q&A answer | 30–60s "answer" clip | Search and comments |
| Demo or worked example | 45–60s how-to | Watch time and follows |
The mindset shift is to stop seeing the recording as a single asset you already published and start seeing it as a quarry. You are not repurposing "the webinar" — you are finding independent candidate moments and approving only those that stand on their own, each of which can stand entirely on its own.
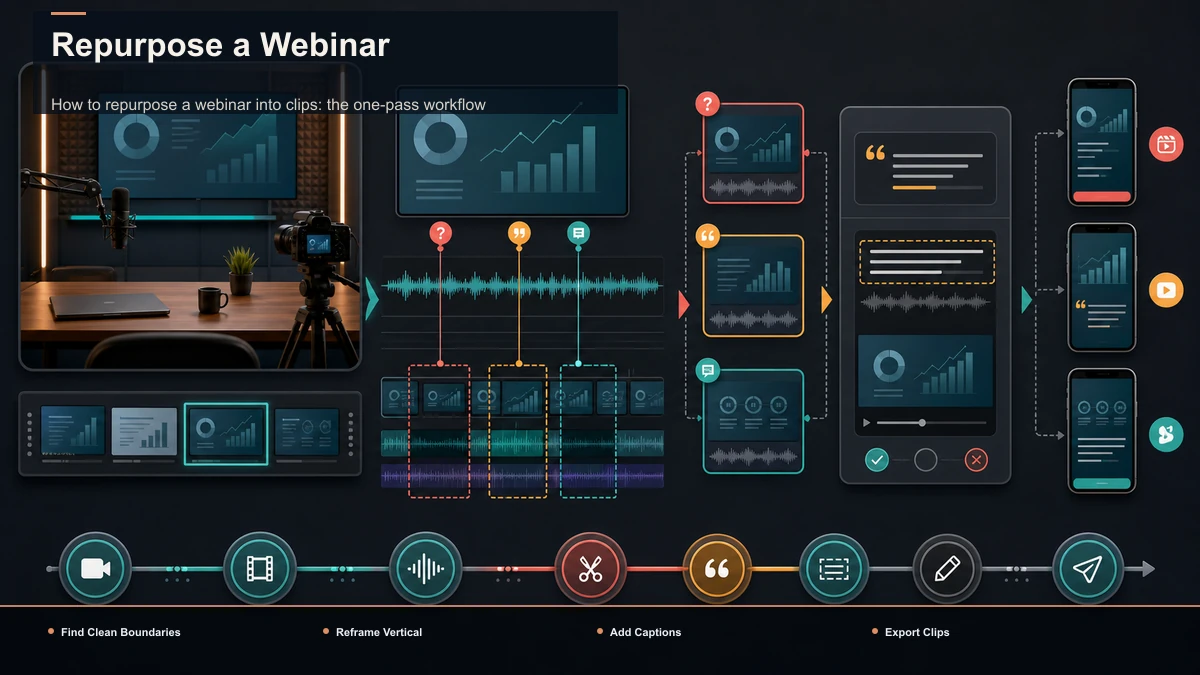
How to repurpose a webinar into clips: the one-pass workflow
Here is the core of the system: a linear pipeline that takes your raw recording to a batch of publish-ready shorts without you ever opening a desktop editor. It runs end to end inside a browser-based workspace like Recapo; processing and rendering happen in the cloud, and the sequence works with any toolkit you assemble.
- Get the recording out of your webinar platform. Export or download the full session as a standard video file. Most platforms hand you an MP4 or MOV, which is exactly what you want. Webinar recordings run large, so make sure your clipping tool accepts big source files rather than forcing you to compress first.
- Auto-transcribe before you cut anything. Run the recording through a transcription step so you have a timed, searchable text of the whole session. Reading a transcript to find your best moments is dramatically faster than scrubbing a 60-minute timeline — this single step is the difference between a 20-minute harvest and a two-hour slog.
- Let AI surface the quotable moments. Feed the recording into an AI clip generator to get a first pass of high-signal segments. Treat its picks as candidates, not final cuts — the tool is good at finding where energy spikes, but you still decide which moments serve your audience and your offer.
- Trim each clip to a clean boundary. Re-cut the start so the clip opens on the first interesting word — no "so, um, the next thing" wind-up — and end on a complete thought. A tight in-and-out point does more for retention than any effect.
- Reframe to vertical. Convert each clip from the webinar's 16:9 to a 9:16 vertical frame, keeping the speaker in the middle third and away from where platform UI overlays the edges.
- Burn in captions. Add captions and style them large and high-contrast, then proofread anything with names, jargon, product terms, or numbers. On a muted feed, captions are what make a talking-head webinar clip legible at all.
- Add a cover and export per platform. Pick a clean cover frame, then export a clip sized for each destination — YouTube Shorts, TikTok, and Instagram Reels all take a 9:16 MP4.
That's the whole loop. Once it's routine, the only variable input is which moments you choose; everything downstream is mechanical.
Which webinar moments are actually worth clipping
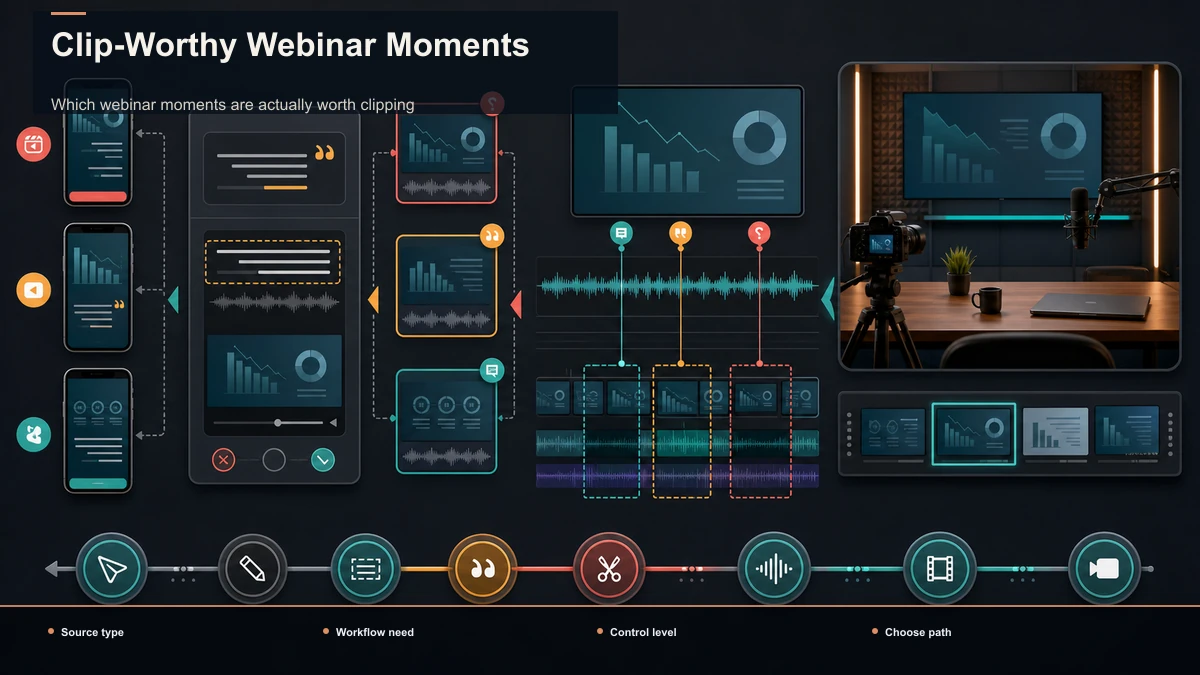
The most common mistake is clipping evenly across the runtime instead of selectively for punch. A webinar has natural peaks and long flat stretches, and reading the transcript makes the peaks obvious in a way scrubbing never does — you can literally see where a sentence is quotable.
Use a simple test for every candidate: does it deliver a complete, self-contained idea in under a minute, and would it make sense to someone who never attended the webinar? If a moment needs three minutes of prior context to land, it's not a clip. Prioritize in this order:
Don't force volume. Do not assume a fixed yield; record candidate count, approved count, and the reasons later moments are rejected. Extract the peaks and stop — a handful of sharp clips beats a dump of mediocre ones, and posting weak clips consistently just trains your audience to scroll past your name.
One browser pass vs. a desktop editing project
The traditional route is to pull the webinar recording into a desktop editor, cut clips on a timeline, add a caption plugin, resize each one by hand, and render out. It works, and if you already live in that software, keep using it. But for a recurring webinar program, that path front-loads a lot of overhead onto every single event.
Look at where the time and friction actually go — it's rarely the cutting itself, it's the setup and the seams between steps.
| Step | Desktop editor project | One browser pass |
|---|---|---|
| Get started | Install, update, manage project files | Open a tab, upload the recording |
| Find moments | Scrub the timeline manually | Read the auto-transcript |
| First cut | Set in/out points by hand | AI surfaces candidate segments |
| Captions | Add and sync a caption plugin | Auto-captions generated in place |
| Vertical resize | Reframe each clip manually | Reframe to 9:16 in a click |
| Export | Render and manage output files | Export per platform, no round-trips |
The desktop route isn't wrong — it gives you frame-level control a fast pipeline doesn't. The trade-off is time and overhead per event, and for a host running a monthly or weekly series that overhead compounds. A consolidated browser workspace like Recapo folds the whole chain — transcribe and caption, long-to-short clipping, summaries and scripts, resize and vertical reframing, cover and export — into one place, so a recording moves from upload to publish-ready clips without ever leaving the tab. It handles common formats like MP4 and MOV and accepts large source files up to 6GB total per task, which matters when your source is a full-length session rather than a trimmed snippet. Put plainly: a desktop editor optimizes for control, a browser pass for throughput — and a webinar program lives or dies on throughput, because the value evaporates if clips ship two weeks late.
Reframe, caption, and export for every platform
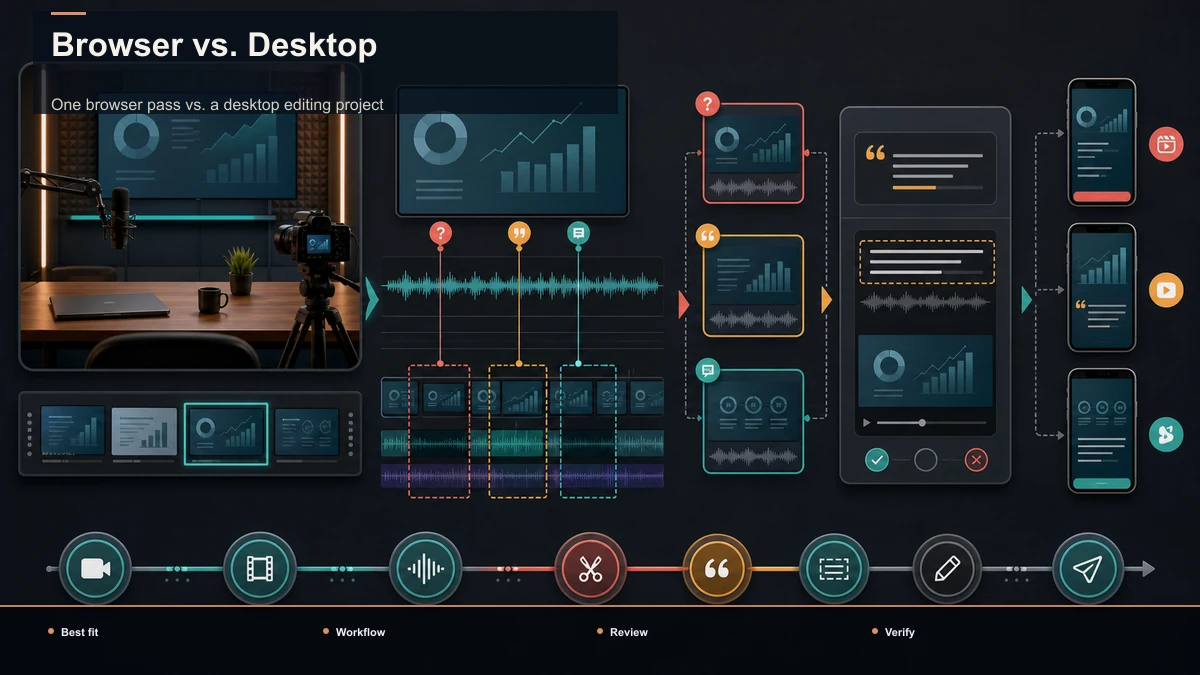
Getting a webinar clip to actually perform on social comes down to three finishing details that hosts routinely skip. This is the stage where a "fine" clip becomes a postable one.
Reframe with intent. Webinars are shot 16:9 for a screen; social feeds are 9:16 for a phone. A naive crop can slice the speaker's head off or park them at the edge. Keep the subject in the center third, and if your clip cuts between a talking head and shared slides, reframe each so the important content stays in the safe zone away from platform UI.
Caption for viewers watching without sound. Some short-form viewing happens with sound off, so burned-in captions aren't a nice-to-have — they're what makes a talking-head clip watchable at all. Run each clip through auto-captions, then do a proof pass on names, company terms, and any figure your guest quoted. One wrong word on the punchline undoes the clip. If you want the captions to actively pull viewers through, see the best caption styles for shorts.
Export once, post everywhere. A clean 9:16 MP4 uploads natively to YouTube Shorts, TikTok, and Instagram Reels, so you don't need a separate export per platform — you need one solid vertical file and platform-appropriate titles and captions written around it. Match the hook in your on-screen text to the promise of the clip, and lead with the sharpest line rather than a slow "in this webinar we discussed" intro.
A repeatable system for recurring webinars
The single biggest reason webinar repurposing fails isn't the tooling — it's that hosts treat each event as a one-off editing sprint and burn out by the third one. If you run a series, the win is a system you rerun identically every time, so extracting clips becomes as routine as sending the follow-up email.
| When | Task | Output |
|---|---|---|
| Right after the event | Download recording, auto-transcribe | Searchable transcript ready |
| Same day or next | Read transcript, mark candidate moments, AI first-pass clips | Rough clips selected |
| Next work block | Trim, reframe, caption, cover, export | Finished vertical clips |
| Following days/weeks | Schedule clips across platforms | Weeks of posts from one event |
Two honest notes. First, one webinar can feed social until your next one — you do not need to publish all ten clips in a day. Spacing them out keeps your feed alive between events and stretches a single recording across the whole gap. Second, the recurring nature is the advantage: by your third event the pipeline is muscle memory, and the marginal cost of clips per webinar drops toward zero. That's the difference between webinar highlights for social being a project and being a habit. The same repurposing logic applies to any recorded call — for example, turning a Zoom recording into clips uses this exact pipeline.
How to choose your webinar clipping setup
The clipping space is crowded, and every tool promises the same outcome, so don't compare feature lists — run a test with one of your own recordings. Take a real webinar, push it through any setup you're considering, and measure four things:
- Round-trips. How many times do you export a file and re-upload it to a different app to go from recording to a finished, captioned vertical clip? For a recurring program, fewer is the whole game.
- Selection quality. Do the auto-detected segments match the moments you'd have chosen from the transcript? Count keeps versus discards.
- Caption accuracy. On a segment thick with names, product terms, and numbers — which webinars always are — how much do you have to fix by hand?
- Time to a batch. From one upload, how long until you have the approved 9:16 clips with captions?
Run that same fifteen-minute test on any option — including Recapo — and let the results decide, not the marketing. A browser workspace that keeps transcription, clipping, captions, and export in one tab may reduce round-trips; test actual time and correction load on your own webinar. But prove it with your own webinar, not a demo file.
FAQ
How many clips can I realistically get from one webinar? For a substantive session, plan from the measured candidate-to-approved rate, plus material for a written recap or a few caption-only posts. You can force more, but quality drops fast once you're past the genuine peaks — and posting weak clips consistently trains your audience to ignore you. Harvest the best moments and stop.
Do I need a desktop video editor to do this? No. A browser-based workspace handles transcription, AI clip selection, vertical reframing, captions, and export in the same tab with no install, so you can go from a full recording to a batch of publish-ready shorts on any machine. A desktop editor gives you finer control, but it adds real overhead to every event in a recurring series.
What's the fastest way to find the best moments in a long webinar? Read the transcript instead of scrubbing the video. Auto-transcribing the recording first lets you skim the whole session in minutes and mark quotable lines by eye, then let an AI clip generator suggest candidates. Scrubbing a 60-minute timeline by hand is the slowest part of the job and the main reason webinar repurposing stalls.
Do webinar clips really need burned-in captions? Yes. Some short-form video is watched on mute, and a talking-head webinar clip with no captions is effectively silent to a scrolling viewer. Burn captions into every clip and proofread names, jargon, and numbers — one wrong word on a key line can undo the whole clip.
Can I repurpose a webinar that was recorded on Zoom or a webinar platform? Yes — the recording is just a video file. Export the session as an MP4 or MOV and run it through the same pipeline: transcribe, clip, reframe, caption, export. Large recordings are fine as long as your tool accepts big source files, which is why webinar-length sessions belong in a workspace built for them.
Turn your next webinar into a measured clip batch
Repurposing a webinar into clips isn't extra work bolted onto your event — it's collecting the value you already produced and letting it earn a second time on social. Auto-transcribe the recording, let AI surface the quotable moments, reframe to vertical, burn in captions, and export a clean file for each platform, and one expert session becomes a reviewed set of short-form candidates. Because you run these events on a schedule, the payoff is a system you rerun every time, not a one-off scramble. Create a free Recapo account and turn your next webinar recording into a batch of publish-ready, captioned vertical clips in one browser pass.
References and official sources