How to Clip a Twitch VOD Into Highlights and Shorts
How to clip a Twitch VOD in two stages: save highlights with Twitch's native Highlighter, then reframe and caption them into Shorts, TikToks, and Reels.
By the Recapo.ai Editorial Team · Fact-checked July 10, 2026
Clipping a Twitch VOD is a two-stage job, and knowing that up front saves you hours: first you mark and save the moment inside Twitch with the native Highlighter so it survives after your VOD is deleted, then you download that highlight and repurpose it into vertical Shorts, TikToks, and Reels where the off-platform reach actually lives. This guide covers both stages honestly — including the part most "Twitch highlighter" tools skip over, which is that a raw 16:9 gameplay clip almost never lands on a vertical feed without reframing and captions.
If your only goal is archiving a great play on your channel, Twitch's built-in Highlighter is genuinely all you need, and it's free. If your goal is growth — turning one long stream into a week of clips for TikTok and Shorts — the Highlighter is step one of maybe five. We'll do the native workflow first, then the handoff to vertical repurposing, and finish with a self-test for choosing a clipping tool.
The two stages of clipping a Twitch VOD
Twitch gives you two native ways to grab a moment, and they're easy to confuse. Clips are the short, up-to-a-minute grabs that you or your viewers make on the fly, live or from a VOD. Highlights are segments you cut yourself from a past broadcast in the Highlighter, and — this is the important part — they're stored as permanent videos on your channel, so they outlive the VOD, which Twitch deletes after a set retention window (Twitch publishes the exact number of days per account type).
For repurposing, highlights are usually what you want: you control the exact in and out points, you can stitch several moments into one video, and the result won't vanish when your VOD expires. Here's how the three formats compare:
| Twitch Clip | Twitch Highlight | Repurposed Short / TikTok / Reel | |
|---|---|---|---|
| Where it's made | Live stream or VOD, by you or viewers | In the Highlighter, from your own VOD | In a vertical editor after export |
| Length | Short (up to ~60s) | You set start and end | Short-form, platform-native |
| Survives VOD expiry | Yes | Yes — stored on your channel | Yes — lives off Twitch |
| Aspect ratio | 16:9 landscape | 16:9 landscape | 9:16 vertical |
| Best for | Fast in-the-moment grabs | Archiving key segments before the VOD is deleted | Off-platform growth |
The takeaway: use clips and highlights to capture and archive on Twitch, then move to a vertical editor to repurpose for everywhere else. Trying to skip the second stage — posting a landscape gameplay clip straight to a vertical feed — is the single most common reason Twitch-to-TikTok attempts flop.
Clip a Twitch VOD with the native Highlighter
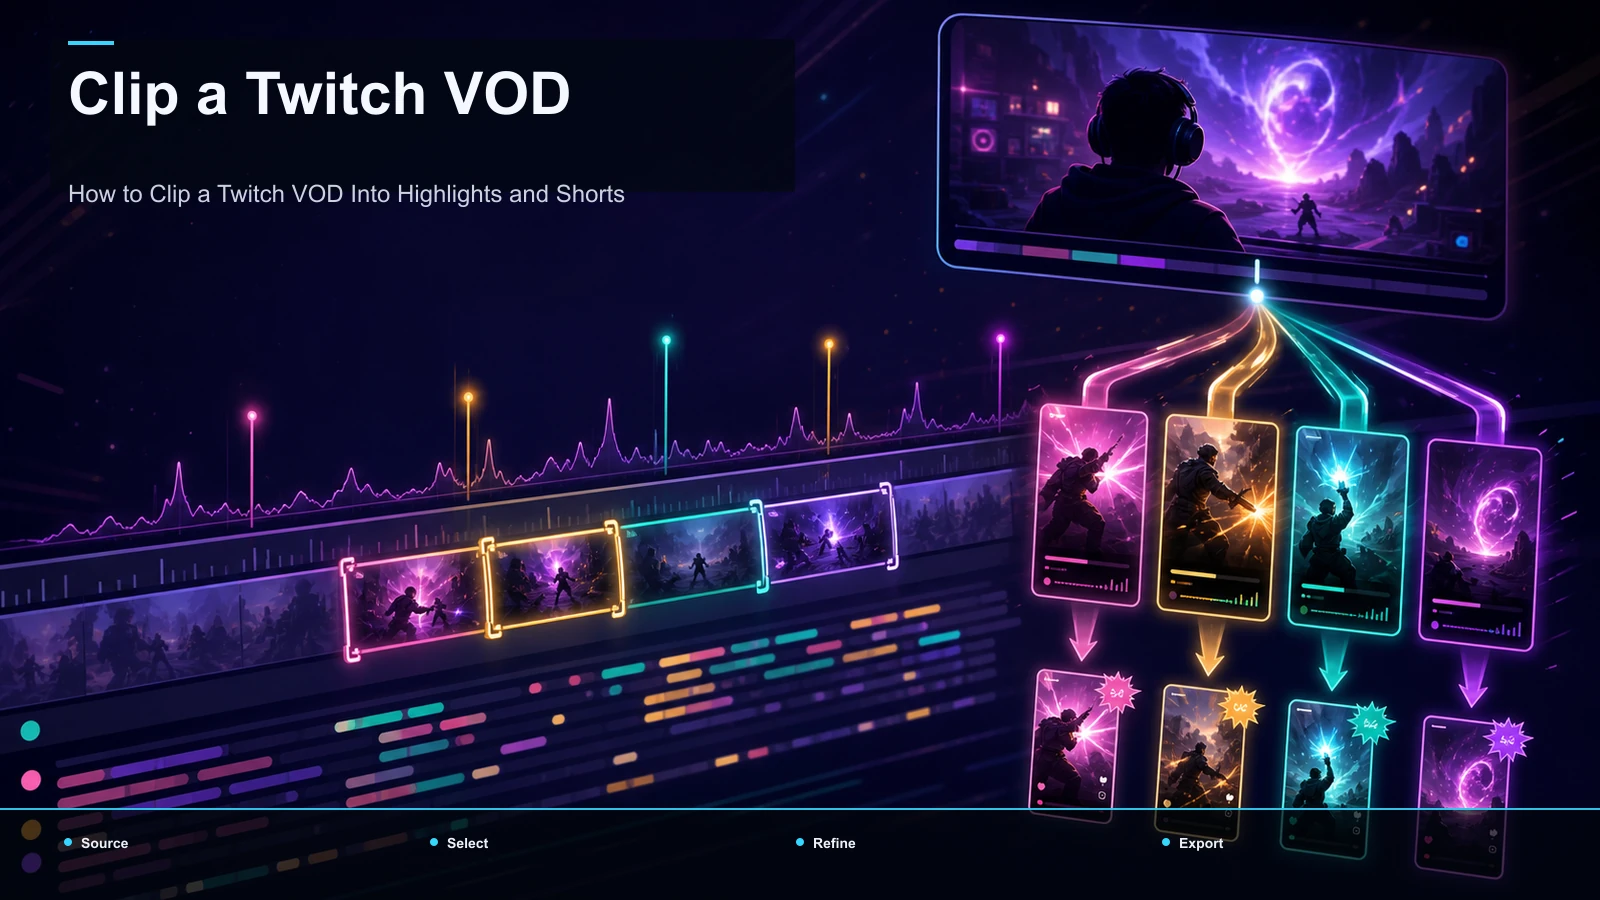
The Highlighter is free, built in, and the cleanest way to pull a segment because it never re-encodes through a third party. Here's the workflow, start to finish:
- Open your Creator Dashboard and go to Content → Video Producer. Your past broadcasts (your VODs) are listed there.
- Find the VOD you want to clip and open the Highlighter for it. This loads the full broadcast on an editing timeline.
- Scrub to the moment and set a start marker and an end marker around it. You can add more than one segment to a single highlight — useful for a "best of this stream" reel that stitches several plays together.
- Trim tight. Cut dead air before the setup and after the payoff. A highlight that starts three seconds before the action beats one that makes viewers wait.
- Save the highlight. It's published as a permanent video on your channel, independent of the VOD. Do this before your VOD hits its retention limit, or the source is gone.
- Export for repurposing. Download the highlight as an MP4 (or export it to YouTube). For the vertical handoff below, you want the MP4 file on your machine.
That's the whole native process for how to clip a Twitch VOD into twitch vod highlights. It costs nothing and keeps everything on your channel — but notice what it doesn't do, which is the next section.
What the Highlighter does well — and where it stops
Being honest about a tool's edges is what lets you build a workflow around it instead of fighting it.
What it does well: - Free, native, no third-party account. - Clean capture — no extra compression pass on Twitch's side. - Permanent storage on your channel that survives VOD deletion. - Multi-segment stitching for "best of stream" compilations.
Where it stops: - No automatic moment detection. You scrub and mark every highlight by hand. It won't watch chat spikes or audio for you. - Landscape only. Output is 16:9 — the wrong shape for Shorts, TikTok, and Reels. - No captions. Nothing is burned in, so add and review captions when the clip must remain understandable without audio. - Not built for social. No hooks, no vertical layout, no cover frame.
None of that is a flaw — it's scope. The Highlighter's job is to preserve the moment on Twitch. Turning that moment into a scroll-stopping vertical clip is a different job, and that's the handoff.
From Twitch VOD to TikTok: the vertical handoff
Here's where most "twitch vod to tiktok" attempts go wrong: creators export a 16:9 highlight and upload it as-is. On a vertical feed it renders as a small letterboxed strip, the facecam is thumbnail-sized, and there are no captions for viewers watching without sound. It gets scrolled past.
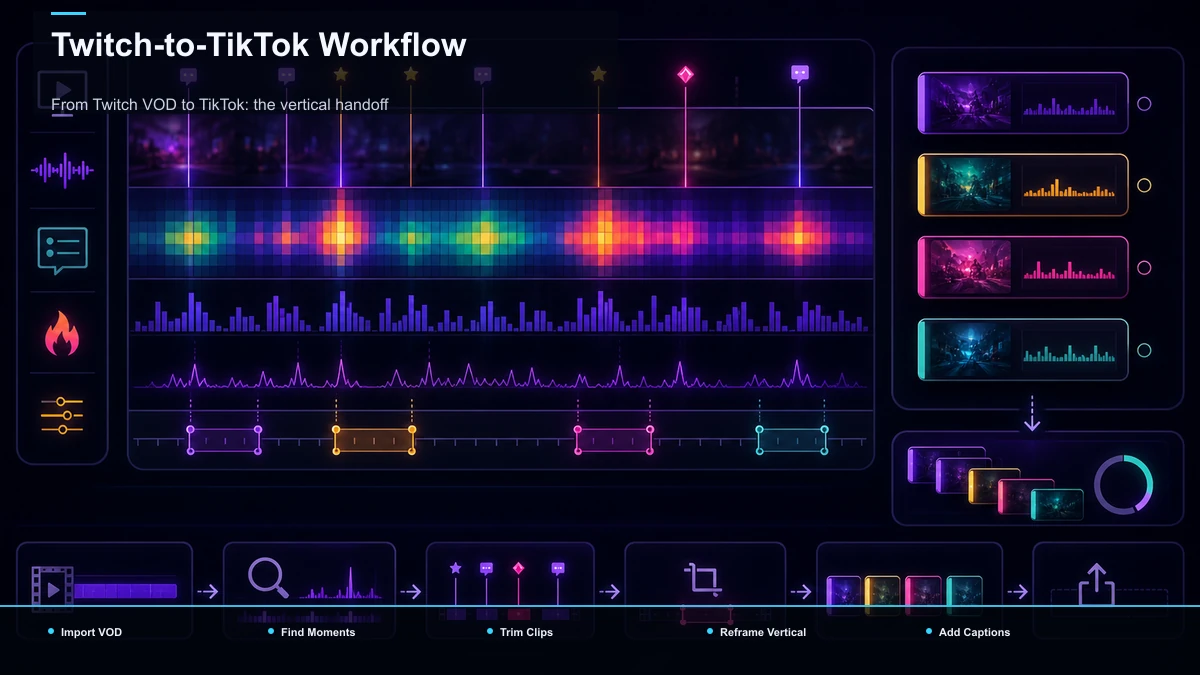
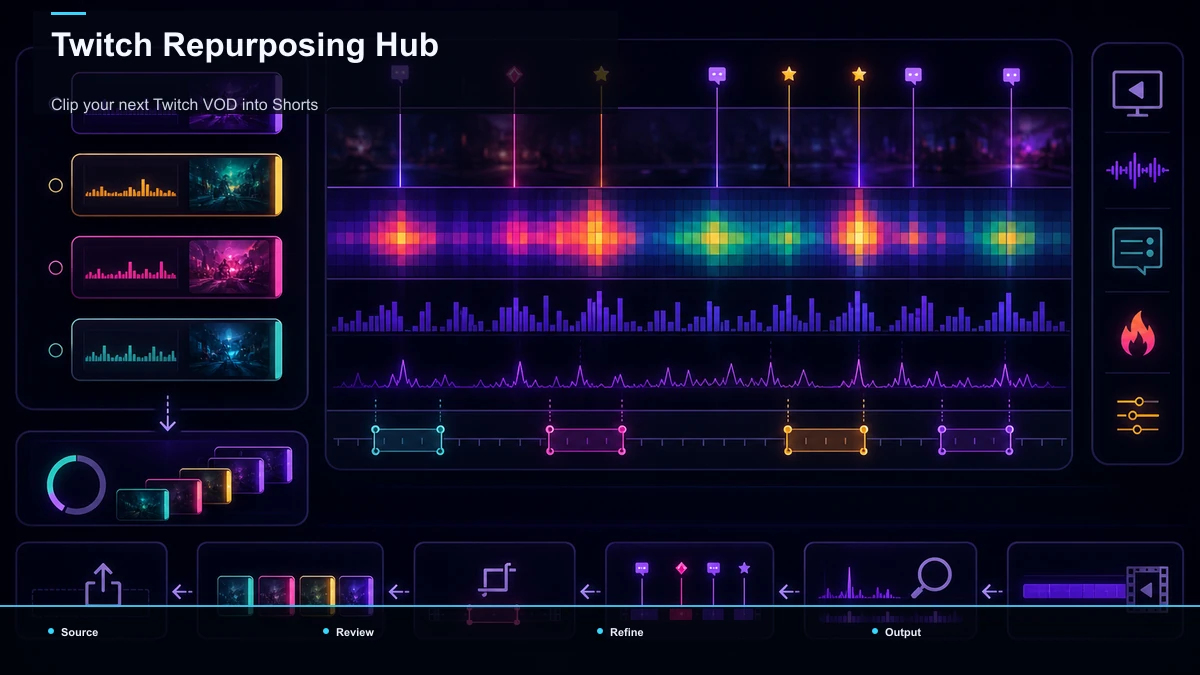
The fix is a short repurposing pass that does three things: reframe the 16:9 gameplay to 9:16, compose the gameplay and facecam so both read on a phone, and add captions so the clip works on mute. This is a browser-based editing stage, not a gaming-detection stage — and it's where Recapo fits honestly. Recapo isn't a gaming auto-clipper that watches your chat for hype moments; it's the repurposing layer that takes a highlight you've already chosen and turns it into a caption-ready vertical clip. If you want auto-detection from the game feed itself, that's a different category of tool (more on choosing one below). For the reframe-and-caption stage, here's the step-by-step.
Turn a VOD highlight into a Short, Reel, or TikTok
Once you have your highlight exported as an MP4, everything below runs in a browser tab — nothing to install.
- Upload the highlight. Bring in the MP4 (or MOV). Recapo accepts files up to 6GB total per task, so even a long, multi-segment highlight uploads without pre-compressing.
- Tighten it to the best moment. If the highlight is several minutes long, use the long video to short video AI or the AI clip generator to find a self-contained moment, then test the shortest version that preserves its setup and payoff.
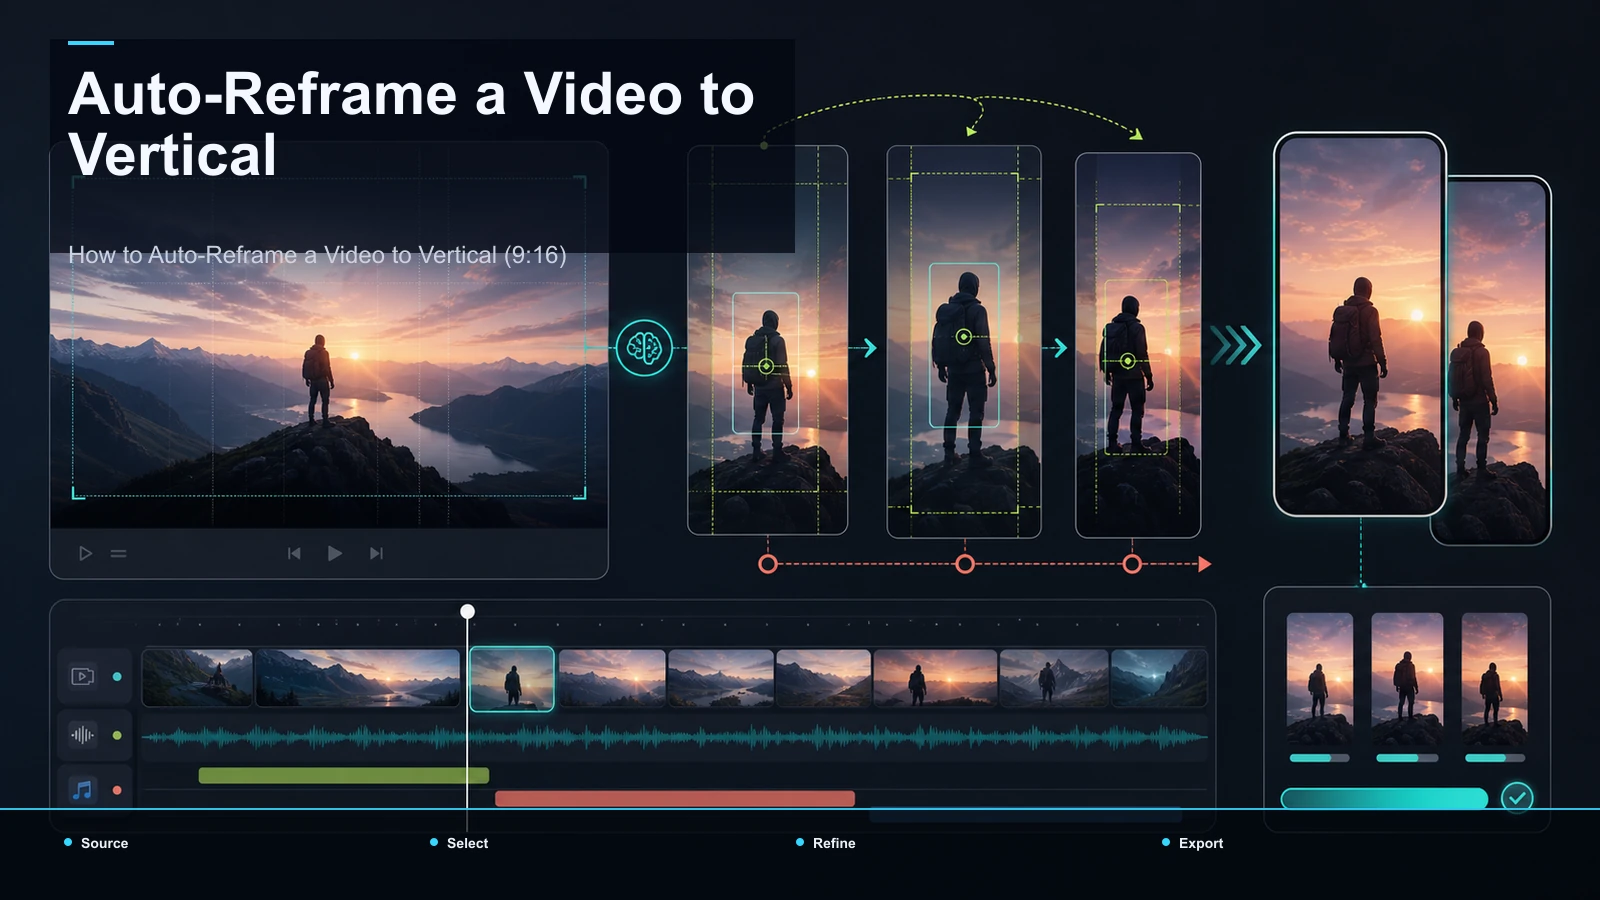
- Reframe to vertical. Convert 16:9 to 9:16 with the TikTok video resizer. For gameplay with a facecam, the common layout stacks the action in the upper two-thirds and the facecam below, so both stay legible on a phone. Keep the crosshair or key UI in frame.
- Add captions. Generate synced, burned-in captions with auto-captions. This is close to non-negotiable for gaming clips — the play, the callout, and the reaction all land harder when viewers can read them on mute.
- Open on a hook and add a cover. Front-load the payoff or a text hook in the first second, and set a cover frame so the clip looks intentional in a grid.
- Export per platform. Ship a 9:16 MP4 for TikTok, Shorts, and Reels. Keep captions burned in, since uploaded subtitle files aren't reliably shown on these feeds.
For the framing craft specifically — where to crop, how to keep fast action centered — our guide on how to auto-reframe a video to vertical goes deeper than we can here.
Captions and reframing: what actually earns the view
If you take one thing from this guide, take this: for gaming clips, captions and framing move the needle more than clever moment-detection. A perfectly auto-detected clip that's letterboxed and silent still gets scrolled; a hand-picked moment that's reframed tight and captioned clean can carry a channel.
Why captions matter so much for Twitch content specifically: streams are full of callouts, chat references, and reactions that lose all context on mute. Burned-in captions rescue that. They also give a viewer's eye something to lock onto in the first half-second, which is the entire game on a fast feed.
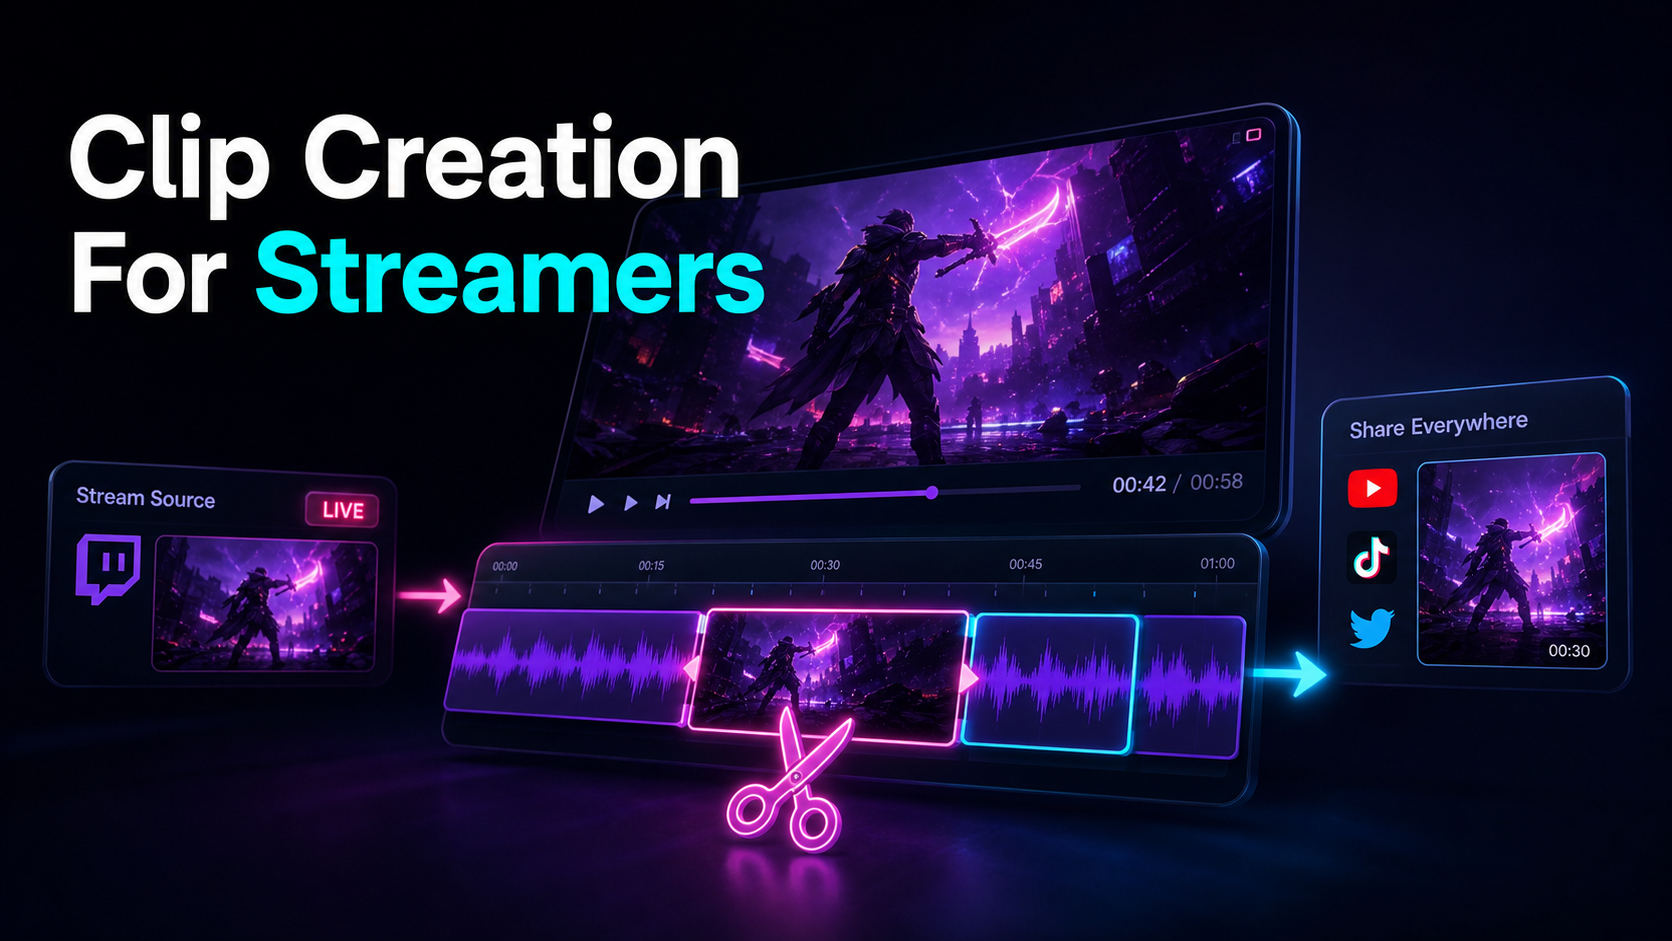
Why reframing matters: gameplay is designed for a wide monitor, but a phone is tall and narrow. A blind center-crop chops off the minimap, the killfeed, or half the facecam. Deliberate reframing — deciding what stays in the 9:16 window shot by shot — is the difference between a clip that reads instantly and one viewers have to squint at. If your clips lean on your reaction, keep the facecam prominent; if they lean on mechanics, keep the action and UI centered. For a broader streamer-focused workflow across platforms, see clip creation for streamers.
Choosing a Twitch highlighter tool: a self-test, not a ranking
The gaming-clip space has entrenched specialists — StreamLadder and Eklipse are among the most recognized — and general repurposing tools like Recapo. Rather than hand you a fabricated feature-by-feature table (feature sets and limits change constantly), here's a self-test. Answer these against your own workflow and the right category becomes obvious:
- Do you want the tool to find the moments, or have you already picked them? If you want automatic detection from chat spikes or audio, look at gaming-specific auto-clippers built for that. If you've already marked highlights in Twitch's Highlighter, you need a repurposing tool, not a detector.
- Is your bottleneck detection or delivery? If clips pile up unedited, your bottleneck is the vertical/caption pass, not finding moments — optimize for reframing and captions.
- Do you need gaming-native features (chat-overlay capture, kill-based triggers) or general-purpose ones (accurate captions, clean reframe, big-file support, multi-format export)?
- Test on your worst clip, not your best. Run the same 90-second segment through any tool you're trialing and judge caption accuracy on game jargon, how tight the vertical crop is, and how fast you can ship. Whatever wins on your footage wins.
- Where does the file live and how big is it? Long, high-bitrate captures test upload limits fast — confirm the tool handles your file sizes before you commit.
This framework outlasts any comparison chart: match the tool category to your bottleneck, verify on your own footage, and ignore anyone crowning a single winner.
FAQ
How do I clip a Twitch VOD before it expires? Open your Creator Dashboard, go to Content → Video Producer, find the VOD, and open the Highlighter. Set start and end markers around the moment and save it as a highlight — highlights are stored permanently on your channel and survive after the VOD is deleted. Twitch removes VODs after a set retention window that varies by account type (Twitch publishes the exact number of days), so cut your highlights before that window closes.
Can I make clips from a Twitch VOD automatically? Twitch's native Highlighter doesn't auto-detect moments — you scrub and mark them by hand. Some third-party gaming clippers advertise automatic detection from chat activity or audio spikes; whether that fits depends on your workflow. If you've already picked your moments, you don't need auto-detection at all — you need a fast reframe-and-caption pass to make them vertical.
How do I turn a Twitch VOD into a TikTok or Short? Export the highlight as MP4, create a complete cut whose length follows the moment, preview a 9:16 reframe so gameplay and facecam remain readable, add reviewed captions, and export a vertical file. Compare that version with the original framing rather than assuming one cause explains performance.
Do I need a third-party Twitch highlighter tool? Not for archiving — Twitch's built-in Highlighter is free and enough to save moments on your channel. You'll want an additional tool only for the repurposing stage: reframing to vertical, adding captions, and exporting for TikTok, Shorts, and Reels, none of which the native Highlighter does.
How many clips should I pull from one Twitch VOD? There's no fixed number — it depends on how many genuinely distinct moments a stream produced. A quiet session might yield one; an eventful one might give you five or six. Quality beats volume: two tight, well-captioned verticals will outperform ten letterboxed landscape uploads. Pull only the moments that stand on their own without the surrounding context of the stream.
Clip your next Twitch VOD into Shorts
Save the moment on Twitch first with the native Highlighter so it outlives your VOD, then do the part that earns the views: reframe it vertical and caption it clean. Export your highlight as an MP4, upload it (files up to 6GB total per task), tighten it with the AI clip generator or long video to short video AI, reframe with the TikTok video resizer, and burn in captions with auto-captions — all in your browser. Create your free Recapo account and turn your next VOD into a week of Shorts, TikToks, and Reels.