How to Remove Background Noise From a Video
Learn how to remove background noise from video: diagnose hum, hiss, echo and wind, apply AI noise reduction without artifacts, and know when to re-record.

Removing background noise from a video comes down to three moves in the right order: figure out exactly what kind of noise you have, run a matched noise-reduction pass, then normalize the loudness and check for artifacts before you export. Almost every guide ranking for how to remove background noise from video promises a single magic button, but the honest truth is that a steady hum, tape-style hiss, room echo, wind rumble, and background chatter are five different problems — and the fix for one can make another sound worse. This guide is diagnosis-first. You'll learn to identify your noise, apply a clean-up that actually holds up on headphones, and recognize the point where re-recording beats any repair.
Key Takeaways
Start by diagnosing the noise, not by grabbing a slider
The biggest reason people fail at this is that they reach for a "reduce noise" tool before they know what they're fighting. A background noise remover for video is tuned for broadband, steady noise — the constant stuff. It is much weaker against sudden, intermittent, or spatial problems like echo. Spend thirty seconds listening on headphones and classify what you hear first.
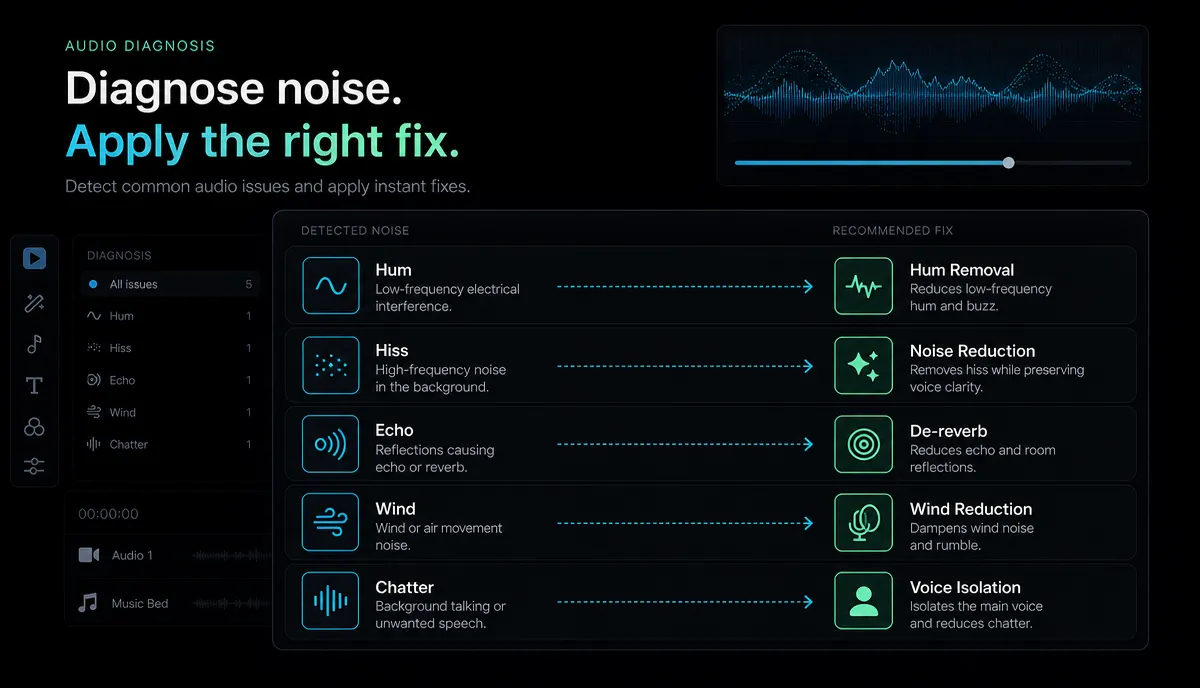
| Noise type | What it sounds like | Usual cause | The fix that actually works |
|---|---|---|---|
| Electrical hum | A low, steady buzz that never stops | Ground loops, cheap cables, fluorescent/LED lights | Hum/notch filter or a gentle noise-reduction pass |
| Hiss | A constant high "shhhh" behind the voice | Mic gain pushed too high, weak preamp | Broadband noise reduction |
| Echo / reverb | Hollow, "recorded in a bathroom" sound | Bare hard walls, mic too far from mouth | De-reverb helps a little; this is the hardest to fix — usually re-record |
| Wind | Low rumbling thumps or a roaring wash | Air hitting an unshielded mic outdoors | High-pass filter + noise reduction; use a foam windscreen next time |
| Background chatter / traffic | Other voices, cars, AC behind your subject | Noisy location | Partial reduction only — treat it as a re-record signal |
| Clicks / pops / plosives | Sharp "P" and "B" bursts, mouth clicks | Speaking into the mic, no pop filter | Manual trims or a de-click pass, not broadband denoise |
Two takeaways from this table. First, steady noise (hum, hiss, wind rumble) is what AI clean-up is genuinely good at. Second, spatial and intelligent noise — echo and other human voices — is where every tool struggles, because the algorithm can't tell a wanted voice from an unwanted one when they share the same frequencies.
The honest truth about AI noise removal
Modern AI denoise is impressive, and for typical talking-head footage recorded a little too far from the mic in a slightly noisy room, it can be the difference between unwatchable and clean. But it is not lossless, and pretending otherwise is how creators end up with worse audio than they started with.
Here's what to expect, honestly:
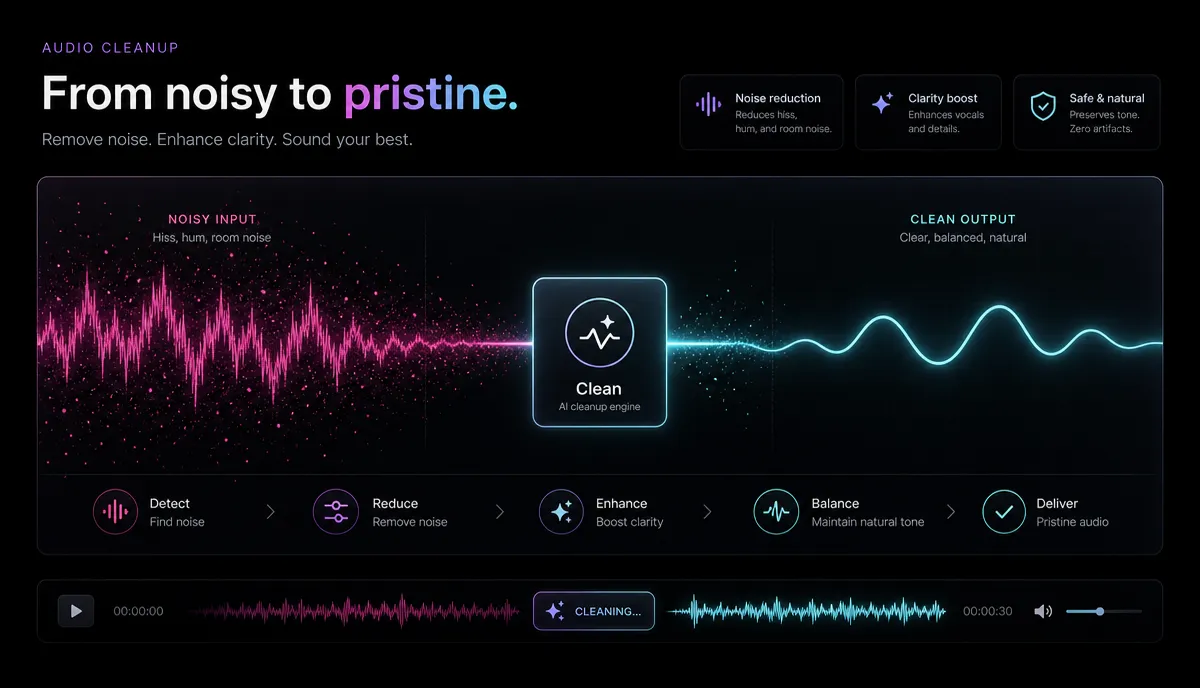
A quick before/after mental model: imagine a clip recorded next to a humming fridge. Before, there's a constant low drone under the voice. After a well-set noise-reduction pass, the drone is gone and the voice sounds like it was recorded in a quiet room. Now imagine the same clip pushed too hard: the drone is gone, but the voice now has a faint underwater "swirl" and the ends of words get chopped. That second outcome is the trap — and it's completely avoidable if you work gently and listen.
Step by step: remove background noise from a video
Here's a repeatable workflow you can run entirely in the browser — no install, on MP4, MOV, and other common formats up to 6GB per task.
- (Optional) Pull the audio out first for tricky repairs. If the noise is stubborn, it's easier to work on the sound alone, then re-attach it. Recapo's extract audio from video tool gives you a clean audio file to treat. For simple, steady noise you can skip this and work on the video directly.
- Diagnose using the table above. Name the noise before you touch anything. If it's echo or competing chatter, jump to the "when re-recording wins" section — you'll save yourself an hour.
- Run a gentle noise-reduction pass. Load the file into Recapo's audio noise reduction tool and start conservative. Your goal is to remove the noise floor, not to nuke it to silence. If there's a strength control, begin low and only increase until the noise disappears — then stop.
- Listen on headphones, not laptop speakers. Artifacts hide in the high end. Play the treated clip and specifically listen for a "swishy," "watery," or "robotic" quality on sustained vowels. If you hear it, you went too far — back off.
- Normalize the loudness. Denoising almost always changes perceived volume. Run the result through the audio volume normalizer so your voice sits at a consistent, platform-friendly level (more on targets below).
- Re-attach and export. Bring the cleaned audio back over your footage, do one final full-length listen, and export.
If your original problem was actually a music bed drowning the voice rather than ambient noise, that's a different job — see how to remove music from a video for that specific case, and how to extract audio from a video for the isolate-first approach in more detail.
Fixing wind noise specifically
Wind is its own beast, so it deserves its own steps. To remove wind noise from video, you're fighting two things at once: a low-frequency rumble (air pressure pushing on the mic) and irregular gusts that spike and fade.
Normalize loudness so your video doesn't sound quiet or harsh
Clean audio that's too quiet feels broken, and audio that's too hot gets crushed by platform normalization. After denoising, set a consistent loudness. Streaming platforms measure this in LUFS (loudness units) and automatically turn loud uploads down — so mastering absurdly loud gains you nothing and often adds distortion.
| Target | Common guidance for online video | Why it matters |
|---|---|---|
| Integrated loudness | Around -16 to -14 LUFS for spoken-word content | Sits in the range platforms normalize toward, so your video isn't turned down unpredictably |
| True peak | Keep peaks below -1 dBTP | Prevents clipping and codec distortion after upload |
| Consistency | Same target across every clip in a series | Viewers don't reach for the volume knob between your videos |
Treat these as sensible starting targets, not rigid law — YouTube, TikTok, Shorts, and Reels each normalize toward roughly similar loudness, so aiming near -14 LUFS with headroom on the peaks keeps you safe everywhere. The audio volume normalizer handles this without you eyeballing a meter.
Don't over-process: the over-denoise trap
This is the mistake the "one-click magic" guides never warn you about. Pushing noise reduction to maximum feels satisfying because the noise vanishes — but you're also stripping the natural texture out of the voice.
Signs you've gone too far:
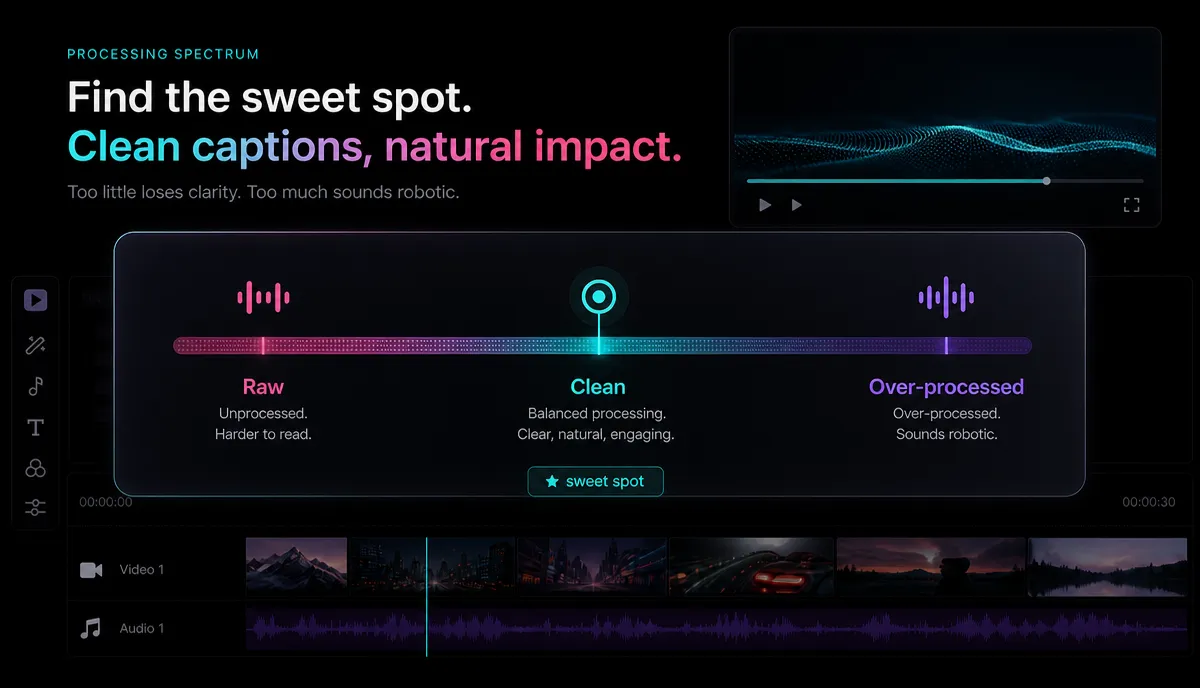
A useful rule: a little audible noise is better than an obviously processed voice. Viewers forgive a faint room hiss far more readily than they forgive a voice that sounds artificial. When in doubt, set the strength lower than feels "complete," then compare the treated and untreated versions back to back. If the cure is more distracting than the disease, dial it down.
When re-recording beats repairing
Sometimes the fastest fix is to stop repairing. Software can subtract noise that sits behind your voice, but it can't rebuild information that was never captured cleanly. Use this checklist to decide.
| Situation | Repair or re-record? |
|---|---|
| Steady hiss, hum, fan, or AC under a clear voice | Repair — this is exactly what denoise is for |
| Mild outdoor wind on otherwise clean speech | Repair — high-pass plus light denoise |
| Heavy echo / "bathroom" reverb | Re-record — de-reverb only goes so far |
| A second person talking at the same volume | Re-record — no tool cleanly separates equal voices |
| The voice is clipped or distorted at the source | Re-record — the damage is baked in |
| It's b-roll or ambience, not the main dialogue | Consider replacing the audio with music or voiceover |
If the dialogue itself is unsalvageable, replacing it is a legitimate answer: re-record the lines cleanly, or add a fresh AI voiceover over the visuals and caption it. For faceless content especially, a clean voiceover plus accurate captions often beats fighting a broken location recording.
FAQ
Can I remove background noise from a video for free? Yes — you can run a noise-reduction pass in the browser without installing software. Recapo's audio tools work on MP4, MOV, and other common formats up to 6GB per task. Pricing for higher-volume use lives on the pricing page; there's no need to state a number here because a single clean-up pass is easy to try first.
Does removing background noise reduce audio quality? It can, if you overdo it. Gentle noise reduction removes the unwanted floor while leaving the voice natural. Pushed too hard, it introduces watery artifacts and clipped consonants that sound worse than the original noise. Always work conservatively and check on headphones.
How do I remove wind noise from a video? First apply a high-pass filter to cut the low-frequency rumble below the human voice, then run a light noise-reduction pass on what remains. Severe buffeting gusts that distorted the mic usually can't be fully recovered — prevention with a foam windscreen matters more than any filter.
Why does my voice sound robotic or underwater after noise removal? That's the classic over-denoise artifact. The algorithm is removing so much that it's also stripping natural texture out of your voice. Lower the reduction strength until the effect disappears, accepting a tiny bit of residual noise as the better trade-off.
Can AI remove background people talking? Only partially. When another voice sits at a similar volume and frequency to your subject, no tool can separate them cleanly — they overlap in exactly the range denoise protects. You'll get a modest improvement at best; for important dialogue, re-recording is the reliable answer.
Clean up your audio in the browser
Bad audio loses viewers faster than bad video, so it's worth getting right — but it doesn't require expensive software or a studio. Diagnose the noise, denoise gently, normalize the loudness, and be honest about when to re-record. You can run every step above in your browser: reduce the noise, normalize the volume, and export clean audio with no install, on the formats you already shoot. Create a free Recapo account and clean up your next video's audio before you publish it.