How to Add an AI Voiceover to Any Video
Learn how to add a voiceover to a video three ways — record live, upload audio, or use AI text-to-speech — plus scripting, mic setup, syncing and ducking.

To add a voiceover to a video you have three practical routes: record your voice live while the footage plays, upload a narration you recorded elsewhere, or generate an AI text-to-speech track from a written script. This guide covers all three inside a browser — no install needed — and goes past the "click the mic button" instructions most tool pages stop at. What actually makes a voiceover sound professional is the craft: writing a script that breathes, setting a mic so it doesn't clip, syncing narration to your cuts, and ducking music so every word stays clear. If you publish to YouTube, TikTok, Shorts, or Reels, that craft separates a voiceover that reads as "AI slop" from one viewers stay for.
Key Takeaways
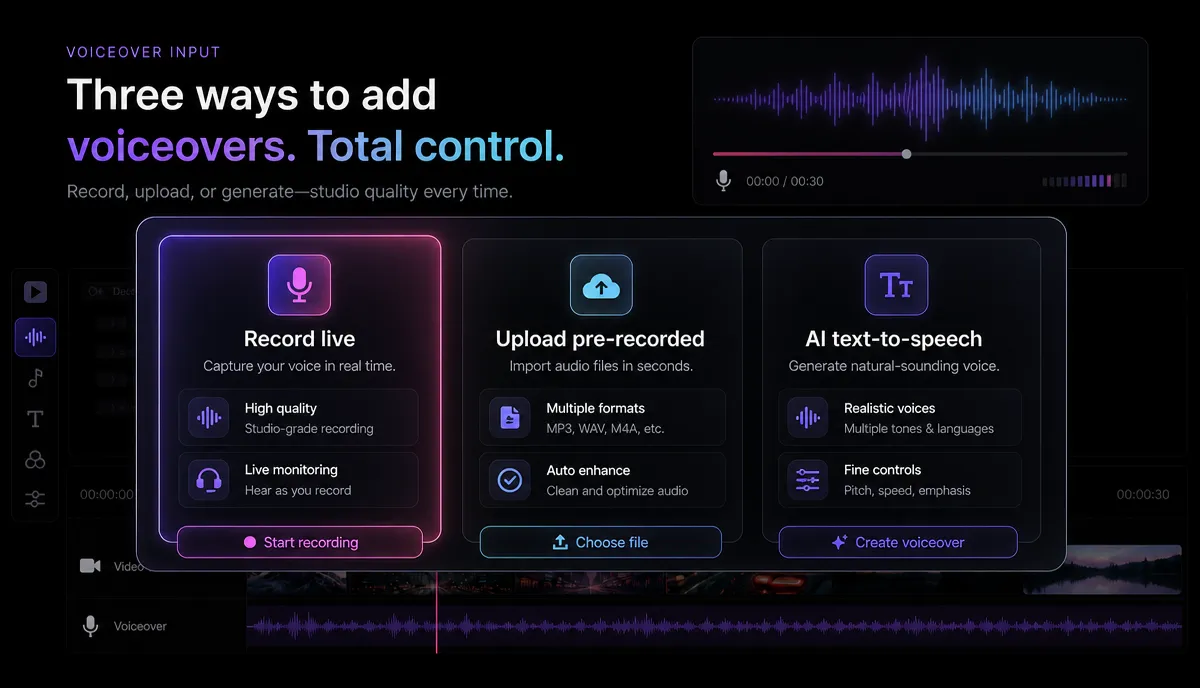
The three ways to add a voiceover to a video
Before you touch a button, decide which of the three methods fits your video. They trade off differently on time, control, and how much your own voice is involved.
| Method | Best for | What you need | Main trade-off |
|---|---|---|---|
| Record live over footage | Reactions, commentary, personality-driven channels | A mic and a quiet room | Retakes cost real time |
| Upload a pre-recorded file | Podcast hosts, anyone with studio audio | A finished MP3/WAV/M4A | You edit two things separately |
| AI text-to-speech | Faceless explainers, recaps, tutorials, multi-language | A tight script | Sounds robotic if you don't tune it |
Most creators mix methods — an AI voice for a faceless recap, a live take for a personal intro. The workflow below applies to all three, because editing, syncing, and mixing all happen after the audio exists.
Method 1: Record a live voiceover over your video
Recording while you watch the footage is the fastest way to get narration that reacts to what's on screen. It's the default for commentary, reactions, and any channel where your voice is the product.

Step by step:
- Open your project and scrub to where narration should start.
- Set your mic level first (see the setup box below) — do a 10-second test and check you're not peaking.
- Play the footage and speak your lines as the video rolls. Watching the picture keeps your pacing honest.
- If you fumble a line, keep going and mark the timestamp — it's faster to re-record one clip than restart the whole take.
- Trim the dead air at the head and tail, then nudge the audio clip so your first word lands on the shot you're describing.
Mic setup that fixes 80% of bad audio:
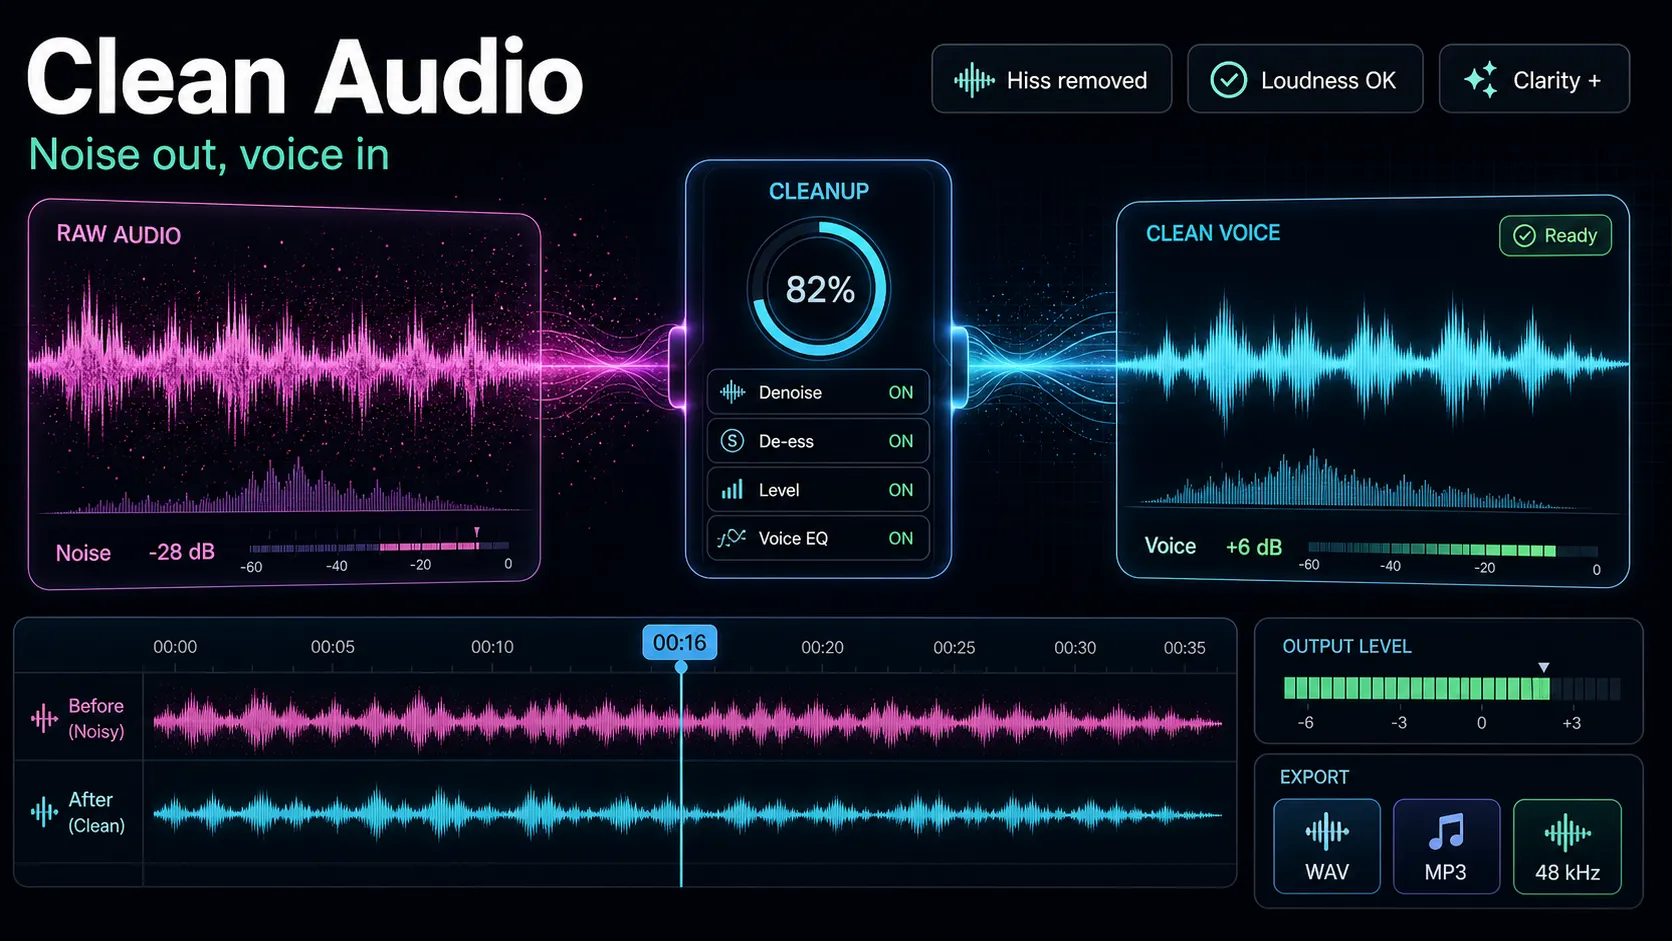
If your live take still has hiss, hum, or an inconsistent floor, run it through a cleanup pass before you mix — our guide on how to clean up audio for a video covers the order of operations so you don't over-process and make your voice sound underwater.
Method 2: Upload a pre-recorded voiceover
If you already narrated somewhere — a podcast, a phone memo, a dedicated USB mic session — you just bring the finished audio into your project. This keeps recording and editing as two clean steps, which is easier to control than talking live over a rough cut.
- Export your narration as MP3, WAV, or M4A.
- Upload the video and the audio file into the same browser project. Recapo accepts MP4, MOV, and other common formats, with up to 6GB per task, so long recording sessions and 4K footage both fit.
- Drop the voice track onto its own layer under the video.
- Split the narration at natural sentence breaks so you can slide each chunk to match the picture — full syncing steps are in the next section.
- Once placement is locked, generate captions from the voice track so the words are readable with sound off.
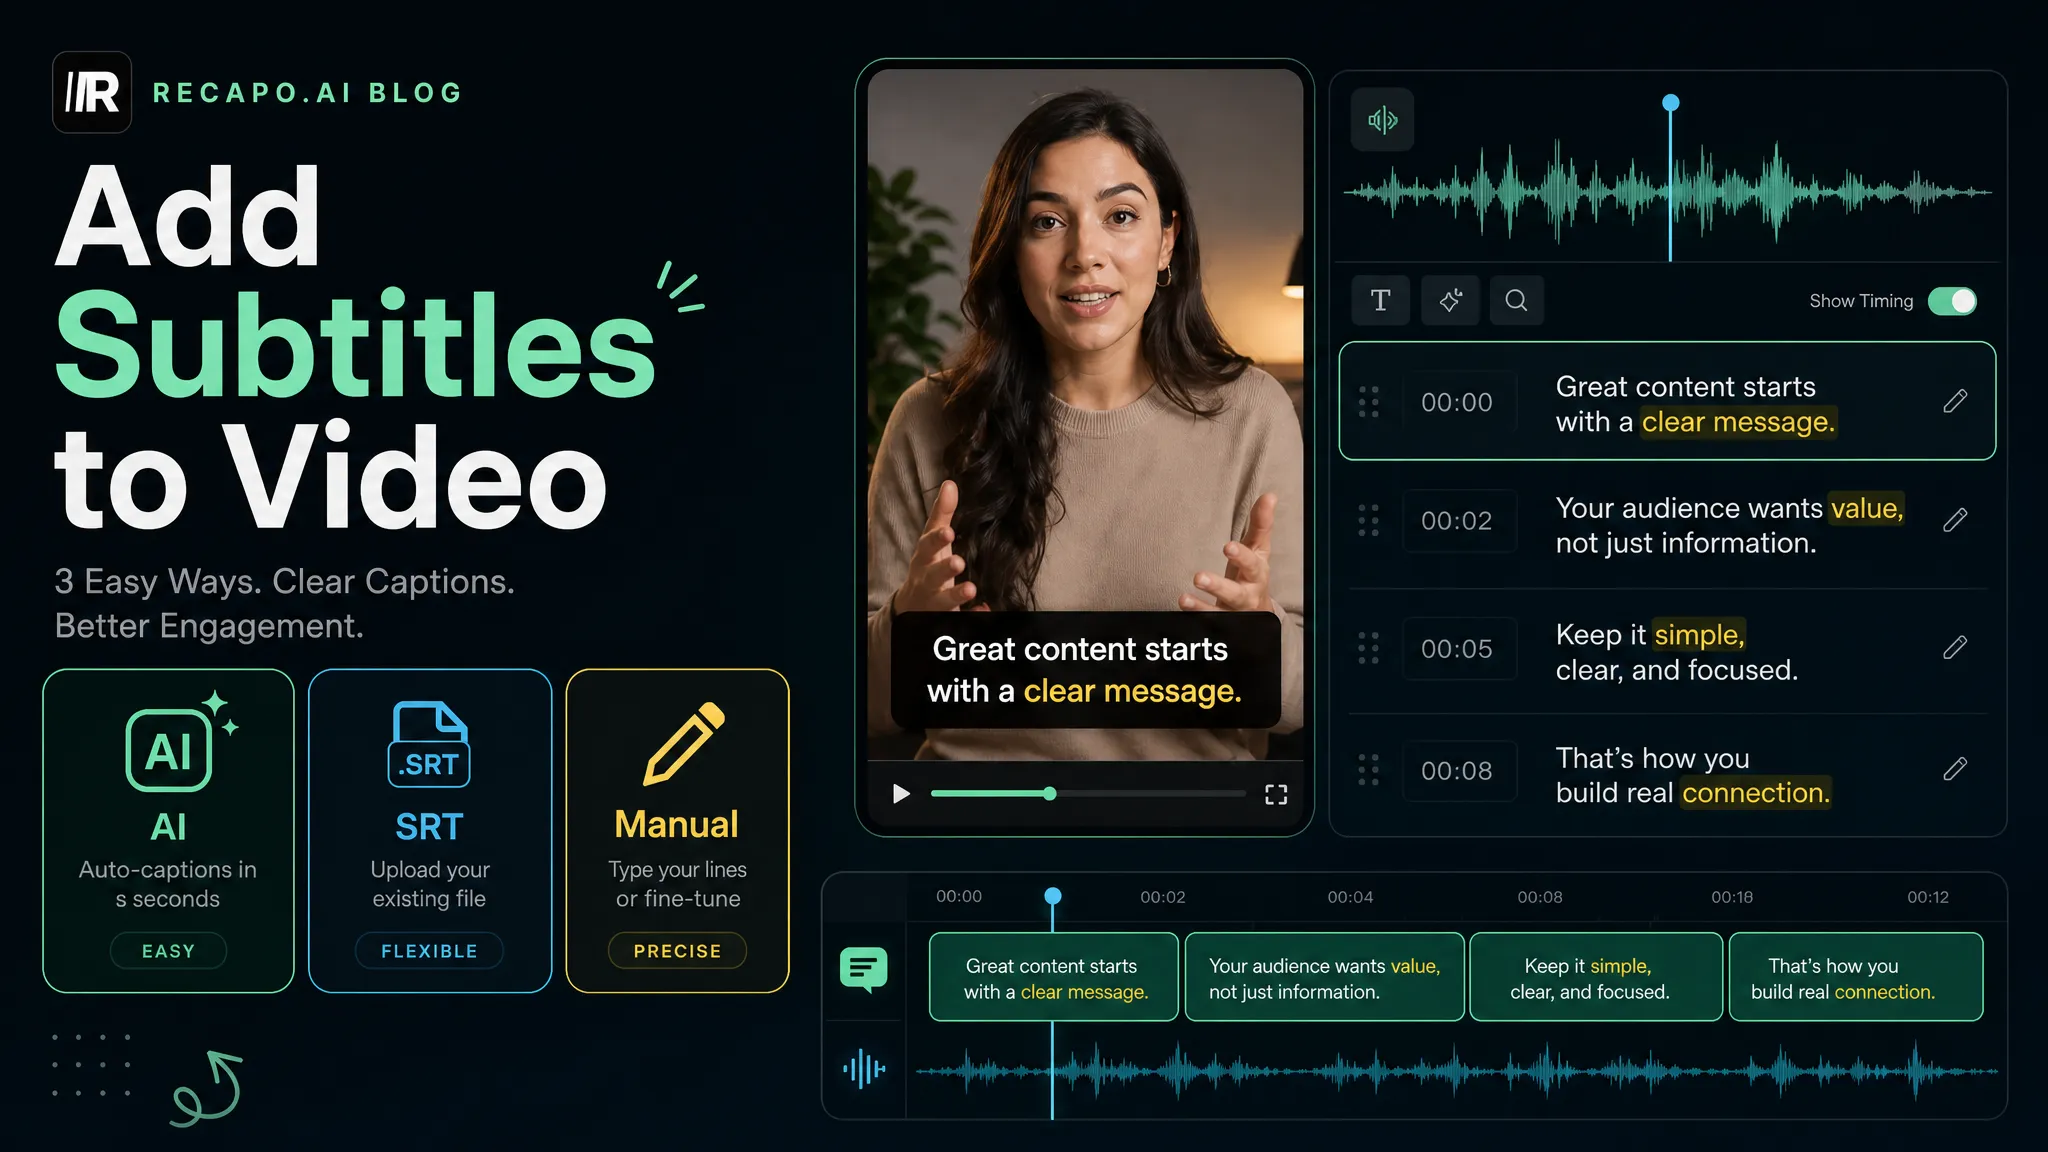
That last step matters more than it sounds — a large share of feed views happen muted, so on-screen text is how you keep the message intact. Use auto-captions to transcribe the voiceover and burn in clean, synced subtitles; if subtitles are new to you, how to add subtitles to a video walks through styling and timing.
Method 3: Generate an AI text-to-speech voiceover
AI text-to-speech is the workhorse for faceless channels, recaps, and tutorials where you can't or won't record. You paste a script, pick a voice, and get a clean narration track — no mic, no retakes, no room noise. Raw TTS sounds robotic unless you tune it, which is exactly what the next section covers.
The basic flow:
- Write or paste your script into the voiceover maker. Keep sentences short — TTS reads punctuation literally, and long run-ons come out breathless.
- Choose a voice that matches your channel's tone. Audition two or three on the same paragraph before committing; the same script can feel warm or clinical depending on the voice.
- Generate the track and listen end to end for any word that lands wrong.
- Fix the wrong words at the script level (see below), regenerate just that line, and drop it into your timeline.
- Add captions from the same script so text and audio stay in lockstep.
If you're building around a script — turning an article, a recap, or a summary into narrated video — the text-to-speech video route lets script and voice live together, and Recapo can also help draft summaries and scripts from a source video before you ever generate a voice. For a full faceless setup, how to make faceless videos shows how voiceover, captions, and visuals come together into a publishable channel format.
The three parameters that make AI voice sound human
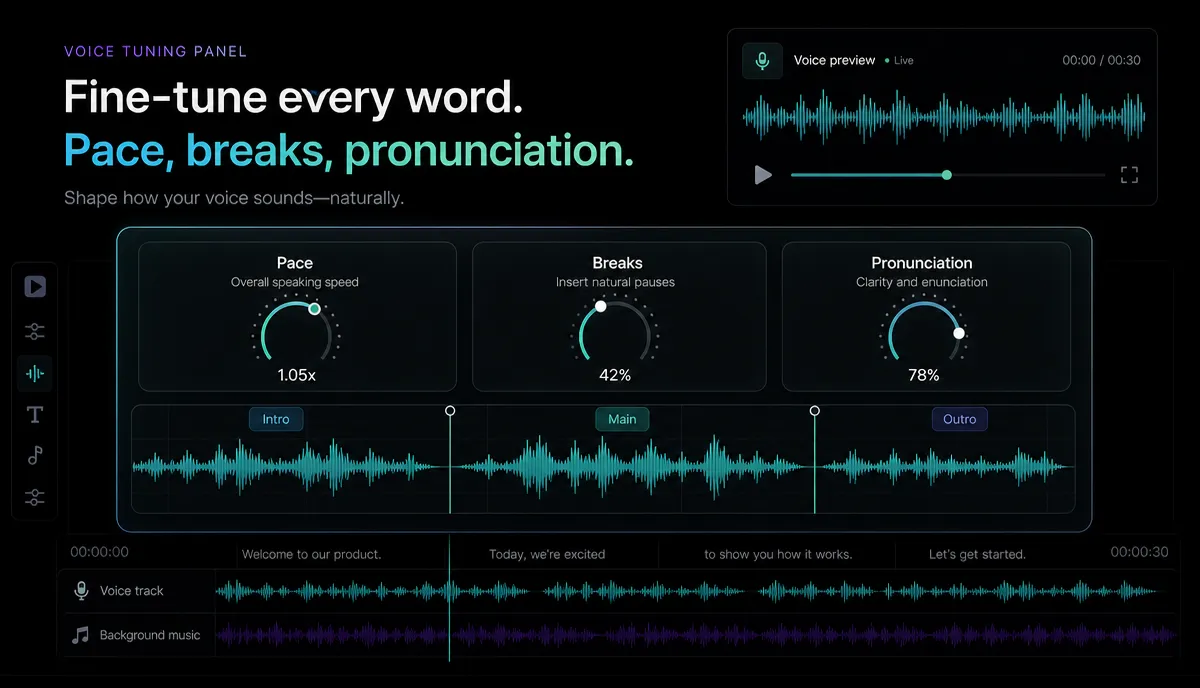
This is the part tool landing pages skip. Getting a natural AI voiceover comes down to controlling three things: pace, pauses, and pronunciation. Fix these and 90% of the "robot voice" problem disappears.
1. Pace (speaking rate). Default TTS often reads slightly fast for narration. Slow it a notch for explainers and tutorials where viewers need to absorb information; keep it brisker for high-energy recaps. Read your own script aloud with a timer first — if you can't say it comfortably at that speed, the AI shouldn't either.
2. Pauses (sentence breaks). TTS pauses on punctuation, so punctuation is your timing tool. Use periods, not commas, where you want a real beat. Break one long sentence into two short ones to add a breath. A dedicated line break or an ellipsis buys a longer pause before a punchline or a scene change.
3. Pronunciation (ambiguous words). English is full of homographs the AI can guess wrong — "read," "lead," "live," "bass," "record," "present," "tear," "wind." Brand names, acronyms, and numbers trip it too. Two fixes:
| Problem word type | Example | Fix |
|---|---|---|
| Homograph | "read" (past vs present) | Reword the sentence, or spell it phonetically ("red") |
| Acronym | "SQL", "GIF" | Write it how you want it said: "sequel", "jif" |
| Number/date | "1990s", "$1.5M" | Write "nineteen nineties", "one point five million" |
| Brand name | any unusual spelling | Spell it out phonetically and audition it |
Regenerate only the corrected line rather than the whole track — it's faster and keeps the rest of your timing intact.
How to sync narration to your cuts
Whichever method you used, syncing is what makes narration feel intentional instead of pasted on. The goal: the viewer hears the word right as they see the thing it describes.
- Anchor the first line. Slide the voice clip so the opening word lands on your opening shot, not before it.
- Cut on the caption. If you generated captions, use them as visual markers — each subtitle block shows you exactly where a phrase starts, so you can trim footage to hit those beats.
- Match cuts to phrases, not seconds. When you say "and then it breaks," the cut to the broken thing should land on "breaks." Move the visual, not the audio, to line them up.
- Leave a beat of silence at scene changes. A quarter-second gap before a new section reads as a paragraph break to the ear.
- Watch it once at full speed with your eyes closed, then once muted. If it works both ways — audio-only and visual-only — your sync is solid.
For short-form especially, tight sync is non-negotiable — there's no room to drift. If you're reframing horizontal footage for a vertical feed while you're at it, do the vertical resize after syncing so your narration timing doesn't shift.
Ducking music and mixing levels so every word is clear
A voiceover competing with full-volume music is the single most common reason narration gets muddy. "Ducking" means automatically lowering the music whenever the voice is speaking, then bringing it back up in the gaps.
Target levels to aim for:
A simple mixing order:
- Get the voice level right first, on its own.
- Add music and pull it down until you can hear every consonant of the narration.
- Do a final listen on phone speakers, not headphones — most of your audience is on a phone, where a muddy midrange shows up worst.
If the music you picked has vocals or a section that keeps fighting your narration, it's often easier to strip it — see how to remove music from video and rebuild with a cleaner instrumental bed.
Voiceover by use case
The same tools serve very different formats. Here's how to approach the three most common.
Whichever format you're in, build the voiceover, captions, and reframing as one pass so the timing locks together before you export.
FAQ
How do I add a voiceover to a video for free online? Use a browser-based editor so there's nothing to install. Upload your video, then either record narration on the spot, drop in a pre-recorded file, or generate an AI voice from a script — all in the same project. Pricing details for Recapo live on the pricing page; the workflow itself runs entirely in your browser.
Can I record a voiceover directly over my video? Yes. Scrub to your start point, set your mic level, play the footage, and speak your lines as it rolls. Watching the picture while you talk keeps your pacing matched to the cuts. Trim the head and tail afterward so the first word lands on the right shot.
Why does my AI voiceover sound robotic? Almost always one of three things: it's reading too fast, it's ignoring the pauses you need, or it's mispronouncing an ambiguous word. Slow the pace a notch, use periods instead of commas where you want a real beat, and fix homographs, acronyms, and numbers at the script level, then regenerate just that line.
How do I keep music from drowning out the narration? Duck the music — lower it roughly 15–20 dB under the voice whenever narration is playing, and let it rise back up in the gaps. Set the voice level first, then bring music up only until you can still hear every consonant. Instrumental tracks duck far more cleanly than ones with vocals.
Should I add captions if I already have a voiceover? Yes. A large share of feed views happen muted, so captions keep your message intact for silent viewers and reinforce it for everyone else. Generate them from the same script or voice track so text and audio stay perfectly in sync.
Start adding your voiceover
Whether you record live, upload a finished take, or generate an AI voice from a script, the whole process runs in your browser — narration, captions, syncing, and export in one place, on files up to 6GB. Pick the method that fits your video, tune the pace, pauses, and pronunciation, duck the music, and ship it. Create your free Recapo account and add a voiceover to your next video today.