An AI Narration Workflow for Faceless Creators
A step-by-step AI narration workflow for creators: script, AI voiceover, clips, captions, vertical reframe, and cover — one pipeline for faceless videos.
By the Recapo.ai Editorial Team · Fact-checked July 10, 2026
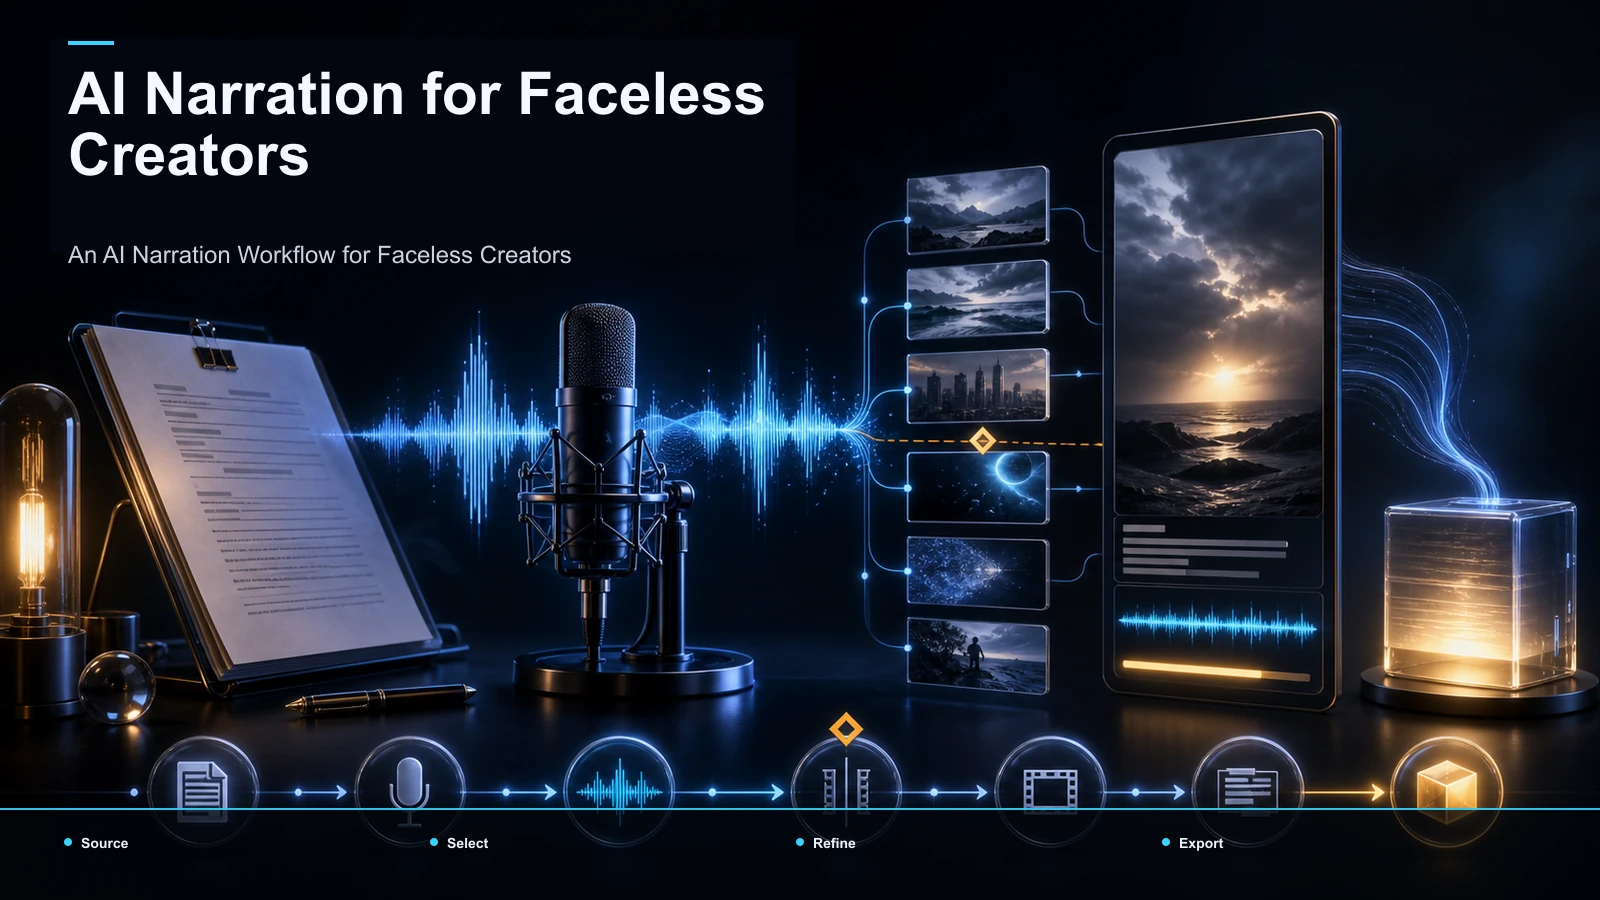
An AI narration workflow for creators is a repeatable, end-to-end pipeline that turns a written idea into a finished faceless video — script, AI voiceover, visuals, captions, vertical crop, cover, export — without you ever appearing on camera. If you're shipping several narrated videos a week to YouTube, TikTok, YouTube Shorts, and Instagram Reels, what saves your evenings isn't one magic tool; it's the order you run the steps in and how rarely you switch apps. This guide lays out that pipeline stage by stage, the call at each one, and how to compress the whole faceless video workflow into a near-autopilot system. The winning angle is integration: instead of stitching a script tool, a text-to-speech app, a clipper, and a caption editor into a fragile chain, you keep the ai voiceover workflow inside as few surfaces as possible, so your bottleneck becomes ideas, not exports.
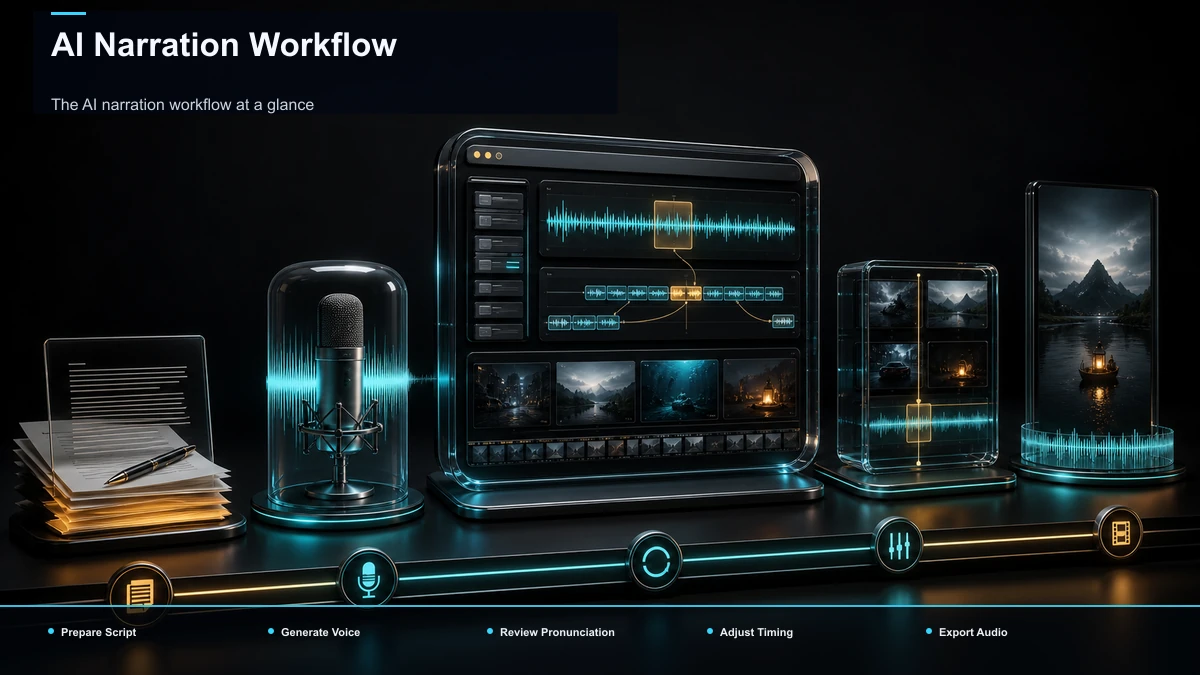
The AI narration workflow at a glance
Every narrated faceless video — an explainer, a top-10 list, a "how it works" breakdown, a recap — moves through the same six stages. Once you internalize the order, you stop reinventing your process on every upload and start running a faceless content workflow you can hand parts of to templates.
| Stage | What happens | What you hand to the next stage | Where creators lose time |
|---|---|---|---|
| 1. Script | Write hook-first copy built to be spoken, not read | A clean, performable script | Over-writing; burying the hook |
| 2. Voiceover | Turn the script into narration with AI TTS | A clean voice track | Re-recording to fix mispronounced words |
| 3. Visuals | Pull clips and B-roll timed to the voice | A rough cut synced to narration | Static screens that kill retention |
| 4. Captions & reframe | Burn captions, crop to 9:16 | A vertical, captioned draft | Timing subtitles by hand |
| 5. Cover & export | Design a thumbnail, render the file | A publish-ready video | Re-exporting for each platform |
| 6. Publish & measure | Post, read retention, feed it back | Data for the next script | Never opening the graph |
Two things to notice. The order is load-bearing — voiceover comes before visuals, because you cut the picture to the voice, not the other way around. And the expensive minutes are almost never the "AI" steps; they're the manual handoffs between apps. Collapsing those is the whole point of running this as one ai video narration process, not a pile of disconnected tools.
Step 1 — Write a script your AI voice can perform
A narration script is not a blog post read aloud. TTS engines expose weak writing instantly: long clauses go flat, clever punctuation gets swallowed, and a buried hook means viewers leave before the first visual lands. Write for the ear.
- Lead with the hook. The first sentence has to state the payoff or the tension — "Here's why every one of these videos opens the same way" — not a warm-up. If you struggle with openers, our guide on how to write video hooks has a set of patterns you can reuse.
- One idea per sentence. Short declaratives read cleanly through any voice engine and give you natural cut points for the visuals in Step 3.
- Write phonetically for hard words. Names, brands, and acronyms trip up TTS. Instead of re-recording, rephrase or respell them so the voice lands them right the first time.
- Mark your beats. Add a line break wherever the visual should change. That break becomes your edit map later.
- Budget the runtime. Roughly 150 spoken words per minute is a safe planning number, so a 60-second Short is around 150 words. Write to length instead of trimming a 400-word essay down to a clip.
Keep a reusable outline — hook, promise, three points, payoff, call to action — so every script starts 80% structured. That skeleton is the first template in your system.
Step 2 — Generate the AI voiceover
This is where a faceless channel gets its voice, literally. Two decisions matter: which voice, and how consistent you keep it. A single recurring voice across uploads is a branding asset; swapping it every video makes a channel feel anonymous.
There are two common ways to produce narration, and a browser workspace can do both:
| Approach | Best for | How it works |
|---|---|---|
| Script-to-speech | Pure narration videos where the voice drives everything | Paste your script, pick a voice, generate the track with a text-to-speech video tool |
| Voiceover on a cut | Adding narration over footage you already have | Drop your voice onto existing clips with a voiceover maker so audio and picture stay in one place |
Practical tips for a clean take:
- Lock one voice per channel and note the exact settings so every future video matches.
- Read the generated audio against the script once. TTS mistakes are usually a mispronounced proper noun or a rushed number — fix them in the text, regenerate, done.
- Watch your pacing. If a line feels breathless, split the sentence rather than slowing the whole track.
Export the finished voice track and carry it into the next stage — the voice is now the clock everything else runs on. For deeper choices on tone, pace, and consistency, see AI voice-over for YouTube videos.
Step 3 — Build visuals that change every few seconds
With the voice locked, the picture becomes an editing problem, not a creative one: you're matching visuals to a track that already exists. The retention rule most faceless creators follow is simple — change what's on screen every three to five seconds. Static footage under a talking voice loses viewers fast.
Where the visuals come from depends on your format:
- Recap, commentary, and reaction formats pull short segments from longer videos. Feed a long recording into a long video to short video AI, let it surface the segments worth keeping, then trim them under your narration beats.
- Explainers and list videos lean on B-roll, screen recordings, and stock or licensed footage cut tightly to the script.
- Faceless tutorials alternate screen capture with text cards on the key lines.
Lay the visuals against the voice track in this order:
- Drop the full voiceover on the timeline first.
- Place a visual at every line break you marked in Step 1.
- Trim each clip so the cut lands on the start of the next spoken idea.
- Scan once at full speed for any stretch over five seconds without a change — those are your dead zones.
If clipping longer recordings into narrated shorts is your main format, the batching and sourcing tactics in how to make faceless videos pair directly with this step.
Step 4 — Caption, reframe to vertical, and design the cover
Some faceless views happen with the sound off, so captions improve accessibility and comprehension — they're the second half of your narration. This stage also localizes one master edit to every platform's shape.
- Burn captions in. Auto-transcribe the voice track into timed captions, then style them for readability — high contrast, a few words per line, animation only if it serves the pace. Because they come straight from your voice track, timing is close out of the box; you're correcting, not typing.
- Reframe to 9:16. TikTok, Shorts, and Reels all take vertical, so crop your master to 9:16 and check that the important part of every clip survives the crop.
- Design a cover. A clean, legible cover frame or thumbnail does a disproportionate amount of the click-through work, especially on YouTube. Make one per video, not one per platform.
One clean 9:16 captioned file usually serves all three vertical platforms — length and caption conventions differ slightly, but those are publish-time tweaks, not a reason to render three separate videos.
Make it a system: batching, templates, and QA
A workflow you run once is a chore; one you templatize is a channel. Creators who sustain faceless output separate the stages in time instead of finishing each video end to end before starting the next.
| Batch | What you do in one sitting | Why batch it |
|---|---|---|
| Scripting day | Write 5–10 scripts against your fixed outline | Ideation and writing use the same headspace; context-switching kills both |
| Production day | Generate all voiceovers, then all rough cuts | Same tool, same settings, muscle memory takes over |
| Finishing day | Caption, reframe, cover, and export the batch | Repetitive, low-creativity work you can do while distracted |
Two habits keep quality from drifting as volume rises:
- A fixed QA checklist per video: hook lands in the first line, no visual dead zones over five seconds, captions readable at arm's length, voice pronounces every name correctly, cover legible as a thumbnail.
- A feedback loop from the retention graph. Look at where viewers drop and adjust the next script's pacing. The narration workflow only compounds if Stage 6 feeds Stage 1.
Where the workflow breaks — and how to fix it
Most narrated-video problems trace back to a specific stage. Use this grid to jump straight to the cause instead of re-editing blindly.
| Symptom | Likely cause | Fix |
|---|---|---|
| Voice sounds robotic or rushed | Sentences too long for the engine | Split into short declaratives in Step 1, regenerate |
| A name is mispronounced | TTS misreads proper nouns | Respell it phonetically in the script, don't re-record |
| Viewers drop in the first 5 seconds | Weak or buried hook | Rewrite the opening line to state the payoff up front |
| Retention sags mid-video | Static visuals under the voice | Add a cut every 3–5 seconds; kill dead zones |
| Captions lag the audio | Edited the voice after captioning | Caption last, after the voice track is final |
| Crop cuts off the subject | Reframed before checking framing | Re-center the 9:16 crop per clip in Step 4 |
The pattern behind all of these: fix the problem at the stage that caused it, not at the export — patching a Step 1 mistake by re-rendering the whole video is how two-hour workflows become five-hour ones.
Where Recapo fits
Recapo is a browser-based AI video workspace — no install — built to hold most of this pipeline in one place. Within it you can transcribe and caption, turn long videos into short clips, generate summaries and scripts, add AI voiceover, resize and reframe to vertical, and design a cover before you export. It accepts MP4, MOV, and other common formats, up to 6GB total per task.
The practical fit: Recapo isn't the only way to run an AI narration workflow, and if a single stage is your whole job — you only ever need captions, say — a focused single-purpose tool may serve you just as well. A workspace earns its place in exactly the scenario this guide describes: the same idea needs a script, a voiceover, clips, captions, a vertical crop, and a cover every week. Then the value isn't out-scoring a specialist at one step; it's removing the handoffs between four or five tools so a repeatable faceless content workflow stays repeatable. Plans live on the pricing page, and a quick way to decide if it fits your cadence is to run one real script through the whole pipeline yourself.
FAQ
What is an AI narration workflow for creators?
It's an end-to-end process that turns a written script into a finished faceless video with AI at each stage: hook-first copy, an AI voiceover, visuals timed to the voice, captions, a vertical reframe, and a cover on export. The point is to run the same repeatable pipeline every upload instead of improvising each time.
Do I need separate tools for the script, voiceover, and editing?
You can, but every extra tool adds an export, a re-upload, and a chance for file formats to mismatch. The workflow runs faster when scripting, voiceover, clipping, captions, and export live in as few surfaces as possible — ideally one browser workspace — so your time goes to ideas rather than shuffling files between apps.
How long should a narration script be?
Plan by runtime first, then convert: roughly 150 spoken words per minute is a safe estimate, so a 60-second Short is around 150 words and a five-minute explainer around 750. Writing to length beats trimming a long essay down, because the pacing stays intentional.
How do I keep AI narration from sounding robotic?
Two moves fix most of it. In the script, use short one-idea sentences and respell hard names phonetically. In production, lock one consistent voice per channel, then fix any rushed or mispronounced line in the text and regenerate — not by re-recording the whole track.
Do these AI narration steps work for any faceless format?
Yes — explainers, list videos, recaps, and tutorials all run the same pipeline; only the visual source in Step 3 changes. Talk-driven formats suit script-to-speech narration best, while clip-heavy formats lean on pulling segments from longer source videos, but the script-voiceover-visuals-captions order stays identical.
Ready to run the whole pipeline in one place? Create a free account, paste a script, and take it end to end — AI voiceover, clips from your source footage, burned-in captions, a 9:16 reframe, and a cover — then export a publish-ready video for YouTube, TikTok, Shorts, or Reels. Run one real script through it and you'll know within an upload whether it fits your weekly cadence.