How to Add Subtitles to a Video on iPhone
Add subtitles on iPhone with iMovie or a browser workflow, then review timing, accuracy, readability, safe-zone placement, and burned-in export.
By the Recapo.ai Editorial Team · Fact-checked July 10, 2026
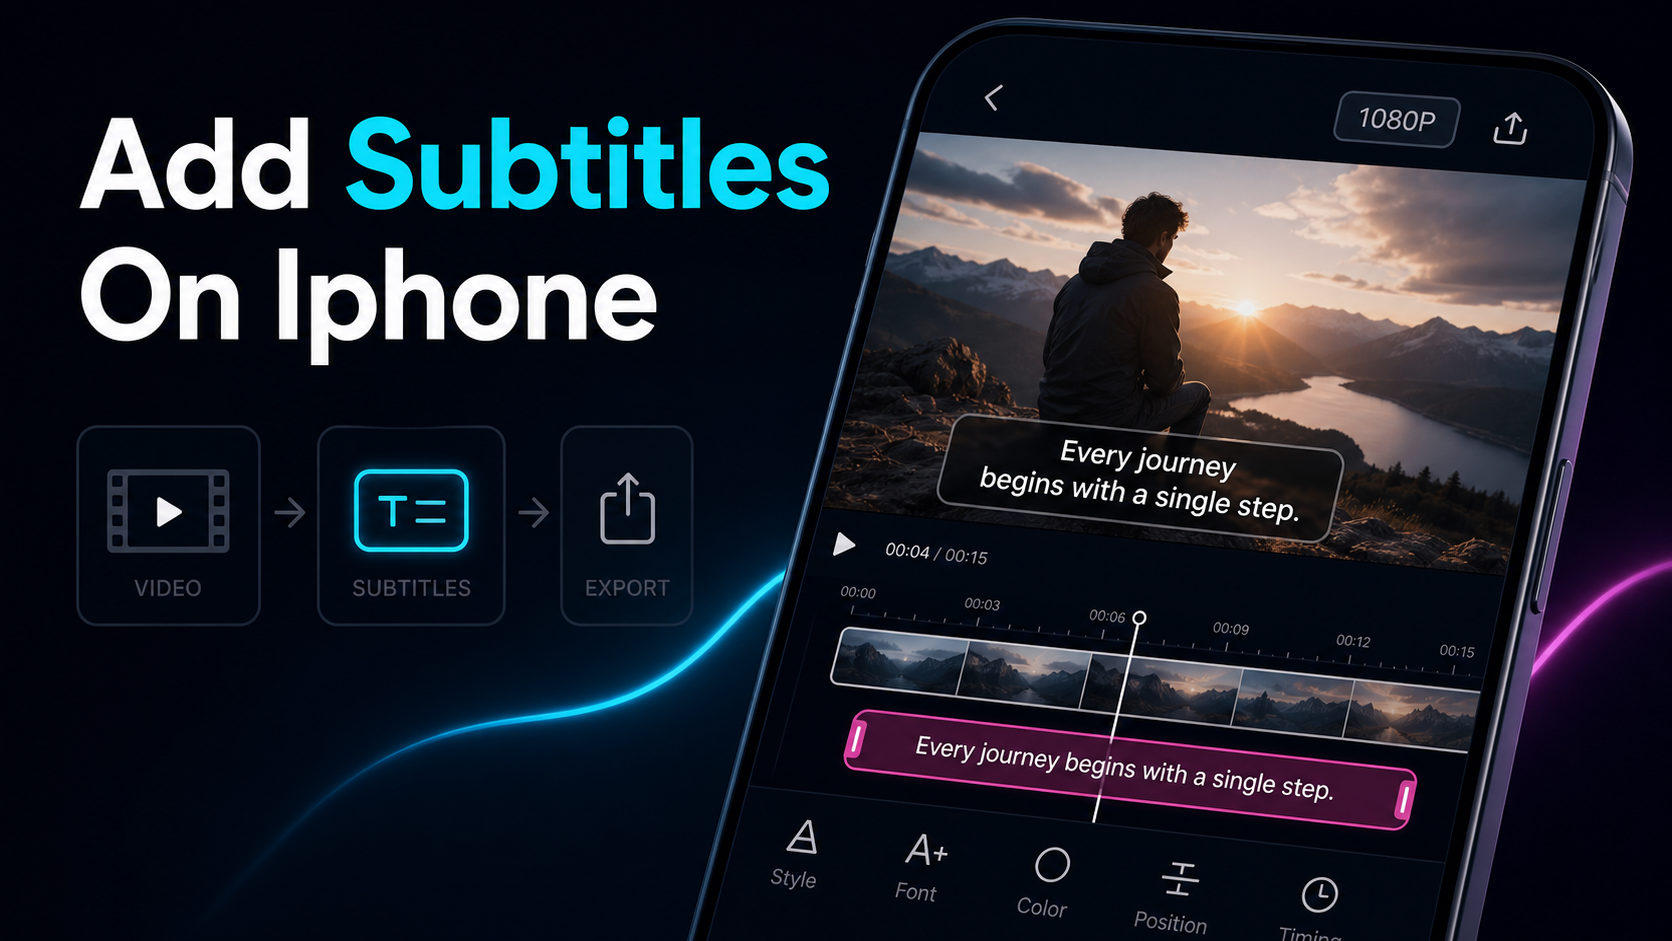
If you want to know how to add subtitles on iPhone, there are really two honest answers: type them by hand in iMovie, or auto-transcribe them in a browser tab and never install anything. Apple's own tools can caption a video right on the phone — iMovie adds text as "Titles," and the free Clips app can auto-generate captions from your voice — but both are built for short, single-clip projects, and both start to fight you the moment your video has more than a handful of subtitle lines. This guide walks the native iMovie path step by step, is honest about exactly where it gets slow, and then shows a browser route you can run in Safari on the same phone: upload, auto-caption, fix the words, and export with the subtitles burned in — no app to install.
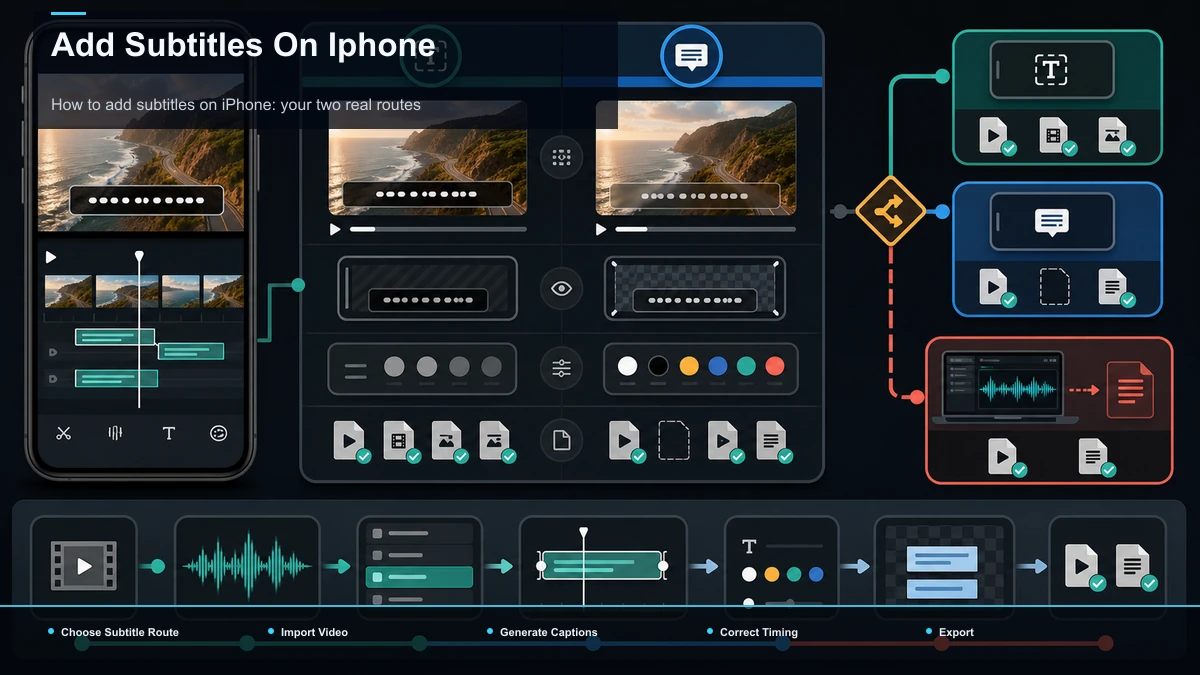
How to add subtitles on iPhone: your two real routes
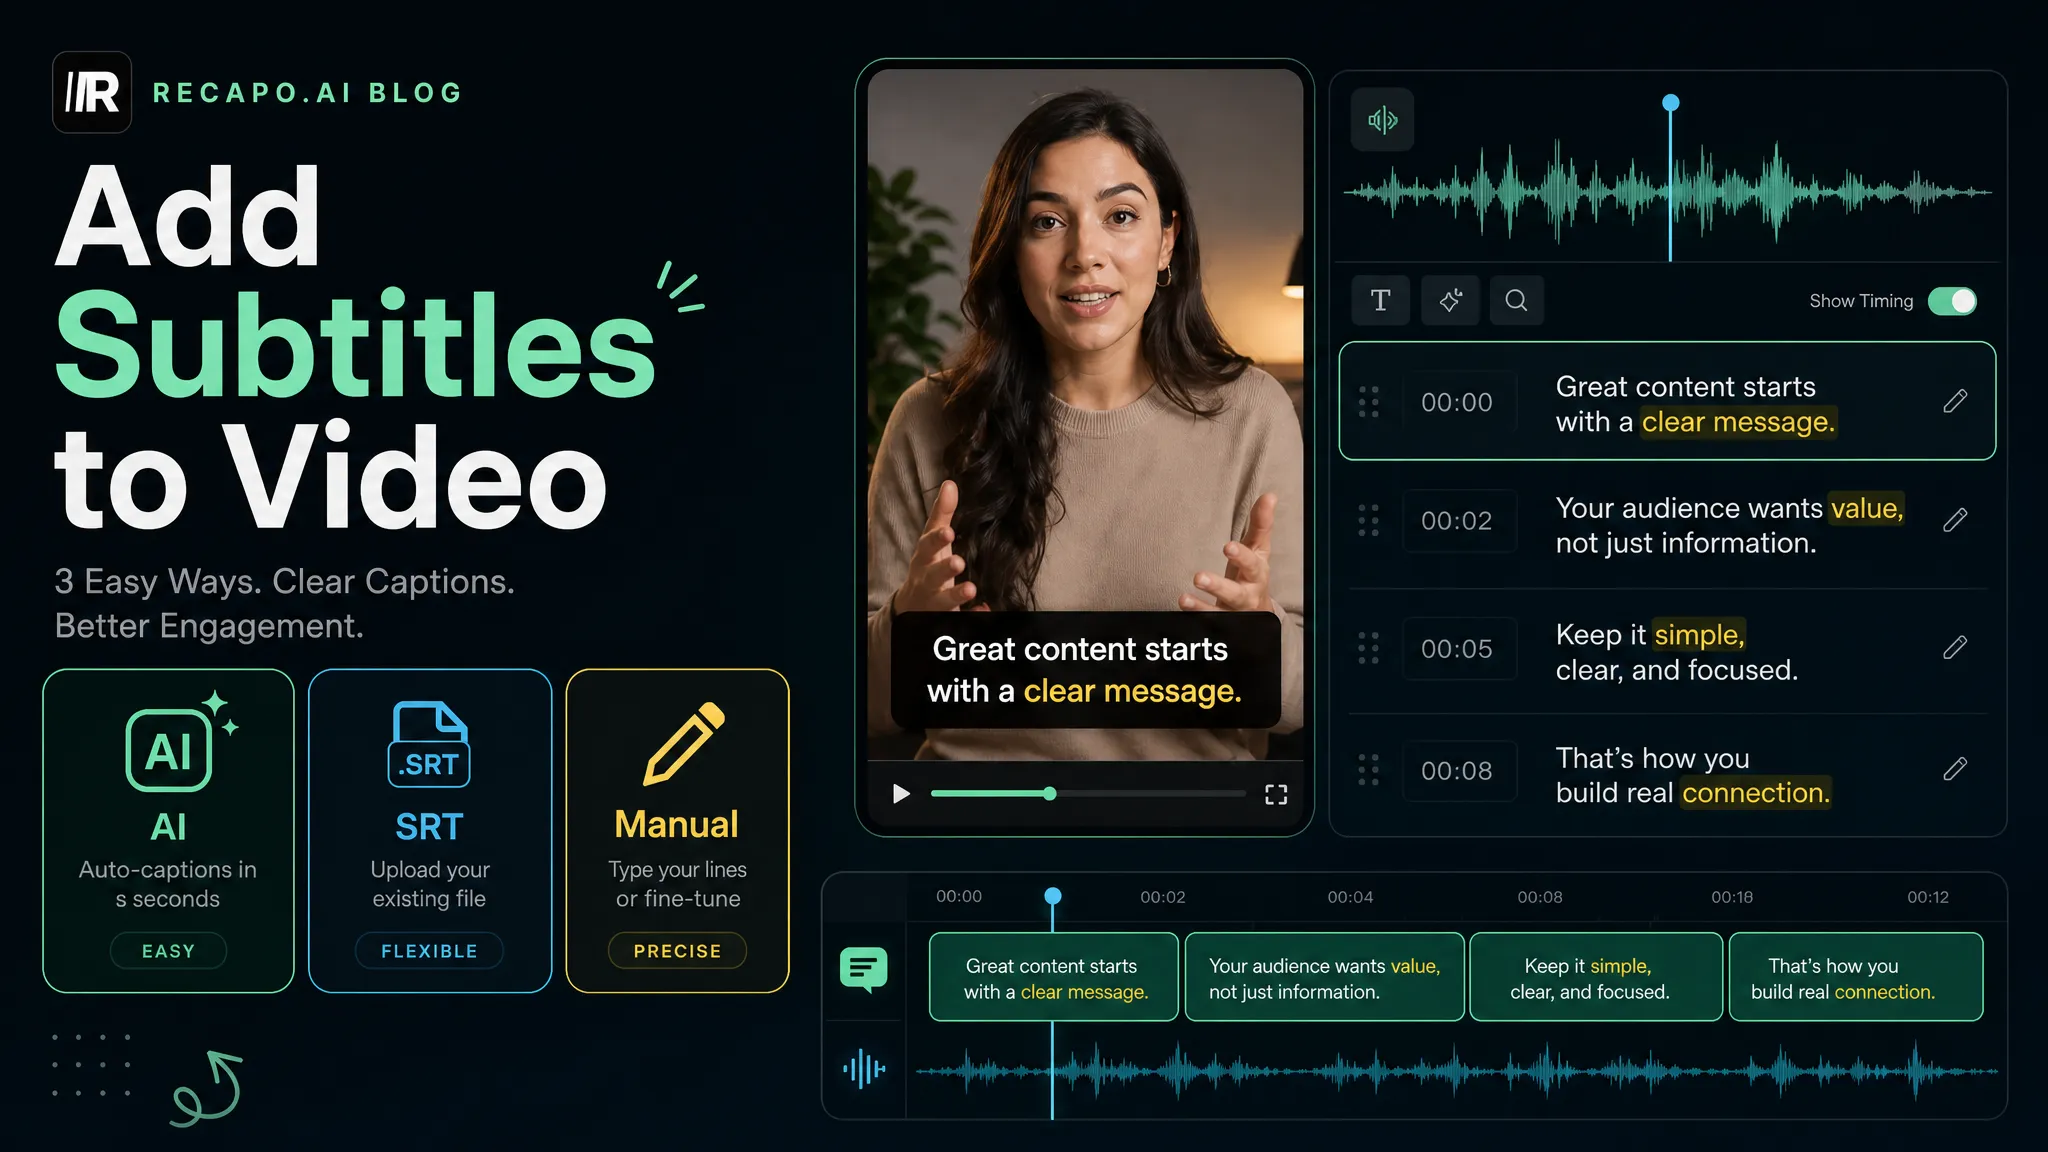
Before any steps, get the lay of the land, because the method you pick decides whether captioning takes five minutes or an hour. There are a few practical ways to add subtitles to an iPhone video, and they trade "native and free" against "fast on a long video."
| iMovie (Titles) | Free native editing, very short clips | You type each title by hand, per clip segment | No | High — split the clip, add a title per line | Apple Clips (Live Titles) | A talking-head recorded inside the app | Auto from your voice as you record | No | Low to capture, little control after | Third-party subtitle app | On-device auto captions with styling | App auto-transcribes; you edit | Sometimes | Varies — another install and account | Browser tool in Safari | Auto captions with nothing to install | Upload, auto-transcribe, edit, burn in | Often | Low — one tab, first draft is automatic |
The pattern is the same one you see everywhere in editing: the more native the tool, the more of the work it hands back to you. iMovie is free and already on your phone, but every subtitle line is a manual title. Clips auto-captions but only what you record in it, live. The browser route skips the install and transcribes the first draft for you, which is where the time goes on anything longer than a quick clip. Match the method to the job: a one-line caption on a 15-second story is an iMovie job; a three-minute talking-head or a repurposed clip with continuous captions is not.
How to add subtitles in iMovie on iPhone
Start here, because for a short clip iMovie is genuinely good enough and it's already installed. Note the language: iMovie doesn't have a "subtitles" feature by that name — you add text using Titles, which is how imovie subtitles get made in practice. Here's the flow, following Apple's own iMovie guidance for adding titles to a clip.
- Open iMovie and start a Movie project, then add your video from the media browser.
- Tap the clip on the timeline so it's selected (a yellow outline appears).
- Tap the Titles button (the T) and choose a style. Preview them first — several styles animate, zoom, or slide.
- Type your subtitle text for that segment, and set its position if the style allows (lower-third is the usual caption spot).
- Split the clip to make the text change over time. Tap the clip, choose Split at each point where the words should switch, then add a fresh title to each new segment. This is how you fake real, changing subtitles in a tool that ties one title to one clip.
- Preview, then Share to your Photos. The exported file has the text baked into the frame — there's no separate caption track.
For a single caption on a short clip, that's the whole job and it works. The trouble is what happens when the caption has to change every couple of seconds for three minutes.
Why iMovie subtitles get slow
Here's the honest limit, and it's the reason people go searching for an iphone subtitle app in the first place. iMovie's titles were designed for an opening title card, not a running caption, and a few constraints stack up fast on a real video:
None of this makes iMovie wrong — for a 15-second single-line caption it's the fast answer. But if you're a repurposer or a faceless creator posting narration-driven clips, the per-segment grind is exactly the wall that turns "quick" into an afternoon.
The browser route: caption in Safari, nothing to install
Here's the part the "on iPhone" framing hides: Safari is a full browser, so you can run a web caption tool on your phone without adding a single app. That sidesteps the two things that make iMovie slow — the manual first draft and the per-clip splitting. The flow to add subtitles to an iphone video this way:
- Open the tool in Safari. Go to an auto-subtitle-generator — there's nothing to download and no account wall to caption a first draft.
- Upload straight from your phone. Pull the file from Photos or Files (MP4, MOV, and other common formats).
- Auto-transcribe. The tool listens to the speech and produces timed subtitle lines automatically — you skip typing the first draft entirely.
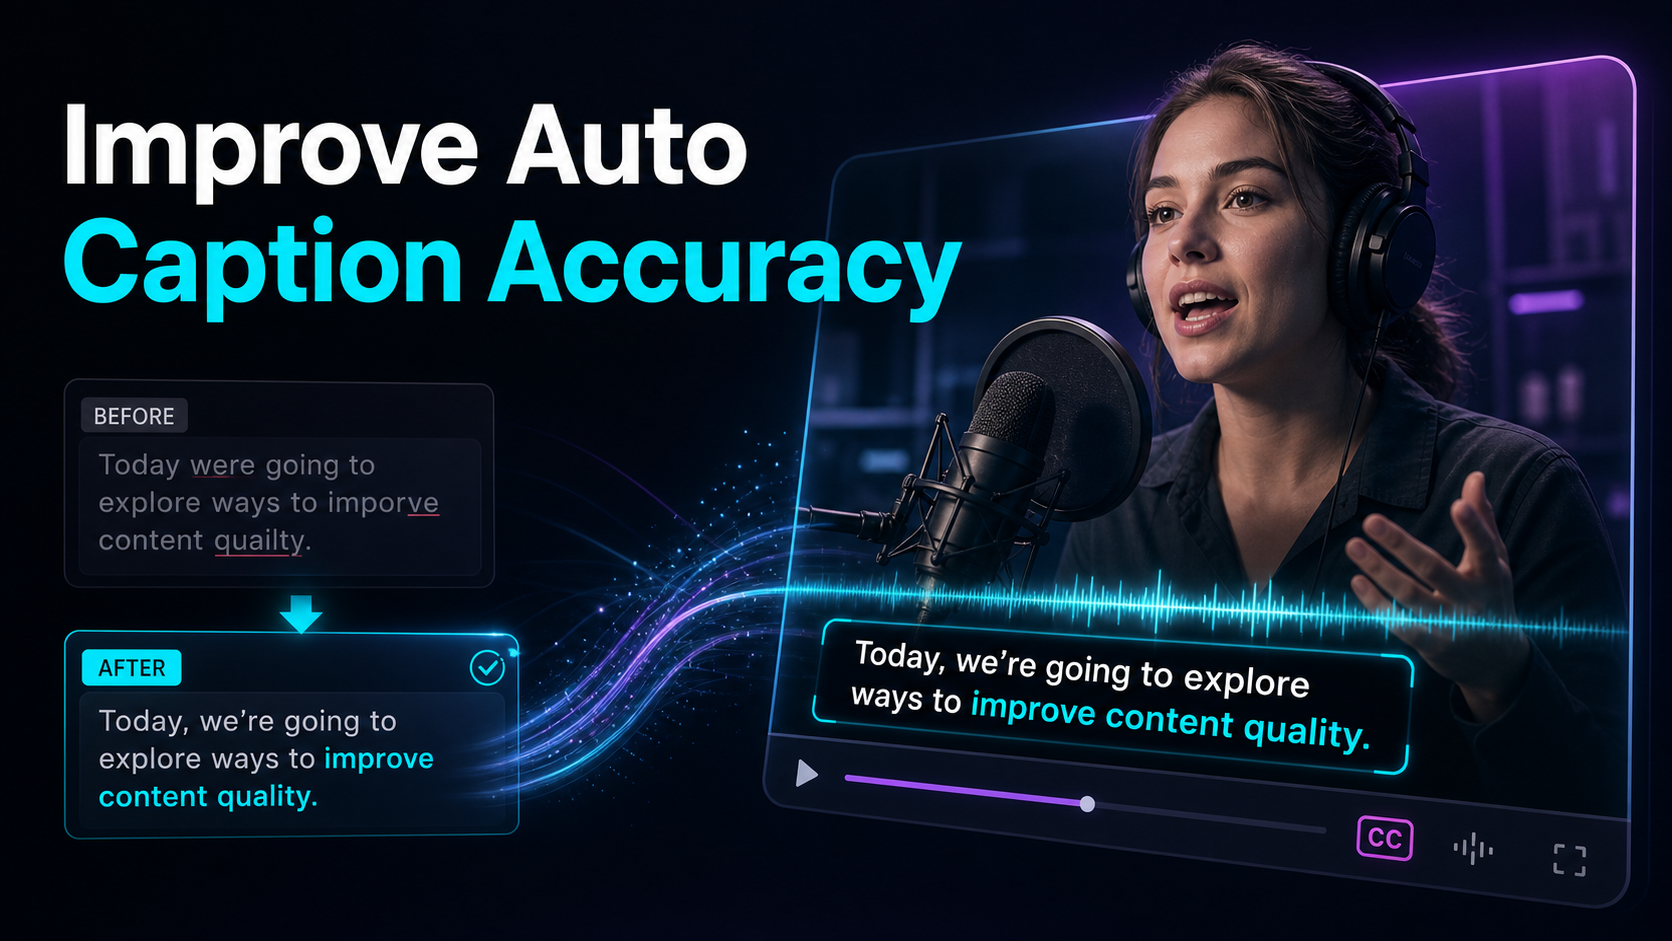
- Fix the words. Edit the transcript beside the video and hunt the four things auto-transcription misses most: names, numbers, homophones, and jargon. A video-caption-generator that shows an editable transcript is where this goes fast.
- Style once (see below) so the captions read on a phone screen.
- Export with the subtitles burned in and save the finished video back to your Photos.
Because the first draft is generated rather than typed, a three-minute video becomes a few minutes of proofreading instead of an hour of splitting clips. If your audio is the hard kind — narration over a soundtrack, a music bed, two people talking over each other — the accuracy work matters more than the styling; our guide on how to improve auto-caption accuracy covers how to squeeze the errors out before you export.
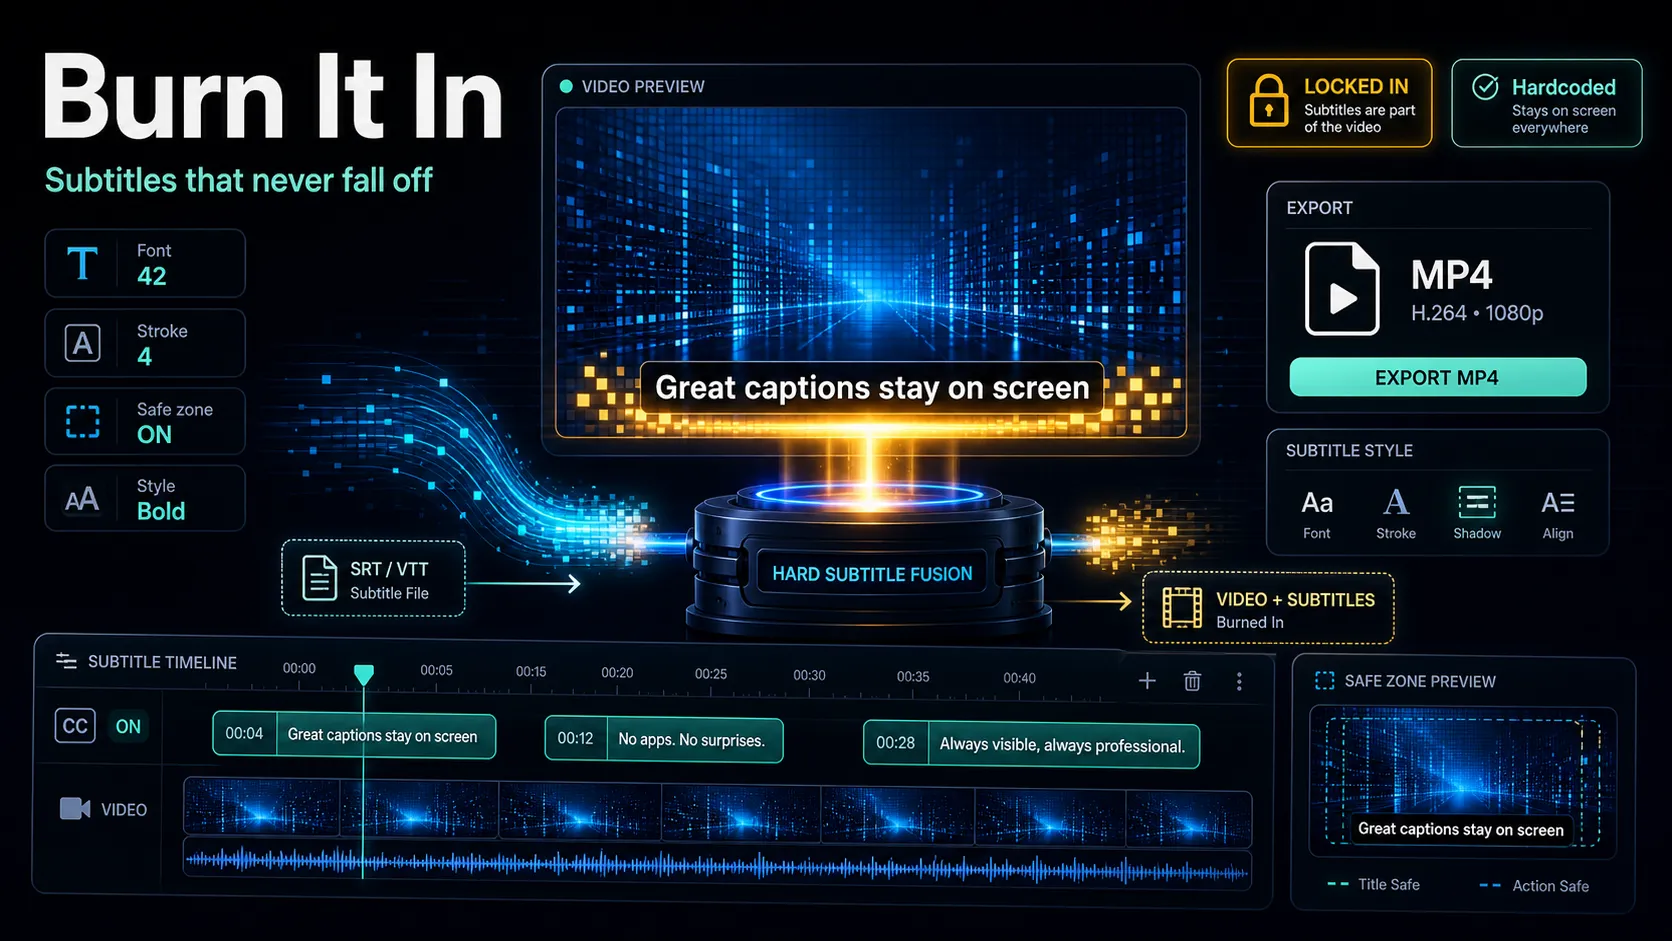
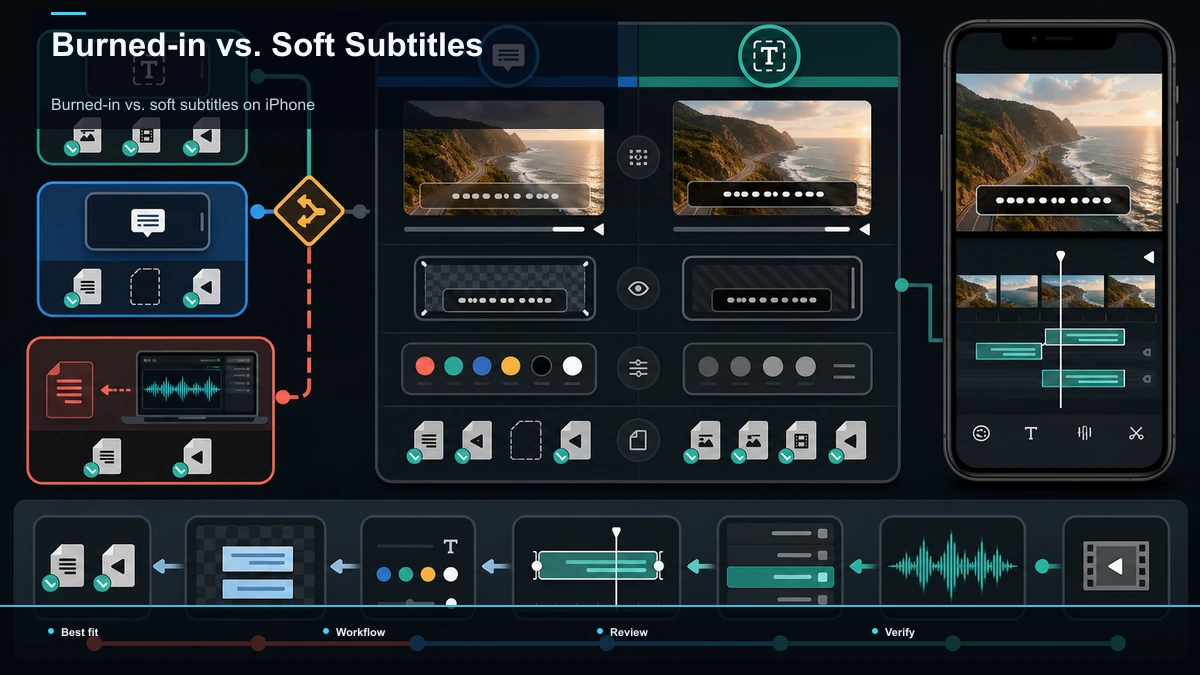
Burned-in vs. soft subtitles on iPhone
Before you export, decide which kind of caption you actually want, because the choice is permanent. There are two:
For short-form social — TikTok, Reels, Shorts — burned-in usually wins. Captions show even when a viewer scrolls with the sound off, and there's no separate upload step to worry about. That's why the phrase "burn subtitles iphone" comes up so often: creators want the text baked in so one export posts everywhere. The one rule that keeps this honest — burned-in is permanent, so proofread before you render, because you can't fix a typo after burn-in without re-exporting. For a deeper walkthrough of the render step, see how to add subtitles to a video.
Make iPhone subtitles readable
Accurate captions still fail if nobody can read them, and a phone screen is a hard place to read. Whether you build them in iMovie or a browser tool, these principles decide whether people caption video iphone clips that land or get scrolled past:
For finer control than iMovie's title styles — custom fonts, precise placement, and word-by-word highlighting bound to a real timeline — an ai-subtitle-generator that styles the captions before burn-in gives you the room iMovie doesn't.
Where Recapo fits
Recapo is a browser-based AI video workspace — nothing to install — so the whole no-app route in this guide runs in Safari on the same iPhone you're editing on. You can pull a clip from your Photos, auto-caption it to a word-level editable transcript, proofread names and numbers beside the video, style the text with fonts and word-by-word highlighting, reframe to 9:16 for TikTok, Reels, and Shorts, and export with the subtitles burned in — then save it back to Photos, all in one tab. It accepts MP4, MOV, and other common formats, up to 6GB total per task, which is room for a long recording you're captioning after the fact rather than a quick story.
The practical fit: for a 15-second single-line caption, iMovie is already on your phone and it's the fast answer — no reason to add a step. Recapo earns its place when the video is longer, when the captions run continuously and iMovie's per-clip splitting turns into a grind, when you'd rather auto-transcribe a first draft than type every line, or when you're posting the same clip to more than one platform and want a single styled master instead of re-typing titles three times. It generates and cleans up the transcript; the judgment calls — the final proofread, the muted read-through — stay yours. Plans live on the pricing page.
FAQ
How do I add subtitles to a video on my iPhone?
Two practical routes. Natively, open iMovie, add your clip, tap the Titles (T) button, type your text, and split the clip to make the caption change over time — free, but manual and slow on a long video. Or open a web caption tool in Safari, upload the clip from Photos, let it auto-transcribe, fix the words, and export with the subtitles burned in — no app to install and the first draft is automatic. Short single-line caption: use iMovie. Continuous captions on a longer clip: the browser route is faster.
Does iMovie on iPhone have a subtitle feature?
Not by that name. iMovie adds on-screen text through Titles, and to build subtitles you attach a title to a clip and split the clip at each point the words should change. It can't import an SRT or VTT file, so you type every line by hand, and the text is burned into the exported video rather than a toggleable caption track. That's fine for a short clip and tedious for a long one.
Can I add subtitles on iPhone without downloading an app?
Yes. Safari is a full browser, so you can run a web-based auto-subtitle tool on the phone with nothing to install. Upload the video straight from Photos or Files, let the tool transcribe the speech into timed lines automatically, correct any misheard names or numbers, style the captions, and export with them burned in. It skips both the install and the manual first draft that make on-device editing slow.
How do I burn subtitles into a video on iPhone?
Burning in means baking the text into the video frame so it always shows and travels with the file. iMovie already does this — its titles are permanent in the export. A browser caption tool does it on export too: caption, style, then choose the burned-in output. Either way, proofread before you render, because burned-in text can't be edited afterward without re-exporting the whole video.
Why are iMovie subtitles so tedious for long videos?
Because a title in iMovie covers the whole clip it's attached to, and it can't import a subtitle file. To make captions change every few seconds, you split one clip into many small segments and add a separate title to each — dozens of manual steps on a three-minute video. There's also no transcript to reuse afterward, so posting the same clip elsewhere means retyping it. Auto-transcribing in a browser tool avoids the splitting and hands you an editable transcript instead.
Editing on your phone and want to skip the per-clip title grind? Create a free account, open Recapo in Safari on your iPhone, and upload a clip straight from Photos — MP4 or MOV, up to 6GB total per task. Auto-caption it to a word-level editable transcript, fix the names and numbers beside the video, style the text so it reads on a phone screen, reframe to 9:16, and export with the subtitles burned in, then save it back to Photos. No app to install, and the first draft transcribes itself — you bring the final read-through, Recapo handles the production.
References and official sources