How to Record a Voiceover for YouTube
Record a YouTube voiceover with better room setup, mic technique, clean takes, noise control, captions, and a practical AI narration comparison.
By the Recapo.ai Editorial Team · Fact-checked July 10, 2026
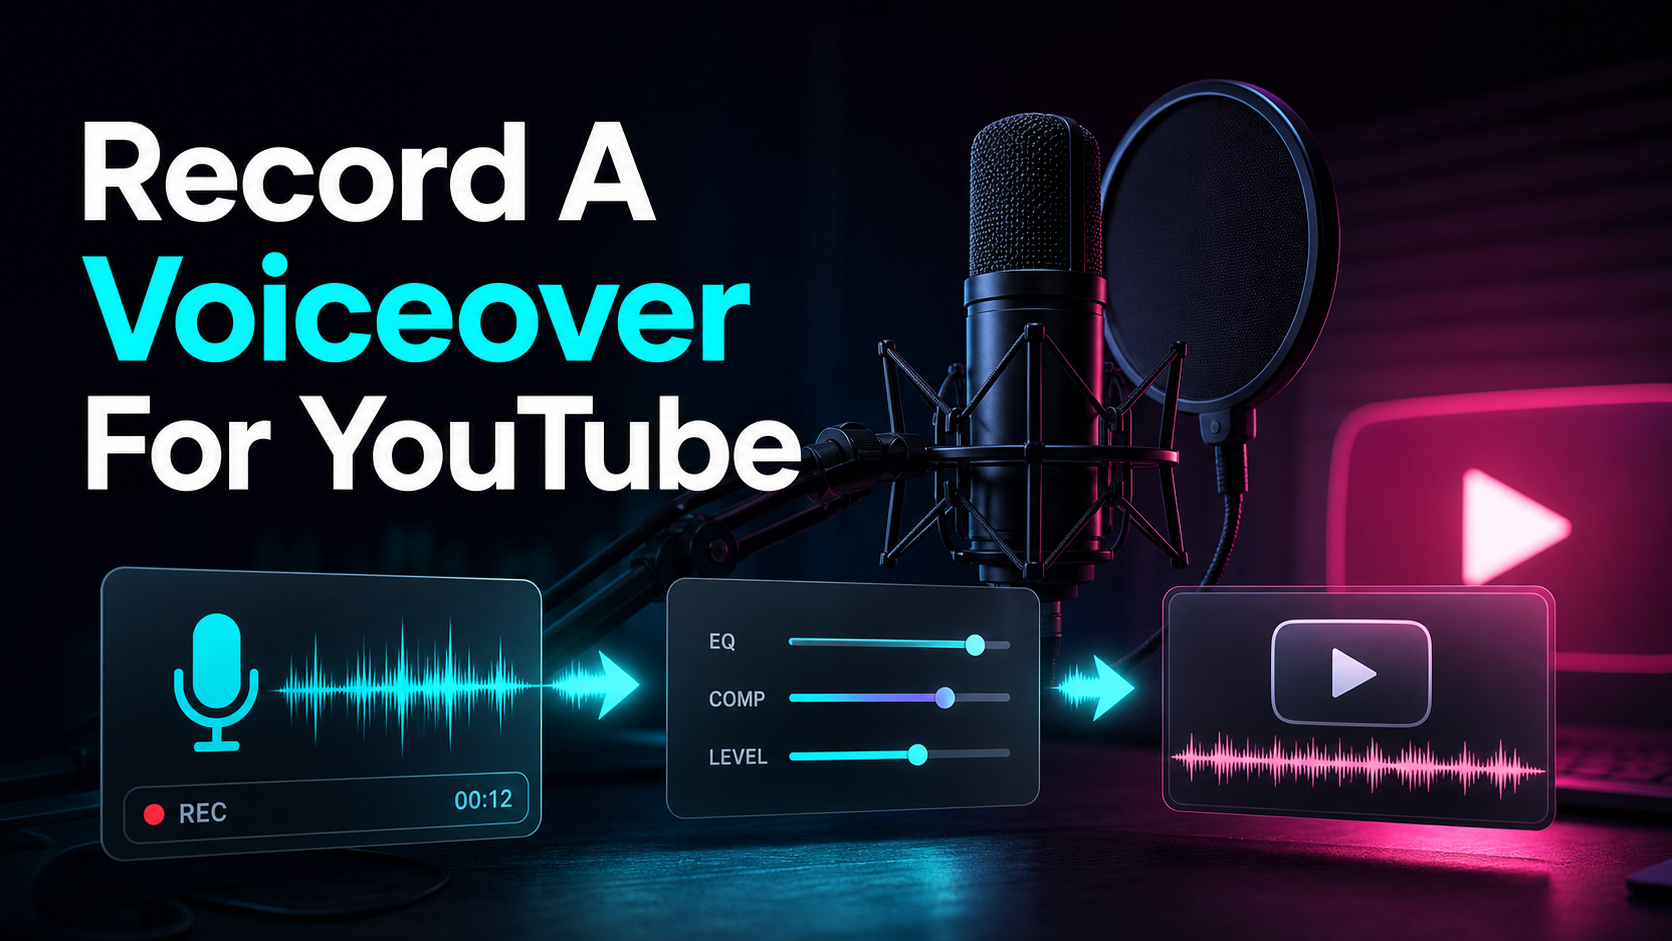
If you narrate YouTube videos, most of your audio quality is won or lost at the recording stage, not in the edit. This guide walks through how to record a voiceover for YouTube end to end: the gear that actually matters, how to prep a script and a room, the exact recording steps, and how to clean up the result so it sounds like a channel instead of a memo. It also covers the honest fork in the road — when to record your own voice with a real microphone, and when an AI voiceover is the faster, good-enough call — so you can pick the path that fits the video in front of you.
The short version: you don't need a studio, but you do need a real microphone, a quiet-ish space, a script written for the ear, and a cleanup pass. Do those four things and your narration will sit above most of what's on the platform, whether you record YouTube voiceover audio yourself or generate it. Below is the full workflow, plus a self-test for choosing between a human take and a synthetic one.
Key Takeaways
What you actually need to record a voiceover for YouTube
The gear question gets over-complicated online. For a talking channel — commentary, tutorials, faceless narration, recaps — you need four things, in order of how much they matter.
- A real microphone. This is where the quality lives. A dedicated USB mic is the simplest starting point: it plugs straight into a laptop and skips the extra hardware. An XLR mic sounds better but needs an audio interface to convert the signal, which adds cost and a box on your desk. What you should not use is the tiny mic on a gaming headset or laptop — it's the fastest way to sound thin and distant no matter how good your script is.
- Closed-back headphones. You monitor with these while recording so you catch pops, mouth noises, and level problems in real time instead of discovering them in the edit. Closed-back keeps the playback from bleeding back into the mic.
- Recording software. Any digital audio workstation or editor that captures a clean input works. A free option is plenty to start; the software matters far less than the mic and the room.
- A pop filter (or a homemade one). A cheap foam or mesh screen in front of the mic tames the burst of air on "p" and "b" sounds. A folded sock over a pencil taped in front of the mic genuinely works in a pinch.
| Starter | USB mic + laptop + free editor | Cheapest, plug-and-play, good enough to publish | Prosumer | XLR mic + audio interface + closed-back headphones | Better sound, more cost and desk clutter | Skip it | Gaming headset mic, phone mic, laptop mic | Thin, roomy, distant — undermines everything else |
Notice what's not on the list: a treated studio, a mixer, or a four-figure microphone. Those help, but they're the last 10%, not the thing standing between you and a clean recording today.
Prep your script and your space
Two prep steps do more for your final audio than any gear upgrade, and both are free.
Write the script for the ear, not the eye. Read your draft out loud before you record. Anything you stumble on, rewrite — the ear wants short sentences, contractions ("you'll," not "you will"), and one idea per breath. Long, comma-stacked sentences that look fine on the page will trip your tongue and force awkward pauses. Mark your script where you want to breathe so the pacing is intentional instead of gasping. If you're writing narration for a recap or commentary channel, this read-aloud pass is also where you catch lines that sound clever but land clunky.
Treat the room before you touch a setting. The most common reason home voiceovers sound amateur isn't the mic — it's the room bouncing sound back as a hollow, echoey ring. You fix that with soft, absorbent surfaces, and you don't need acoustic panels to do it. Record in a carpeted room, near a bed, inside a closet full of hanging clothes, or with a blanket draped over a frame around you. Point the mic away from bare walls and windows. This single change to your voiceover setup for YouTube — deadening the space — often does more than the difference between a cheap mic and an expensive one.
Finally, get your mic technique right: sit a hand's width from the mic, speak slightly across it rather than straight into it (the pop filter helps, but off-axis speaking helps more), and keep that distance consistent so your volume doesn't lurch.
How to record a voiceover for YouTube: step by step
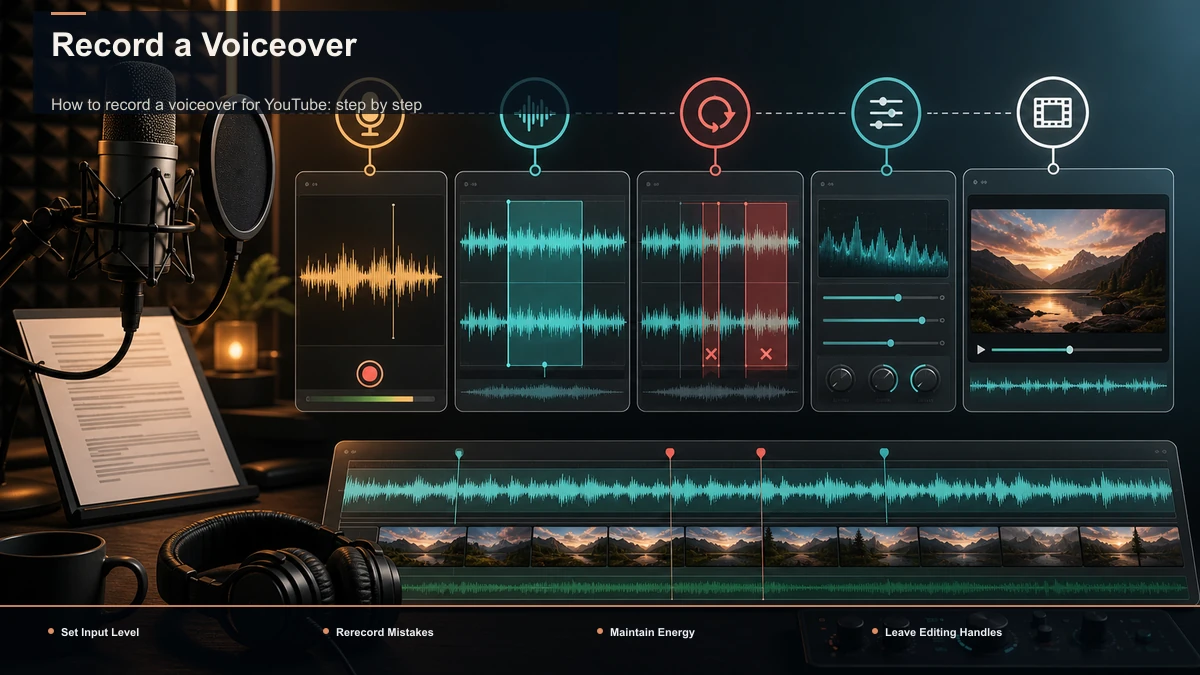
With the mic set, the room deadened, and the script marked, the recording itself is a short, repeatable loop.
- Set your input level. Speak your loudest line and watch the meter. Aim for peaks around −12 to −6 dBFS so you've got headroom and no clipping. Recording too hot to "make it loud" is a mistake you can't undo — you can always raise a clean, quiet take later; you can't rescue a distorted one.
- Record ten seconds of room tone. Stay silent and capture the ambient sound of your space. This clip is what noise-reduction tools sample later to learn what to remove, so it's worth the ten seconds every session.
- Read in chunks, not one long take. Voice a paragraph or a few lines, then stop. Short takes are easier to nail and far easier to re-record than hunting for one flub buried in a twenty-minute marathon.
- Punch in on mistakes. When you flub a line, pause, clap once (the spike is easy to find on the waveform), then re-read the line. You'll splice out the bad take in editing and the clap marks the spot.
- Keep your energy up. A voiceover recorded at your normal conversational energy sounds flat on playback — the mic drains life out of a take. Push your energy about 20% past what feels natural and it'll land as engaged rather than sleepy.
- Leave handles. Start recording a beat before you speak and keep rolling a beat after, so you have clean audio on both sides of every line to cut into.
- Do a safety take of key lines. For your hook and any line you'll cut to hard, record it twice. Options in the edit cost you nothing now and save a re-record session later.
That's the whole recording craft: good levels, room tone, short chunks, real energy. Everything after this is cleanup.
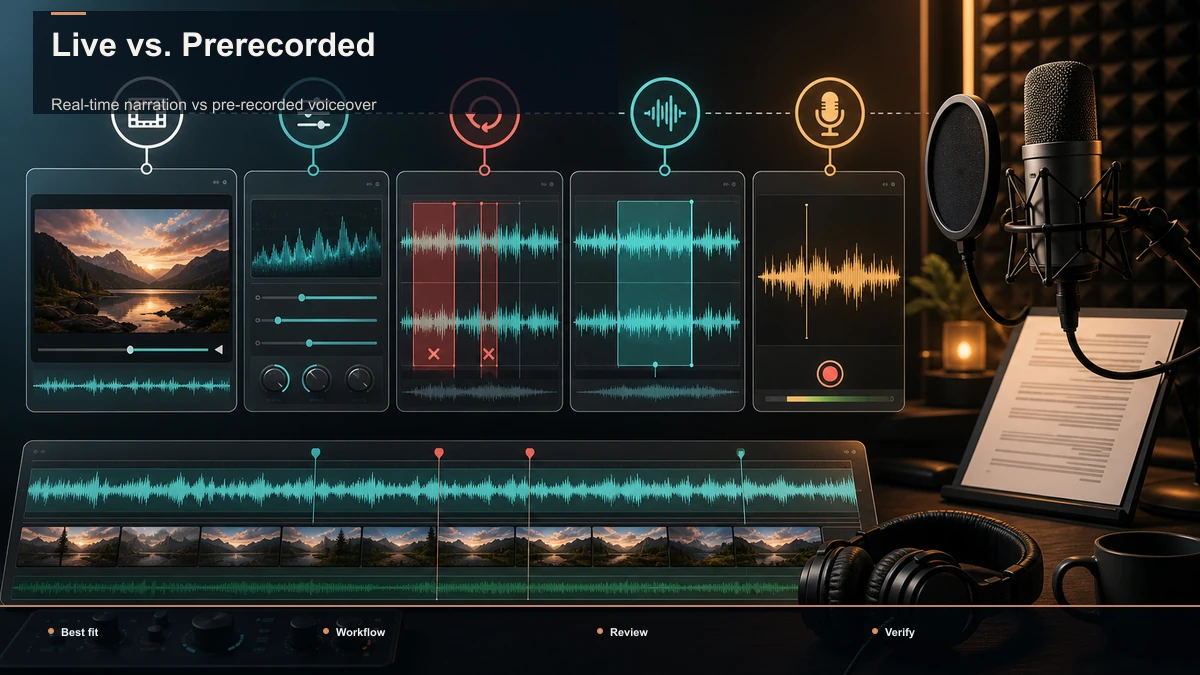
Real-time narration vs pre-recorded voiceover
There are two ways to get narration onto a YouTube video, and picking the wrong one for your format wastes hours.
| Real-time (live) | You narrate while the footage or screen plays, reacting as you go | Reactions, live commentary, casual talking-head vlogs | Pre-recorded (scripted) | You record the voiceover to a script first, then edit visuals to match it | Tutorials, faceless narration, recaps, anything tightly scripted |
Real-time narration feels natural and is fast for loose, personality-driven formats, but it's hard to keep clean — you'll get "ums," dead air, and pacing that wanders. Pre-recorded narration is the standard for anything scripted: you record the voice as the backbone, then cut visuals to it, which gives you tight pacing and a clean track. If you're building a faceless or recap channel, record narration for YouTube first and treat the voice as the edit's spine. Most creators land on a hybrid — scripted voiceover for the structure, with a few real-time reactions dropped in for texture.
Clean up your recording so it sounds like YouTube
A raw take is never the final take. The gap between "recorded at home" and "sounds like a real channel" is a short, consistent post-production chain — and this is the same chain whether you recorded yourself or generated a voice.
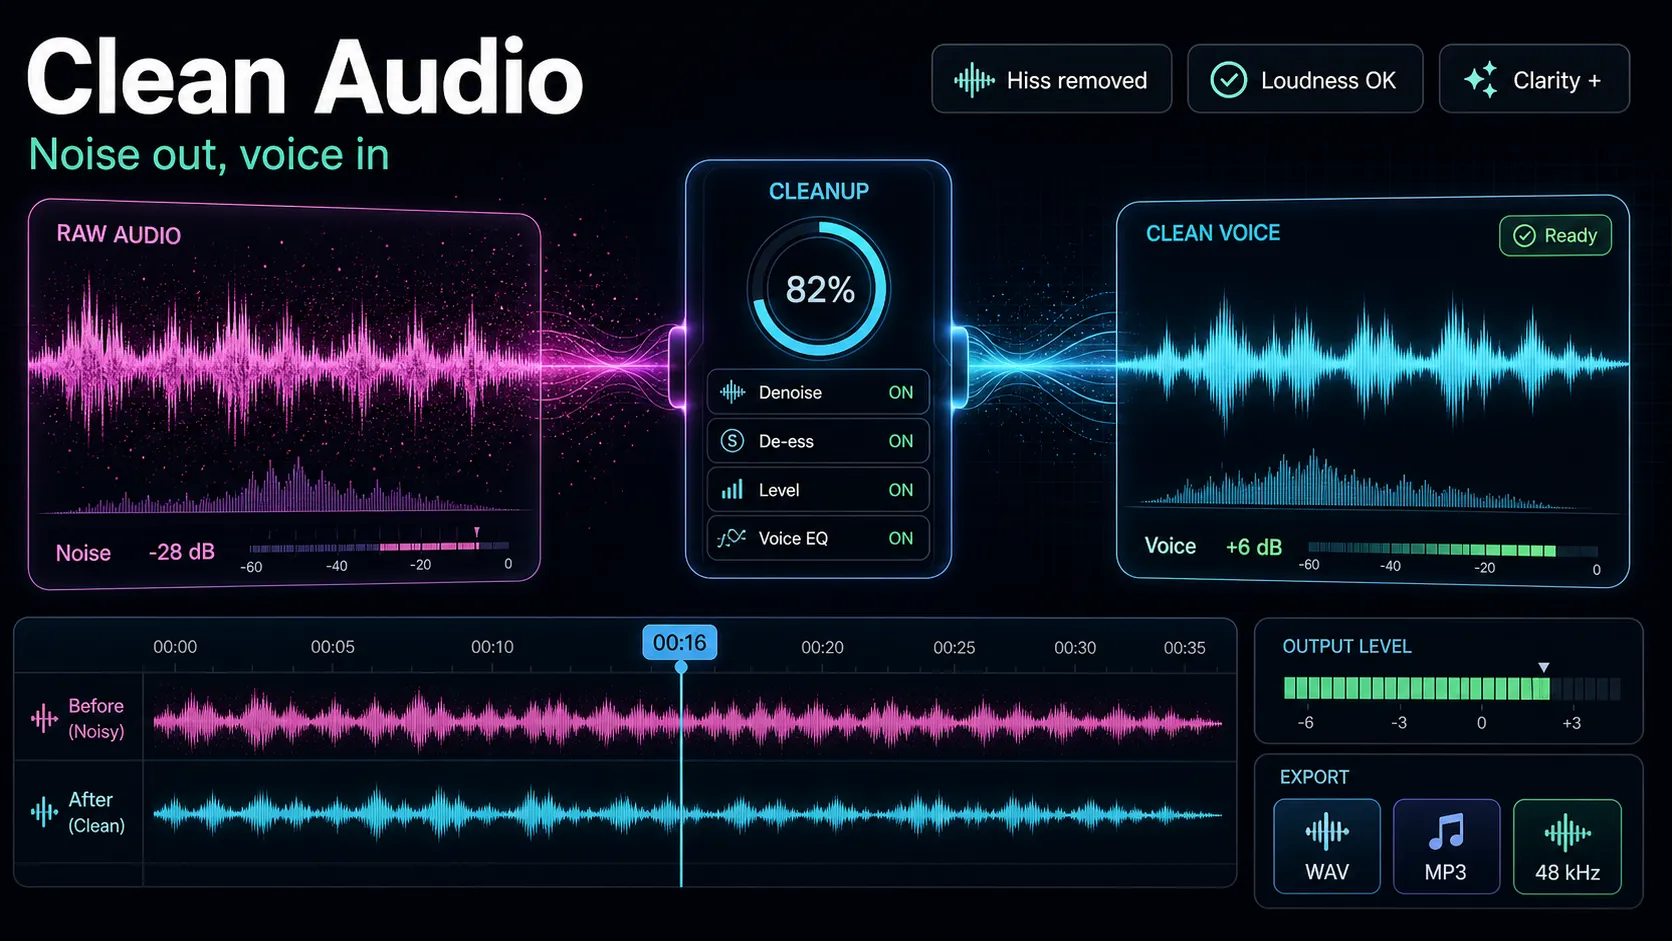
- Reduce the noise floor. Sample your room tone and pull out the constant hum of a fan, AC, or computer. Do this gently; aggressive noise reduction leaves a watery, robotic artifact on the voice that's worse than the hiss you removed. A browser tool like Recapo's audio noise reduction does this pass without a desktop install, so you can clean the audio inside the same tab where you'll finish the video.
- High-pass filter. Roll off the low rumble below the human voice (traffic, HVAC, desk thumps) so the track sits clean.
- Light EQ. A small lift in the presence range adds clarity; a gentle cut in the low-mids removes "boxiness." Subtle moves only — you're polishing a voice, not remixing it.
- Gentle compression. Even out the loud and quiet parts so your narration stays consistent whether someone listens on earbuds or a phone speaker. Keep it light; over-compression makes a voice sound squashed and breathy.
- Normalize loudness. Bring the final track to a consistent, comfortable listening level so viewers don't reach for the volume.
Use audio noise reduction on a short sample and compare it with the untreated recording before processing the full track. Then generate auto-captions when they support accessibility and comprehension, and proofread names, brands, numbers, timing, and line breaks before export.
The AI voiceover alternative — when it's the smarter call
Sometimes the fastest good-enough path isn't recording at all. If you run a faceless channel, batch-produce recaps, publish in a language you don't speak, or simply hate the sound of your own voice, an AI voiceover is a legitimate tool rather than a shortcut you should feel bad about. You type or paste your script, pick a voice, and get a narration track in minutes — no mic, no room, no re-record sessions. Recapo's browser-based voiceover maker generates narration from your script directly in the tab, alongside the captioning and cleanup steps above, and it works on standard video files (MP4, MOV, and similar, up to 6GB total per task) when you're voicing over existing footage.
Be honest about the trade-offs, though. No tool can promise a synthetic voice is completely undetectable, and you shouldn't build your channel on the assumption that it is. To make AI narration land, pick a natural-sounding voice for your niche, break the script into shorter sentences the engine can pace well, and add manual pauses where a human would breathe — our guides on how to make an AI voice sound natural and the best AI voices for YouTube go deeper on the craft. One compliance note you can't skip: YouTube's own policies ask creators to disclose realistic altered or synthetic content in certain cases, so check YouTube's current disclosure rules and label your videos accordingly rather than assuming you're exempt.
Real mic vs AI voiceover: choose with a test, not a vibe
You don't have to pick a side forever. Most channels use both — a real voice where personality carries the video, AI narration where speed and scale matter. Instead of arguing it in the abstract, run one honest test on your own next video and measure four things.
| Time from script to finished track | Recording + re-records + cleanup | Paste, pick voice, generate | Does it match your channel's identity? | Your actual voice and personality | Depends on voice choice and niche | Effort to fix mistakes | Re-record the line | Edit text, regenerate | Scales to a batch? | One video at a time | Many scripts, fast |
Ask yourself: (1) Is my voice part of why people subscribe, or is the value in the information? (2) Am I publishing one careful video or batching ten? (3) Do I need a language I can't perform myself? (4) Which path actually gets the video shipped this week? If your identity is the draw, record it. If you're scaling faceless content or fighting a backlog, generate it — and disclose it where the platform asks. Let the shipped result decide, not anyone's marketing.
FAQ
What's the cheapest way to record a decent voiceover for YouTube? A basic USB microphone plugged into your laptop, recorded in a soft, quiet space like a closet or a carpeted room, run through a free editor with a light noise-reduction and EQ pass. That combination costs less than a night out and clears the bar for publishing. The biggest free upgrade is the room — deadening your space beats buying a pricier mic in an echoey one.
Can I just use my gaming headset mic to record narration? You can, but it's the fastest way to sound thin and distant, because headset mics are built for chat, not narration. If it's genuinely all you have, get as close as it allows and treat the room hard, but a cheap dedicated USB mic is the single upgrade that changes your audio the most.
Should I record my voiceover live or script it first? Script it first for anything structured — tutorials, faceless narration, recaps — because a pre-recorded track gives you tight pacing and a clean backbone to edit visuals against. Save real-time narration for reactions and loose, personality-driven formats where the spontaneity is the point.
Is an AI voiceover good enough for YouTube? For many formats, yes — especially faceless channels, batch production, and languages you don't speak. The honest caveats: no tool can promise a synthetic voice is undetectable, quality depends on voice choice and pacing, and YouTube asks you to disclose realistic synthetic or altered content in certain cases. Used deliberately and labeled correctly, it's a legitimate part of a creator's toolkit.
How do I make a home recording actually sound professional? Record clean at safe levels, then run a consistent cleanup chain: sample your room tone and reduce noise gently, high-pass the low rumble, add subtle EQ for clarity, apply light compression to even out the dynamics, and normalize the loudness. That short, repeatable pass — not expensive gear — is what separates an amateur take from a channel-quality one.
Record it once, finish it in one place
Recording a voiceover for YouTube comes down to four honest moves: a real mic, a treated room, a script written for the ear, and a cleanup pass — do those and your narration will already sit above most of the platform. Whether you voice it yourself or generate it, the finishing steps are the same: reduce the noise, even out the levels, and caption for viewers watching without sound. Create a free Recapo account, drop in your footage or script, and run the whole back half — AI voiceover, noise reduction, and auto-captions — in one browser tab, then take your best take live.
References and official sources