How to Add Captions to Instagram Reels (Auto & Burned-In)
Add captions to Instagram Reels with native captions or burned-in subtitles, then review accuracy, readability, timing, and interface-safe placement.

By the Recapo.ai Editorial Team · Fact-checked July 10, 2026
You can caption an Instagram Reel in two practical ways: use Instagram's in-app caption option when it is available on your account, or burn captions into the video before upload. The first is faster and follows Instagram's current presets; the second gives you control over wording, styling, placement, and cross-platform reuse. Instagram changes its editor and availability can vary by account, device, language, and app version, so treat the current app interface as the source of truth. This guide walks through both routes and shows how to preview caption placement around the Reels interface.
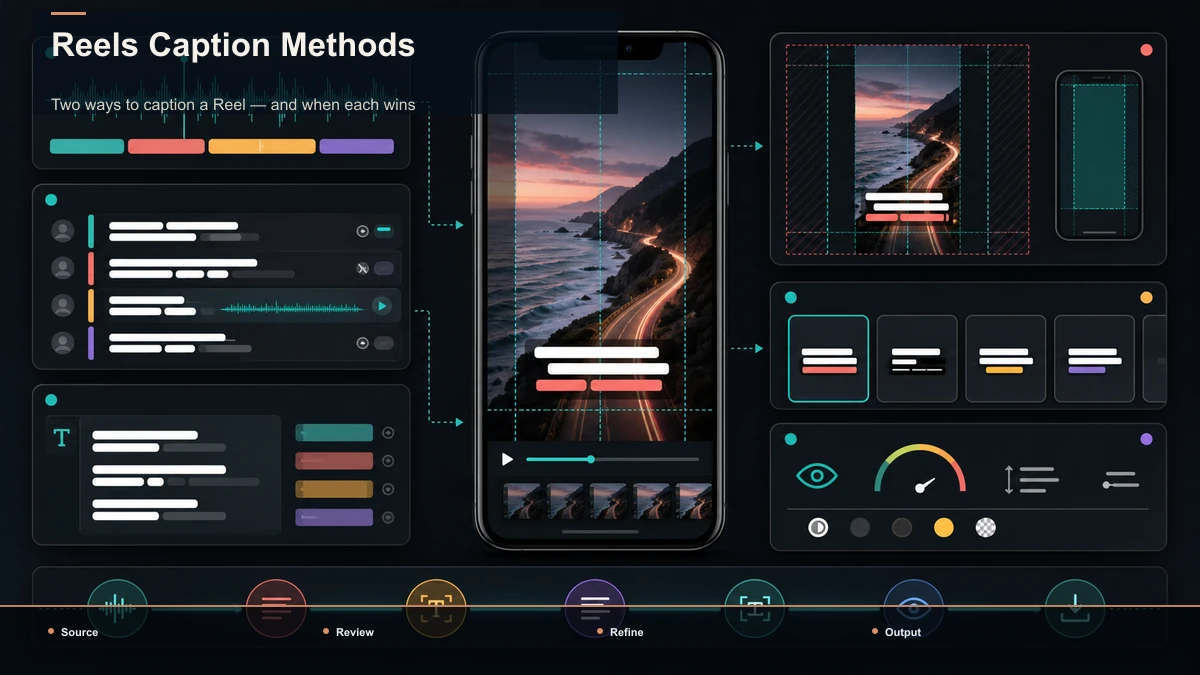
Two ways to caption a Reel — and when each wins
There's no single "add captions" button that does everything. There's a quick, native option and a controlled, pre-upload option, and they solve different problems. Get the trade-off straight before you touch either.
Native captions, when your editor offers them, live inside Instagram's Reels workflow. The app transcribes your audio and displays timed text using the controls available in your current version. It is fast, but style, editing, and placement choices depend on Instagram's current implementation.
Burned-in captions are subtitles you render permanently into the frames in your own editor, then upload as a finished file. Nothing about them relies on Instagram — your font, color, position, and accuracy are all decided before the file leaves your machine, and identical whether the clip lands on Reels, TikTok, or Shorts.
| Speed to add | Fastest — a few taps in-app | Slower — done in an editor first | Styling / branding | Instagram's presets only | Your font, color, and animation | Position control | Limited, and easy to misplace | Exact, pixel-level | Editable text | Corrections only, in-app | Full edit before export | Accuracy control | Auto, hard to refine | Proofread and word-list before burn-in | Travels to other platforms | No — Instagram-only | Yes — one master, every feed | Best for | A one-off Reel, no branding needed | A channel posting Reels on a schedule |
Read that last row as the decision. Post occasionally and don't mind looking like everyone else, and the native sticker is genuinely fine. Run Reels as a recurring channel and want a consistent, on-brand look with captions that never collide with the UI, and burning them in is the workflow to standardize.
Method 1: Add auto captions in Instagram when available
Instagram has published support for auto-generated captions on video, but the exact Reels controls can vary. Update the app, open the Reels editor, and check whether a Captions option appears for your account and language. If it does, the workflow is generally:
- Record or upload your clip into the Reels editor as usual.
- Open the sticker tray (the square smiley icon) at the top of the editing screen.
- Choose "Captions" if it appears. Instagram transcribes the audio and adds timed text using the styles available in your current editor.
- Proofread every line. This is auto-generated, so names, brands, and homophones will be wrong somewhere. Tap a word to correct it.
- Adjust style and position. You get a small set of caption styles, colors, and animations, plus you can drag the block up or down. Move it clear of the bottom UI (safe zone below).
- Share. The captions render with the Reel.
Two things are worth checking in the current app. First, creator-added captions and viewer-controlled auto-generated captions are different features, and availability may vary. Second, transcription quality depends on the recording: clean speech is easier to transcribe than noisy or distant audio. Always proofread names, numbers, brands, and homophones before sharing.
Where the native CC sticker runs out
The native sticker is a good tool for one job and a frustrating one the moment you outgrow it. Knowing its ceilings tells you when to switch — the feature isn't bad, it's just built for speed, not control.
None of that matters for a single spontaneous Reel. All of it matters if you post regularly and want the captions to look like yours. That's the cue to burn them in.
Method 2: Burn branded captions into your Reels
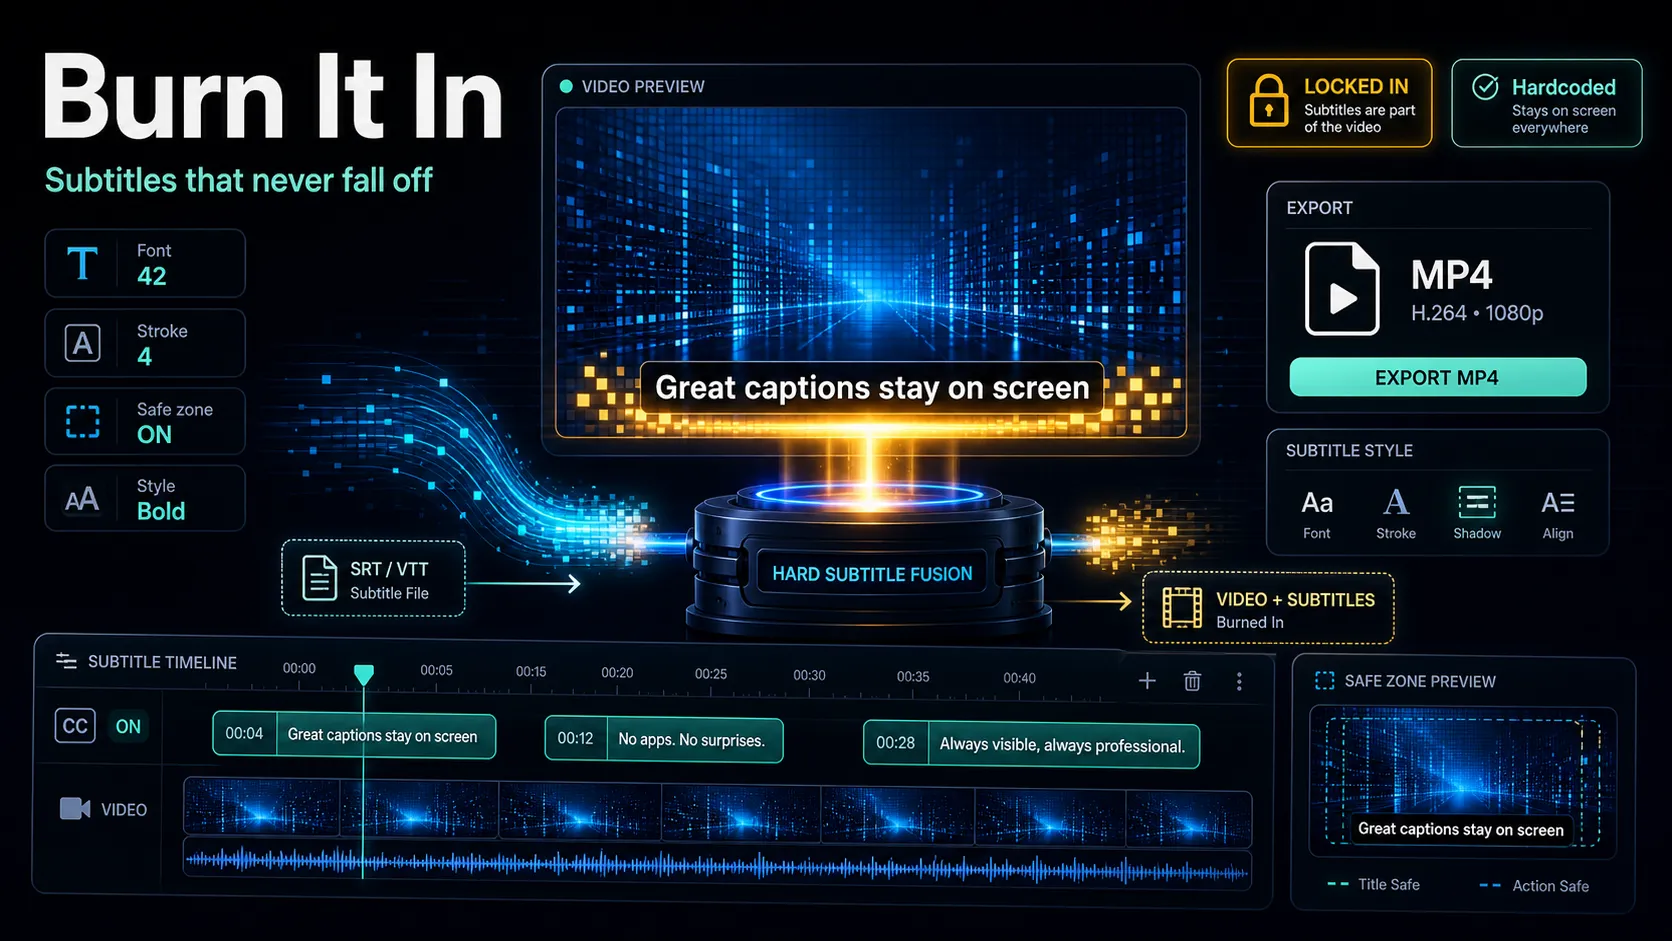
Burning captions in means rendering them permanently into the pixels before you upload, so Instagram treats them as part of the video. This is how you get instagram reels subtitles that match your brand, sit exactly where you want, and travel to every other platform unchanged. The workflow is a straight line:
- Start from your master clip. Upload the source video — a talking-head take, a long cut you're repurposing, whatever the Reel comes from.
- Frame it 9:16. Reels are vertical (a 9:16 frame, commonly exported at 1080×1920). If your source is horizontal or square, reframe it first with an instagram-reels-resizer so the subject stays centered instead of getting cropped off.
- Generate the captions. Run the audio through auto-captions to get a timed, word-level, editable transcript — the draft you'll correct and style, not the final word.
- Proofread and style. Fix names and numbers, set your line length (short, one-to-two-line blocks read best on a phone), and apply your brand font, color, and highlight animation with a video-caption-generator. This is the control the native sticker never gives you.
- Place inside the safe zone. Position the caption block so no part of it lands under Instagram's UI — the section below shows exactly where that is.
- Export with captions burned in. Render the finished vertical file and upload it as a normal Reel. The captions are baked in; Instagram can't move or cover them, and the same file works on TikTok and Shorts.
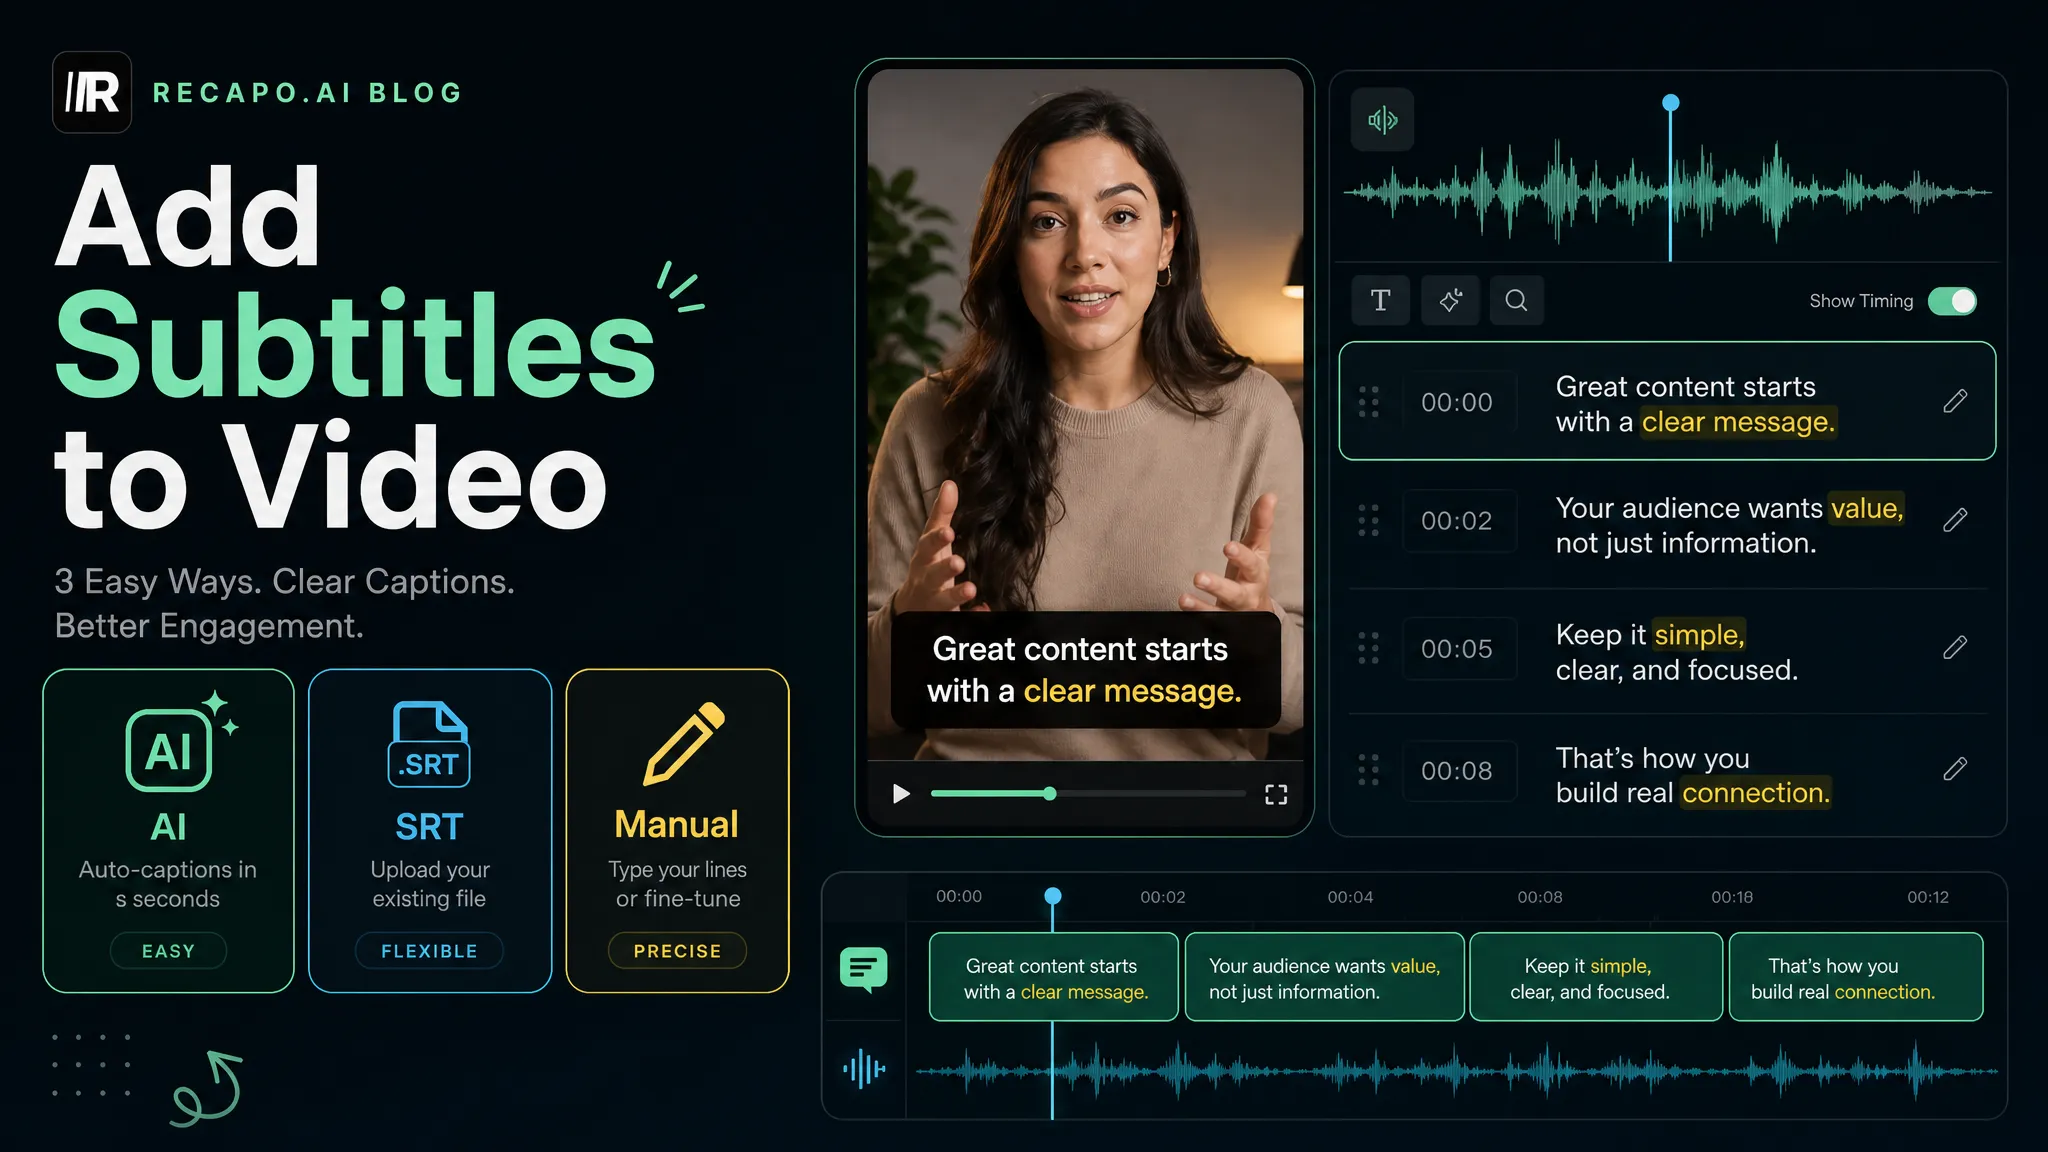
If burning subtitles into video is new to you, our step-by-step on how to add subtitles to a video covers the export settings, and best caption styles for shorts has concrete styling patterns that read well at a glance.
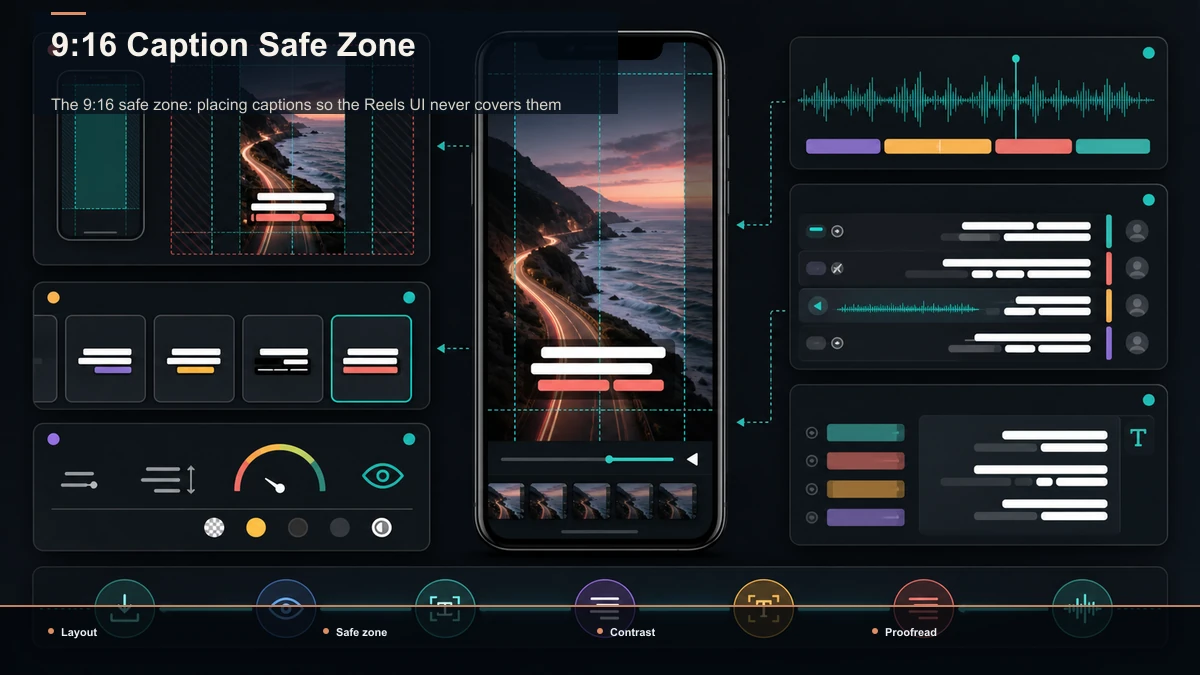
The 9:16 safe zone: placing captions so the Reels UI never covers them
This is the part most guides skip, and the one that actually decides whether your captions are readable. Instagram overlays its interface on every Reel, and if your text sits under it, viewers lose words at the exact moment they're deciding whether to keep watching. Three regions get covered:
| Right edge, vertical strip | Action controls in the current interface | Leave a generous margin and verify on-device | Bottom band | Username, post text, audio information, and possible CTAs | Keep key text above the current overlay | Top | Status and header controls | Leave a visible margin |
The practical rule: keep your caption block in the central band of the frame, biased slightly above vertical center. That zone dodges the bottom metadata bar and the right-side action rail, the two things that eat captions most often. Left-align or center-align within that band, and don't let the text run to the right edge where the buttons live.
Instagram changes its layout, and overlays render differently across phones. Meta's public Reels ads guidance likewise treats 9:16 and safe-zone placement as design considerations, but ad guidance is not a permanent pixel map for organic Reels. Preview the finished Reel on a real device before you commit, and confirm that every line is clear of the current controls. Getting the vertical frame right up front makes this easier; our social media video aspect ratio guide covers the framing side.
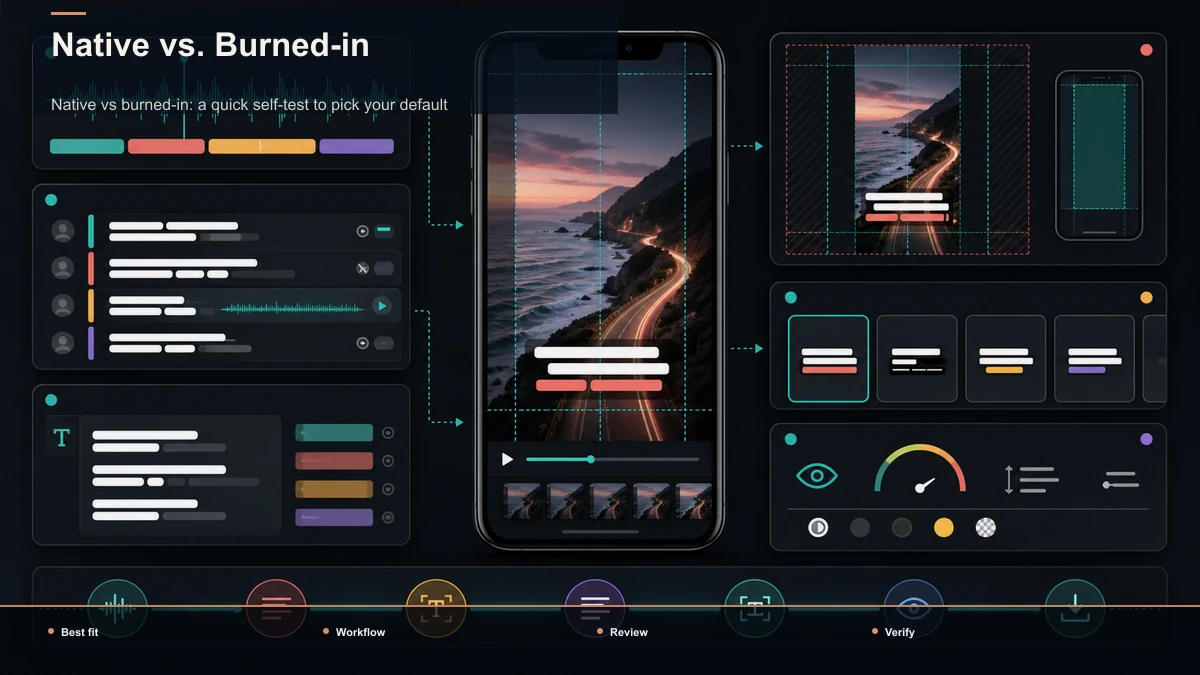
Native vs burned-in: a quick self-test to pick your default
Rather than argue which method is "better," answer these five questions about how you actually publish. They'll point you to the right default — and you can always mix, using the native sticker for spontaneous posts and burned-in for your core content.
- Do you post Reels on a schedule, or occasionally? Recurring cadence rewards a repeatable burned-in workflow; the occasional post doesn't need one.
- Does your channel have a visual identity to protect? If a specific font, color, and caption animation are part of your brand, the native presets won't carry it.
- Do you repost the same clip to TikTok or Shorts? If yes, a single burned-in master saves you captioning three times.
- How much do accuracy and names matter? Brand-heavy or jargon-heavy scripts benefit from a proofread-before-burn loop the sticker can't offer.
- Is placement precision important? If you've ever had a caption swallowed by the like button, burned-in placement solves it permanently.
More "yes, it matters" answers mean burning captions in earns its extra minutes. Mostly "occasional / doesn't matter" means the native sticker is the right, faster call. There's no trophy here — only the fit for how you publish.
Make captions a per-publish routine
The point of a system is that you stop deciding and start executing. Once burned-in is your default, the whole thing collapses into a short checklist you run on every Reel — and because the setup repeats, it gets faster with reps.
Batch it and the routine scales: caption a week of Reels in one sitting, export them all, and schedule. The first one takes a few minutes; the tenth takes barely any thought.
Where Recapo fits
Recapo is a browser-based AI video workspace — nothing to install — and the entire burned-in workflow above runs inside it end to end. From one tab you can reframe a horizontal or square source into a 9:16 Reel with the subject kept in frame, transcribe and caption to a word-level editable transcript, proofread names and numbers, style the captions to your brand, place them clear of the Reels UI, design a cover, and export with everything burned in — no shuttling a file between a resizer, a transcriber, and a caption editor. It accepts MP4, MOV, and other common formats, up to 6GB total per task, so a long recording you're repurposing into Reels fits.
The practical fit: for a single spontaneous Reel, Instagram's native CC sticker is faster, and there's no shame in using it. Recapo earns its place when captions are a recurring, on-brand part of your posting — when you want the same look every time, exact safe-zone placement, a proofread pass before anything is permanent, and one master you can push to Reels, TikTok, and Shorts. It handles the production; the brand style, the final read-through, and the on-device preview stay your calls. Plans live on the pricing page.
FAQ
How do I add captions to Instagram Reels for free?
Use the native Captions sticker inside the Reels editor: open the sticker tray, tap "Captions," and Instagram auto-transcribes your audio into on-screen text at no cost. Always proofread it, because auto captions get names and homophones wrong. That covers a one-off Reel. If you post regularly and want branded, precisely placed captions that also work on TikTok and Shorts, burning them into the video before upload gives you control the free sticker can't.
Why do my Reels captions get covered by the buttons?
Because Instagram overlays its interface on every Reel — the like, comment, share, and audio controls on the right edge, and the username, caption, and audio title along the bottom. If your caption block sits in those regions, the UI hides it. Keep captions in the central band of the frame, biased slightly above center, clear of the bottom ~25–35% and the right ~15%, then preview on a real phone before you post to confirm nothing is covered.
What's the difference between the CC sticker and burned-in captions?
The CC sticker is added inside Instagram's editor, using its fonts and animations, and exists only on that Reel. Burned-in captions are rendered permanently into the video in your own editor before upload, so you control the font, color, position, and accuracy, and the same file works on any platform. The sticker is faster for one-off posts; burned-in captions win when branding, placement, and cross-platform reuse matter.
Are auto captions on Reels accurate?
They're only as good as your audio. Clean, close-mic'd speech transcribes well; a noisy or distant phone capture produces errors, especially on names, brands, and jargon. Instagram's sticker gives you no custom word list, so recurring proper-noun mistakes keep returning. Whichever method you use, plan a quick proofread of names, numbers, and homophones — and if accuracy is critical, generate captions from a cleaned-up audio track and correct them before you burn them in.
Can I reuse the same captioned video on TikTok and Shorts?
Only if the captions are burned in. Native Instagram captions live inside that one Reel and don't travel, so reposting to TikTok or Shorts means captioning again. If you render captions permanently into a 9:16 master file, that single export uploads cleanly to Reels, TikTok, and Shorts with identical styling — a big reason recurring creators standardize on burned-in captions rather than the in-app sticker.
Ready to make captioned Reels a routine instead of a chore? Create a free account, upload your clip — MP4 or MOV, up to 6GB total per task — and run the whole workflow in one browser tab: reframe to a 9:16 Reel, transcribe to a word-level editable transcript, proofread the names and numbers, style the captions to your brand, place them inside the safe zone clear of Instagram's UI, and export with everything burned in. You bring the brand look and the on-device preview; Recapo handles the production, so your next Reel — and the same file on TikTok and Shorts — ships with captions that stay exactly where you put them.
References and official sources