How to Add Captions to a Podcast Video (and Clips)
How to caption a podcast video: transcribe the episode once, proofread and style podcast subtitles, then reuse the transcript to caption vertical clips.
By the Recapo.ai Editorial Team · Fact-checked July 10, 2026
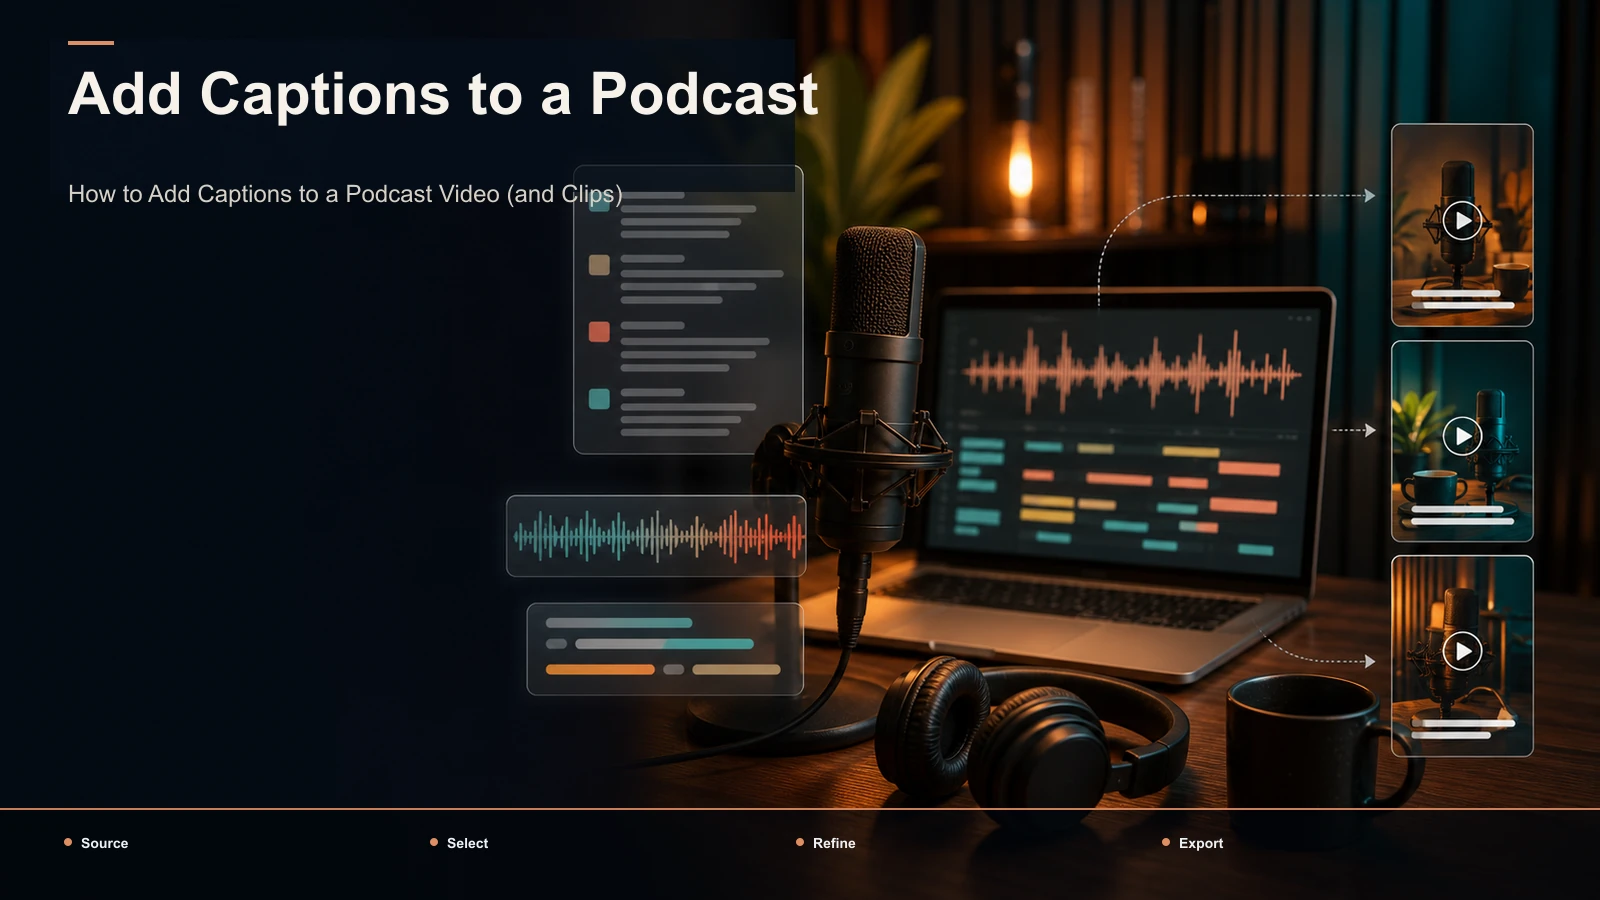
To caption a podcast video, you transcribe the full episode once, proofread and time the text, then either burn the captions onto the video or export a sidecar SRT/VTT file — and, if you're working smart, you reuse that same transcript to cut captioned vertical clips for YouTube Shorts, TikTok, and Instagram Reels. The mistake most creators make is treating captioning as a one-off chore they repeat per platform. It should be the first step of a repeatable per-episode pipeline.
This guide frames it that way: transcribe once, caption once, and let a single clean pass feed your full-length video, your sidecar caption files, and every short you cut from the episode. We'll cover the difference between burned-in captions and sidecar files, the step-by-step workflow, the podcast-specific accuracy problems generic tutorials skip, and how to turn that one transcript into a batch of captioned clips.
Key Takeaways
- Caption the episode once, then reuse the transcript for the full video, sidecar files, and every clip — don't re-caption per platform.
- Burned-in captions are for social clips; sidecar SRT/VTT files are for the long-form upload where the platform renders them.
- Podcast audio breaks auto-captioning in predictable ways — names, jargon, numbers, and crosstalk — so budget proofreading time, not just processing time.
- Recapo fits the transcribe → caption → reframe → export chain in one browser tab; use it as the workflow layer, not a magic button.
Why podcast video captions are non-negotiable
Captions on a podcast video aren't a courtesy — they're load-bearing. Three forces make them mandatory.
First, mute-first viewing. Some feed viewing happens with the sound off, and platform documentation from YouTube and Meta consistently pushes creators toward captions for exactly this reason. A podcast clip is almost pure talking, so with the audio muted an uncaptioned clip is a person moving their mouth. Captions are what let the scroll stop.
Second, accessibility and reach. Captions make your show usable for deaf and hard-of-hearing viewers and for the much larger group watching in a quiet office, a noisy gym, or a language that isn't their first. That's audience you simply don't get otherwise.
Third, discoverability. Both on-screen text and an uploaded caption file give platforms something to read — sidecar files feed the transcript that search and recommendation systems index. None of this works if the captions are wrong, so accuracy, covered below, is the whole game.
The takeaway: podcast subtitles aren't a nice-to-have you bolt on at the end. They're the deliverable, and the transcript that produces them is an asset you reuse all week.
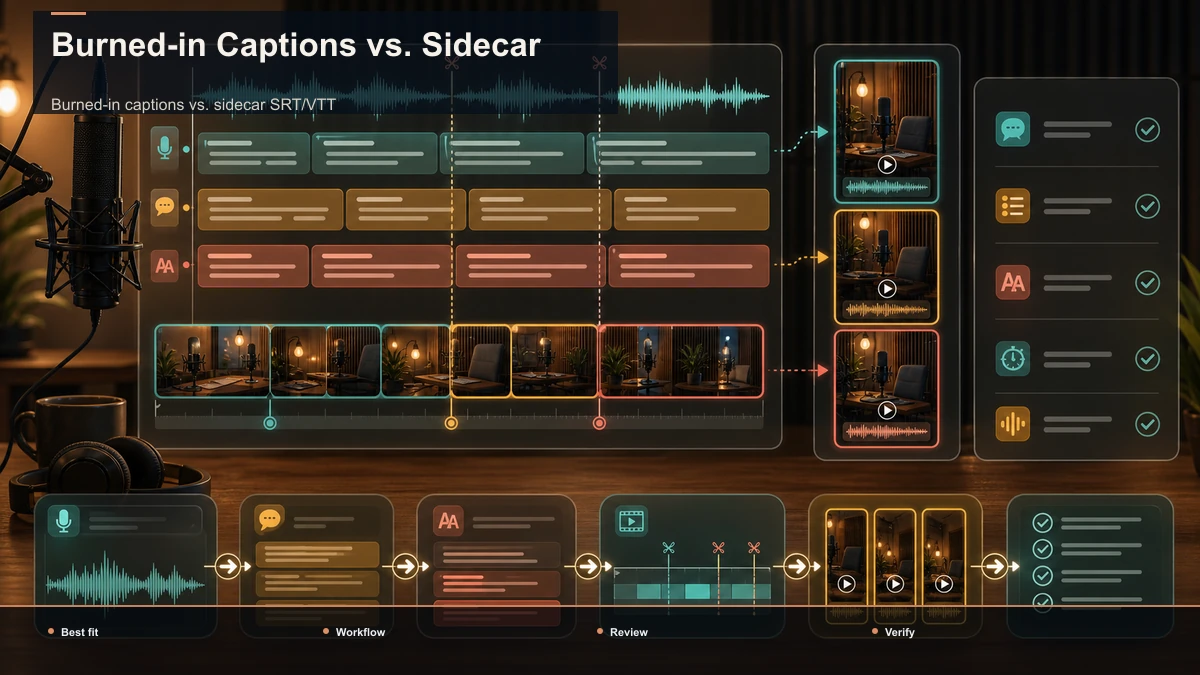
Burned-in captions vs. sidecar SRT/VTT
Before you caption anything, decide which kind of captions the destination needs. There are two, and they are not interchangeable.
Burned-in (hardcoded) captions are rendered permanently into the video pixels. Every viewer sees them, styled exactly how you designed them, on any player. This is what you want for vertical social clips, where you can't rely on the platform's caption UI and where styling is part of the hook.
Sidecar captions are a separate file — usually SRT or VTT — that travels alongside the video. The platform renders them, the viewer can toggle them, and search engines can read them. This is what you want for the full-length episode on YouTube or a podcast host, where you want selectable, indexable text and native styling.
| Burned-in captions | Sidecar SRT/VTT | |
|---|---|---|
| Where it lives | Baked into the video pixels | Separate .srt / .vtt file |
| Best for | Vertical clips (Shorts/Reels/TikTok) | Full episode on YouTube / podcast host |
| Viewer control | Always on, can't toggle | Toggle on/off, sometimes translate |
| Styling | Full control (yours) | Platform-native, limited |
| Searchable text | No (it's an image) | Yes (machine-readable) |
| Edit after export | Re-render required | Edit the text file anytime |
Most podcasters end up needing both: sidecar files for the long-form upload, burned-in captions for the clips. The good news is that a single accurate transcript produces either one — which is exactly why the pipeline below starts with transcription, not with styling.
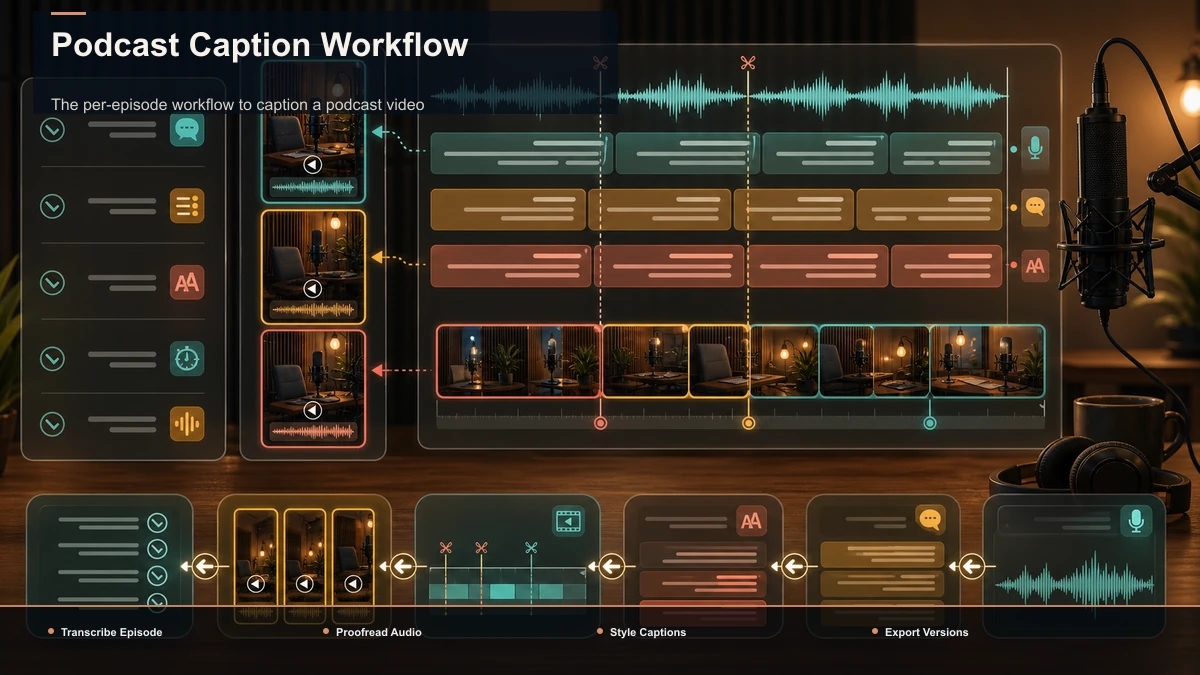
The per-episode workflow to caption a podcast video
Here is the sequence that scales. It runs cleanly in a browser-based workspace like Recapo — no install, transcribe-caption-reframe-export in one place — but the steps apply to any toolkit.
- Transcribe the full episode first. Before you touch styling, auto-caption the whole recording to get a timed, editable transcript. Upload the episode (common formats like MP4 and MOV work), and let the tool generate word-level timing you can read and correct. Reading a 60-minute episode takes a couple of minutes; scrubbing it takes an hour.
- Proofread against the audio. This is the step people skip and regret. Fix the words auto-captioning reliably gets wrong on podcasts — see the next section — and clean up filler where a caption would just read "um, uh, you know."
- Add speaker labels if it's a conversation. For interviews and co-hosted shows, mark who's speaking. On the full video this reads as
HOST:/GUEST:; on clips you can drop labels or use color, but the underlying transcript should know who said what. - Decide burn-in vs. sidecar per destination. For the full-length episode, export a sidecar file so the platform renders selectable captions. For clips, plan to burn them in.
- Style the on-screen captions. For anything burned in, set the font, size, contrast, and safe-zone placement (covered later). Keep it legible before you make it pretty.
- Export once per destination. Export the captioned full video and/or the sidecar file, then move to the clips — you're not re-transcribing, just reusing the transcript you already fixed.
The whole point of ordering it this way: the expensive, human part (proofreading) happens once, up front, and everything downstream inherits a transcript you already trust.
Podcast audio breaks auto-captions in predictable ways
Generic "add captions" tutorials assume clean, single-speaker narration. Podcast audio is the opposite, and it trips auto-captioning in a handful of recurring ways. Knowing them turns proofreading from a scavenger hunt into a checklist.
| Problem | Why podcasts trigger it | The fix |
|---|---|---|
| Wrong names | Guest names, brands, and show titles aren't in a general model's vocabulary | Search-and-replace each proper noun once; build a per-show glossary |
| Jargon & acronyms | Niche shows are dense with terms models mis-hear | Fix the first instance, then replace-all |
| Numbers & stats | "$40K," "2019," "three-to-one" get garbled | Spot-check every number against the audio — these get quoted and screenshotted |
| Crosstalk | Two people talking at once confuses word boundaries | Manually resolve overlaps; pick the speaker who carries the point |
| Filler & false starts | "So, um, like, yeah" clutters the read | Trim filler in the caption even if you keep it in the audio |
| Homophones | "their/there," "to/two" flip on unclear audio | Read captions as text, not just against audio |
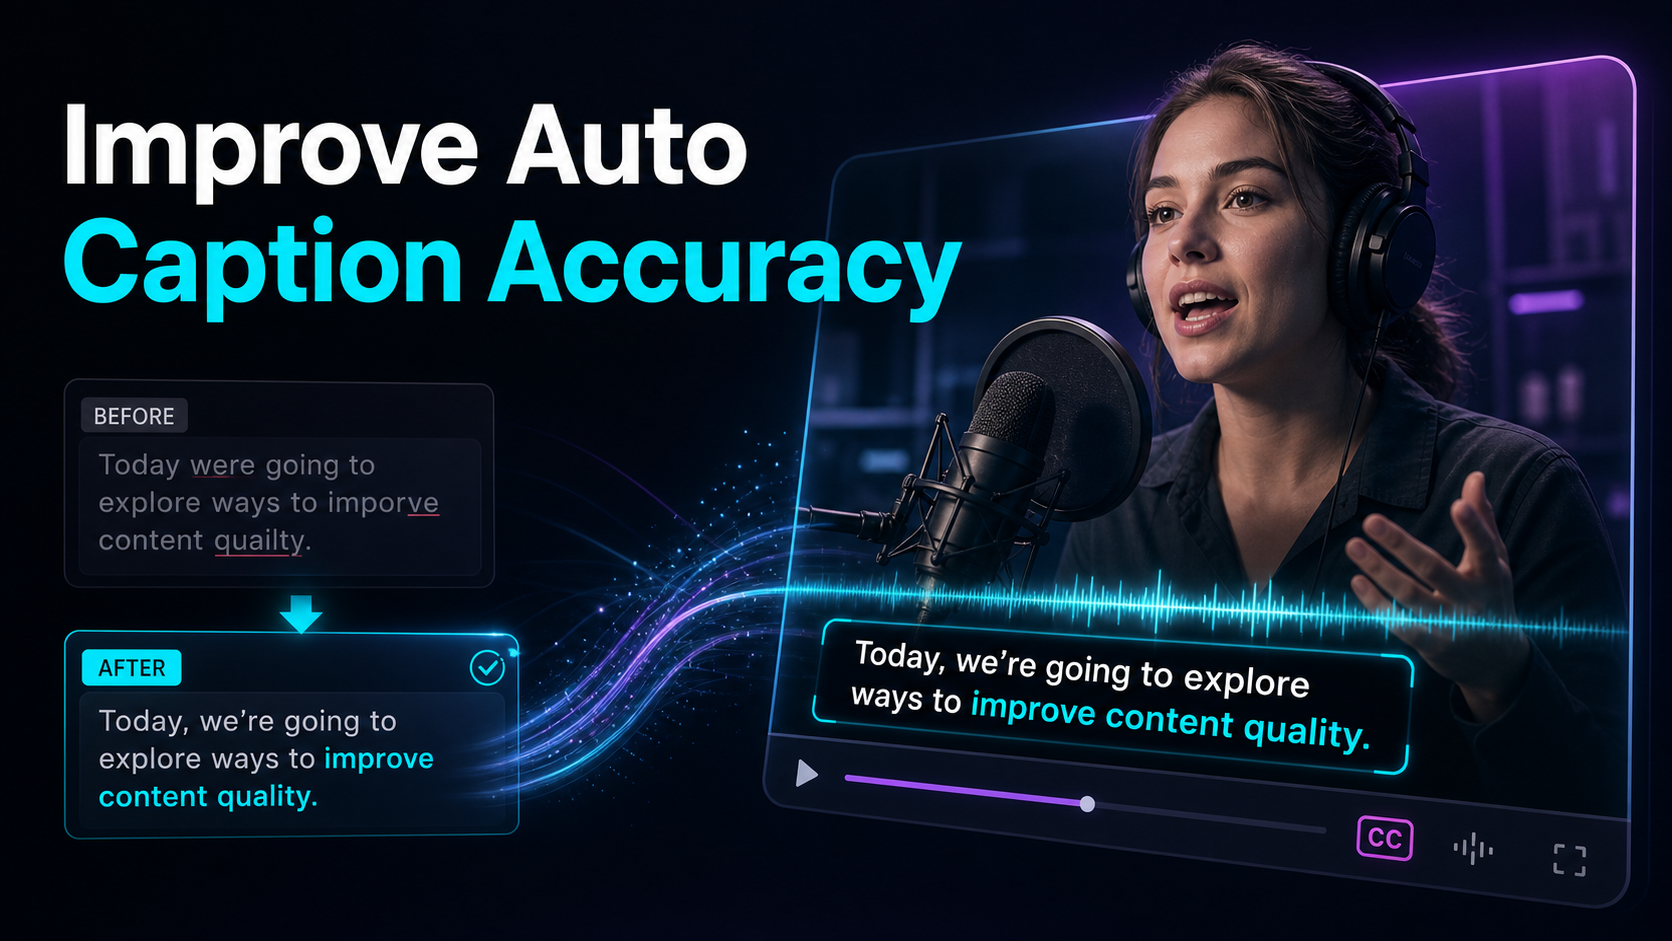
A practical rule: proofread numbers, names, and the punchline of every clip-worthy moment first — those are the lines that get quoted and screenshotted. If your source audio is rough (echoey rooms, cheap mics, remote guests), expect more corrections, and consider cleaning the audio before you transcribe, since cleaner sound produces cleaner captions. For the systematic version, see how to improve auto-caption accuracy.
From one episode to a batch of captioned clips
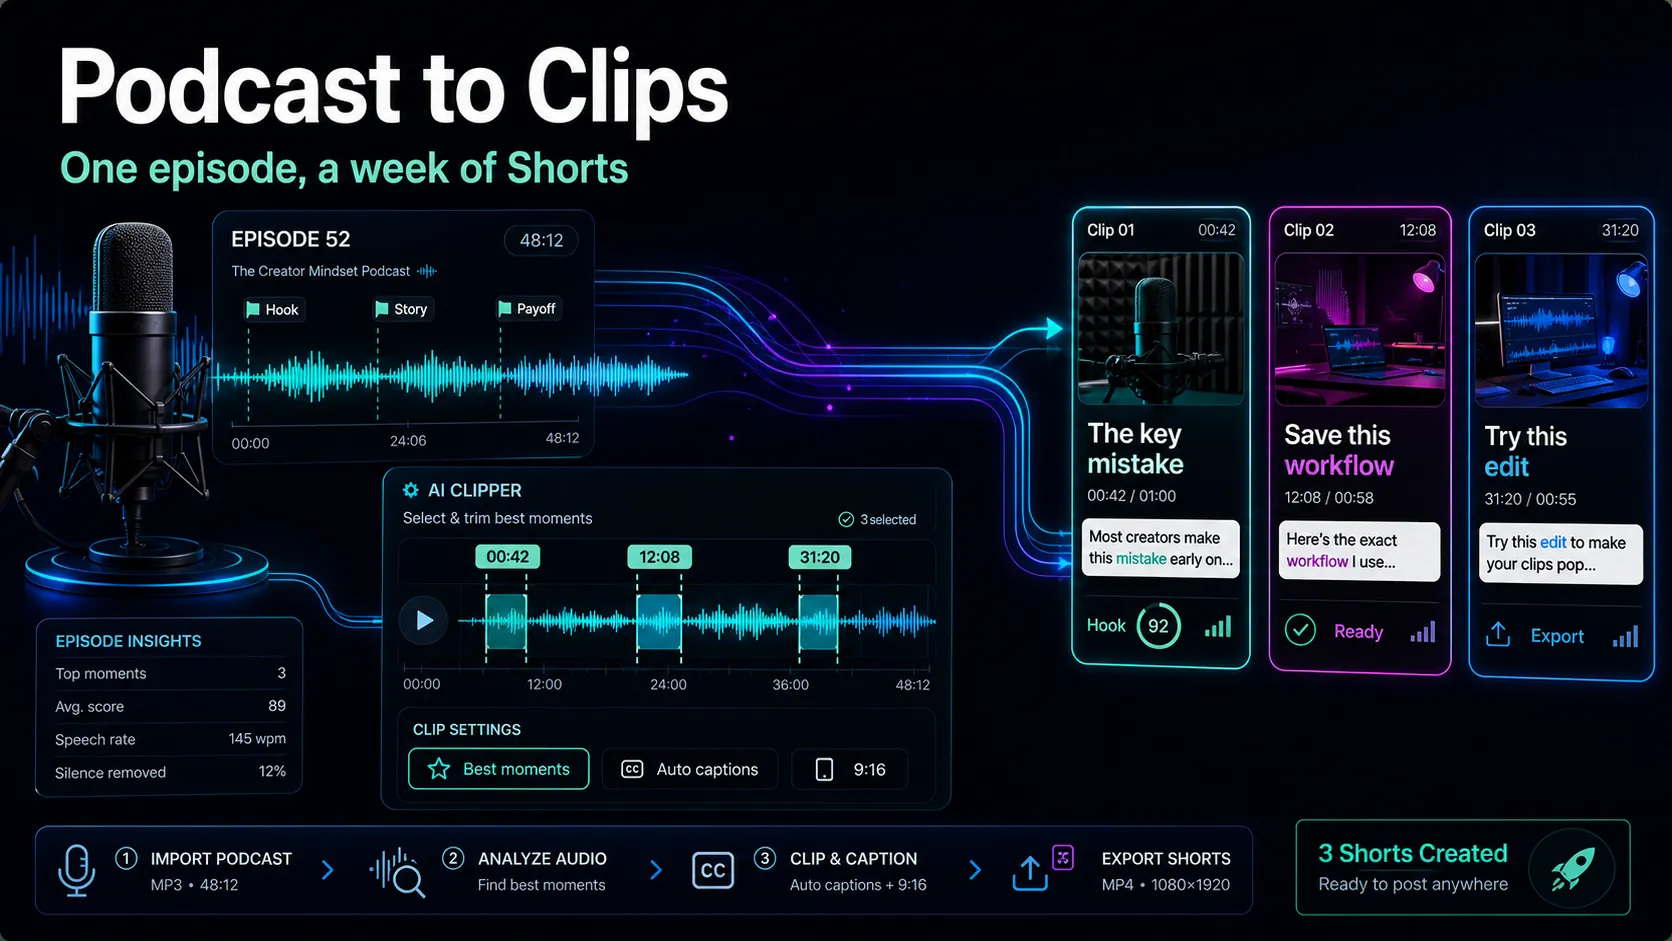
Here's where the pipeline pays off. The transcript you already proofread is the raw material for your short-form clips — you don't caption the episode and then start over for the clips, you reuse.
- Find the clip-worthy moments in the transcript. Skim the corrected text for standalone thoughts: a hot take, a clean explanation, a surprising number, a story with a turn. Reading beats scrubbing here too.
- Cut the long episode into short candidates. Drop the recording into an AI tool that turns long videos into shorts to surface high-signal segments, then treat its picks as candidates — keep the good ones, re-cut boundaries by hand so each clip starts on the first interesting word.
- Reframe to vertical. Convert each clip to 9:16 for Shorts, Reels, and TikTok. For a filmed show, crop to the active speaker; for audio-only, you'll lean harder on captions as the visual.
- Burn in captions for the clips. Run each vertical cut through a video caption generator and style the captions for mute-first viewing. Because the timing came from your proofread transcript, the clip captions inherit the same accuracy — no re-fixing names and numbers.
- Add a cover and export. Pick a frame or title card, export a captioned MP4, and one file feeds all three vertical platforms.
That's the loop: transcribe once, fix once, then spin out a full captioned episode and five to seven captioned clips from the same pass. For a deeper dive on the clip-selection side of this, see the video-editing workflow for podcasters.
Styling captions for mute-first vertical clips
Burned-in clip captions live or die on legibility, not decoration. A few rules cover most of it.
- Keep them in the safe zone. Place captions in the middle third of the 9:16 frame, clear of the top and bottom bands where platform buttons, usernames, and progress bars sit. Text under the "for you" UI is text nobody reads.
- Size for a phone at arm's length. Big, bold, high-contrast. A dark stroke or subtle background box keeps white text readable over bright footage or a busy waveform.
- One or two lines at a time. Don't dump a full sentence on screen. Show a phrase, sync it to speech, and let it move — word-by-word or phrase-by-phrase animation keeps the eye tracking.
- Use color or labels for speakers. On a two-person clip, a color per speaker (or a small name tag) tells viewers who's talking without cluttering the frame.
- Proofread the punchline. One wrong word on the line that makes the clip land will kill it. Check hero clips before you burn captions in — after burn-in, fixing a typo means re-rendering.
The goal is captions a viewer can read in half a second with the sound off. Clever fonts are optional; legibility isn't.
SRT vs. VTT: which sidecar file for the long-form upload
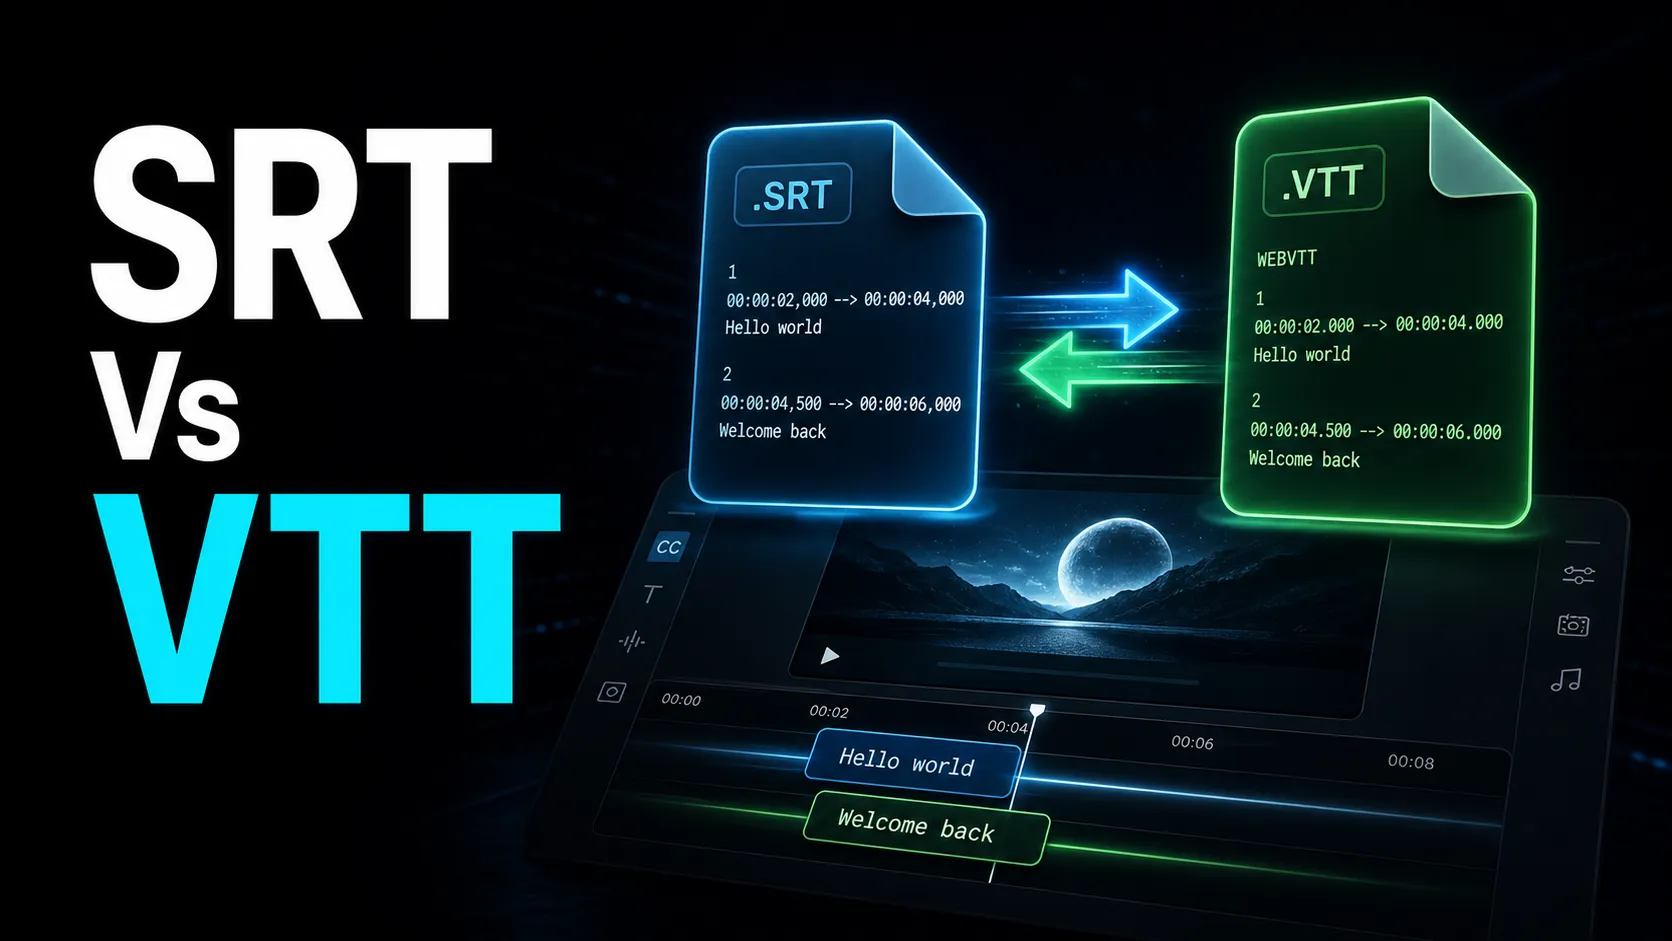
For the full episode, you'll export a sidecar file rather than burning captions in — and you'll hit two common formats. SRT (SubRip) is the plain, near-universal option: timestamps and text, accepted almost everywhere. VTT (WebVTT) is the web-native format that adds styling and positioning metadata on top of the same core structure.
The short version: SRT for broad compatibility, VTT when the platform or player specifically wants it. Most video and podcast hosts accept SRT for a straightforward upload; some web players and captioning tools prefer or require VTT. Either way, both come from the same corrected transcript, so you're never re-doing the work — you're exporting the same text in a different wrapper. For the full breakdown of the two formats and when each matters, see SRT vs. VTT. Keep your master transcript clean and timed, and treat SRT or VTT as an export target, not something you edit by hand line by line.
A quick self-test for any podcast captioning tool
The podcast-tooling space is crowded, and every tool promises accurate captions. Don't trust the feature list — run one test. Take a real episode of your own, with its actual mic quality, guest names, and crosstalk, and measure four things:
- Transcription accuracy on your content. How many names, terms, and numbers do you have to fix per ten minutes? This is the number that decides whether the tool saves time or just moves the work.
- Editing friction. Can you fix a word, replace-all a recurring name, and adjust timing without fighting the interface?
- Export flexibility. Can you get both burned-in captions for clips and a sidecar file for the long-form upload, from the same transcript?
- Time to a captioned clip. From upload to one finished 9:16 captioned clip, how many minutes and how many manual steps?
Run that same fifteen-minute test on anything you're considering; it tells you more than any comparison chart. Recapo is a browser-based fit for this exact chain — transcribe, caption, reframe, and export in one place — but let the test decide, not the pitch.
FAQ
How do I add captions to a podcast video for free to try? Start by transcribing the episode into a timed transcript, then proofread it — that single corrected transcript is what produces both burned-in captions for clips and a sidecar SRT/VTT for the full upload. Browser-based tools let you do the whole transcribe-and-caption pass without installing software; check the pricing page for what each plan includes.
Should I burn captions in or upload an SRT file? Both, for different destinations. Burn captions into vertical social clips, where you control the styling and can't rely on the platform's caption UI. Upload a sidecar SRT (or VTT) for the full-length episode on YouTube or a podcast host, where you want selectable, searchable, toggle-able text.
How do I fix bad auto-captions on a podcast? Proofread the transcript against the audio, prioritizing names, jargon, numbers, and any line you plan to clip. Fix a recurring name or term once and replace-all, build a per-show glossary, and clean up rough source audio before transcribing — cleaner sound yields cleaner captions.
Can I reuse the same captions for my episode and my clips? Yes — that's the entire point of captioning once. Proofread the full transcript first, export a sidecar file for the long-form upload, then reuse the same timed text to burn captions into each vertical clip. The clips inherit the accuracy you already fixed, so you're not re-correcting names and numbers per clip.
What's the difference between SRT and VTT for podcast captions? Both are sidecar caption files with timestamps and text. SRT is the plainer, near-universal format most hosts accept; VTT is web-native and supports extra styling and positioning. Use SRT for broad compatibility and VTT when a specific platform or player asks for it — both export from the same transcript.
Caption your next episode once, use it everywhere
The workflow is simple once you stop repeating yourself: transcribe the episode once, fix the transcript once, then let that single pass produce your captioned full video, your sidecar SRT/VTT, and a batch of captioned vertical clips. Everything downstream — reframing, burning in captions, exporting — inherits a transcript you already trust. Create a free Recapo account, upload your latest episode, and turn one recording into a fully captioned episode plus a week of clips — no install needed.